In this project, rather than limited in 2-D space, we use meshes and triangles to build 3-D models. We use algorithms to do projection, and to smooth our curves (the usage of bezier curves). We also use the splitting and flipping of edges in our mesh to implement the re-assignment of the edges (of the triangles), for the idea of upsampling.
Section I: Bezier Curves and Surfaces
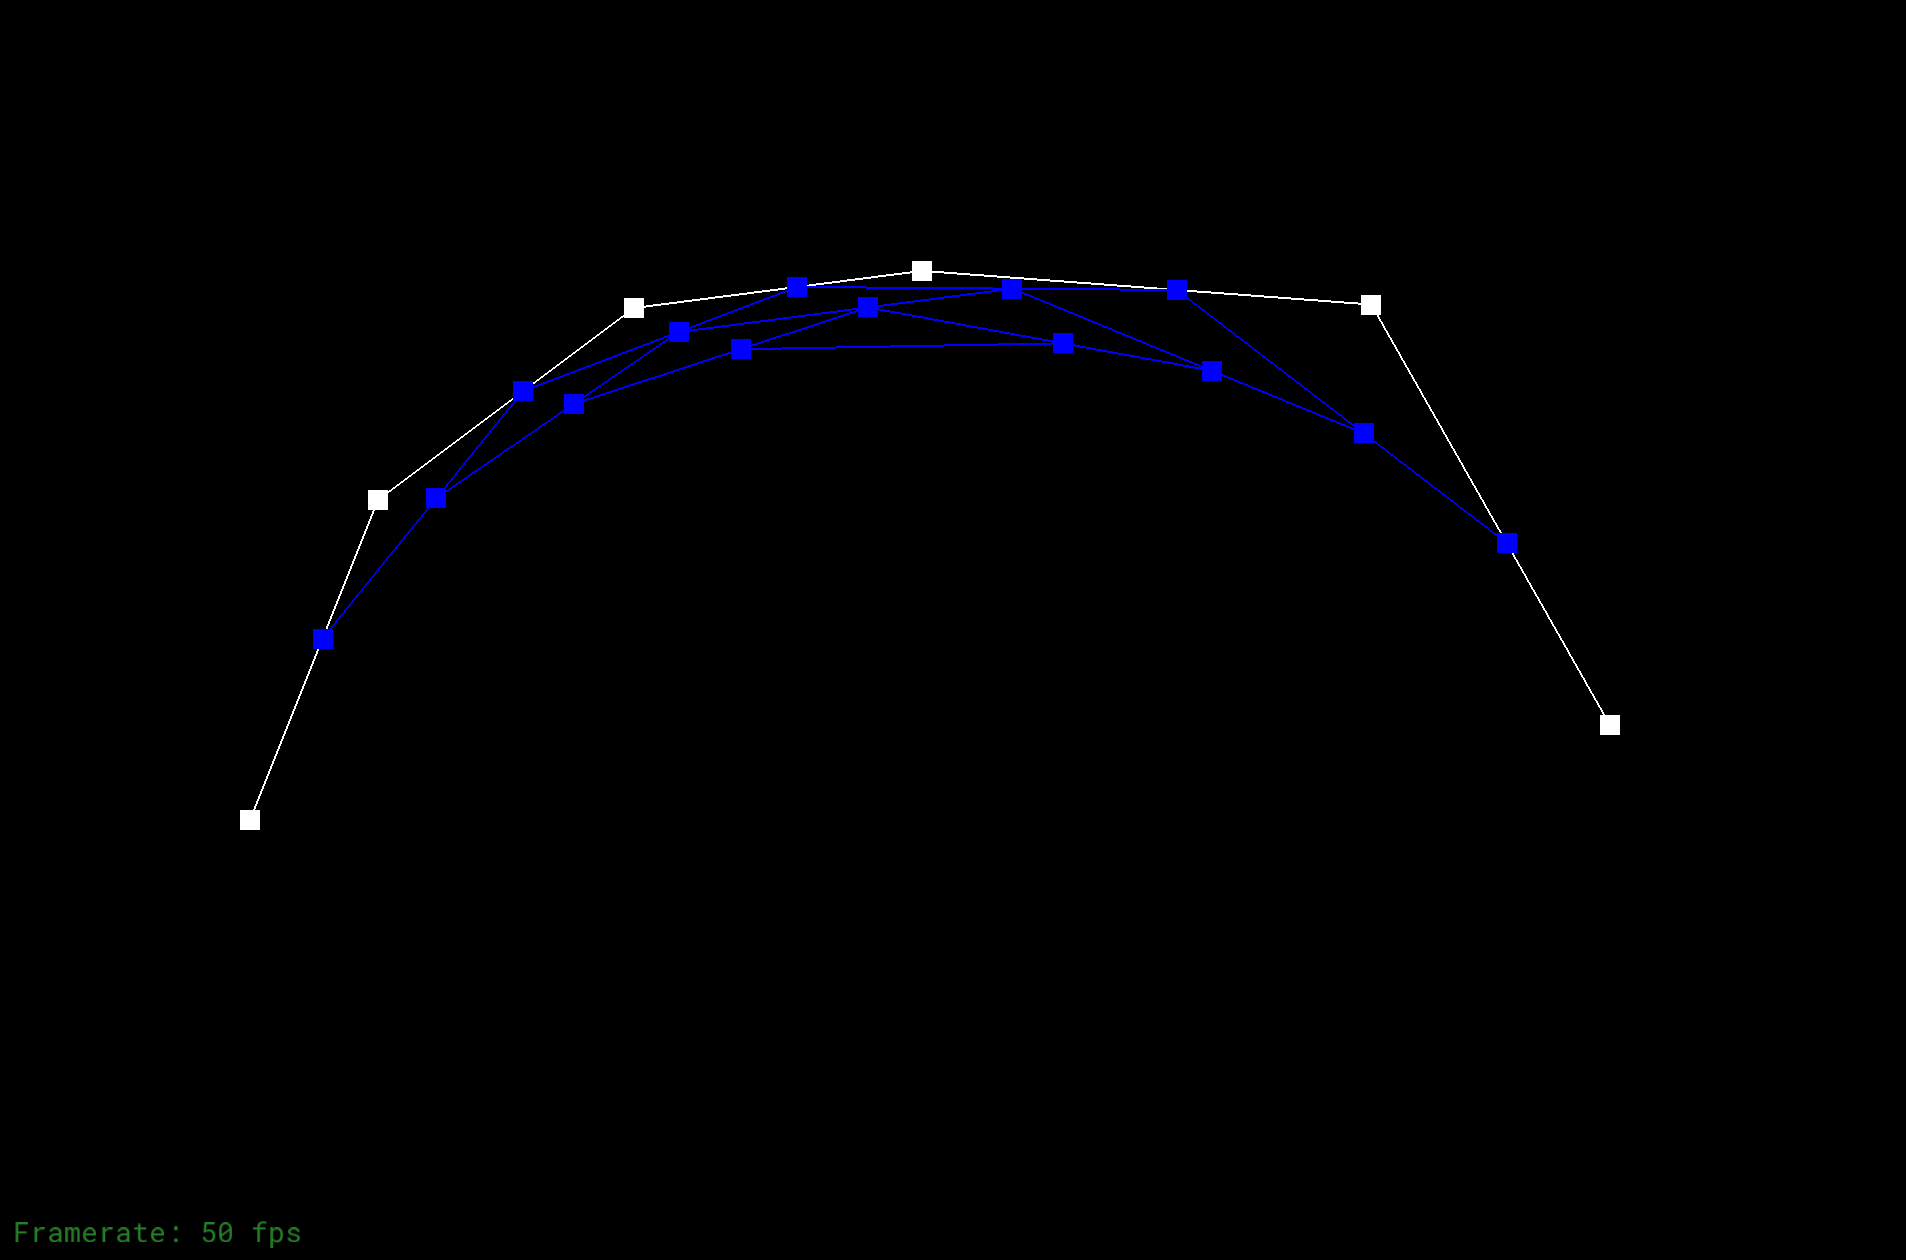
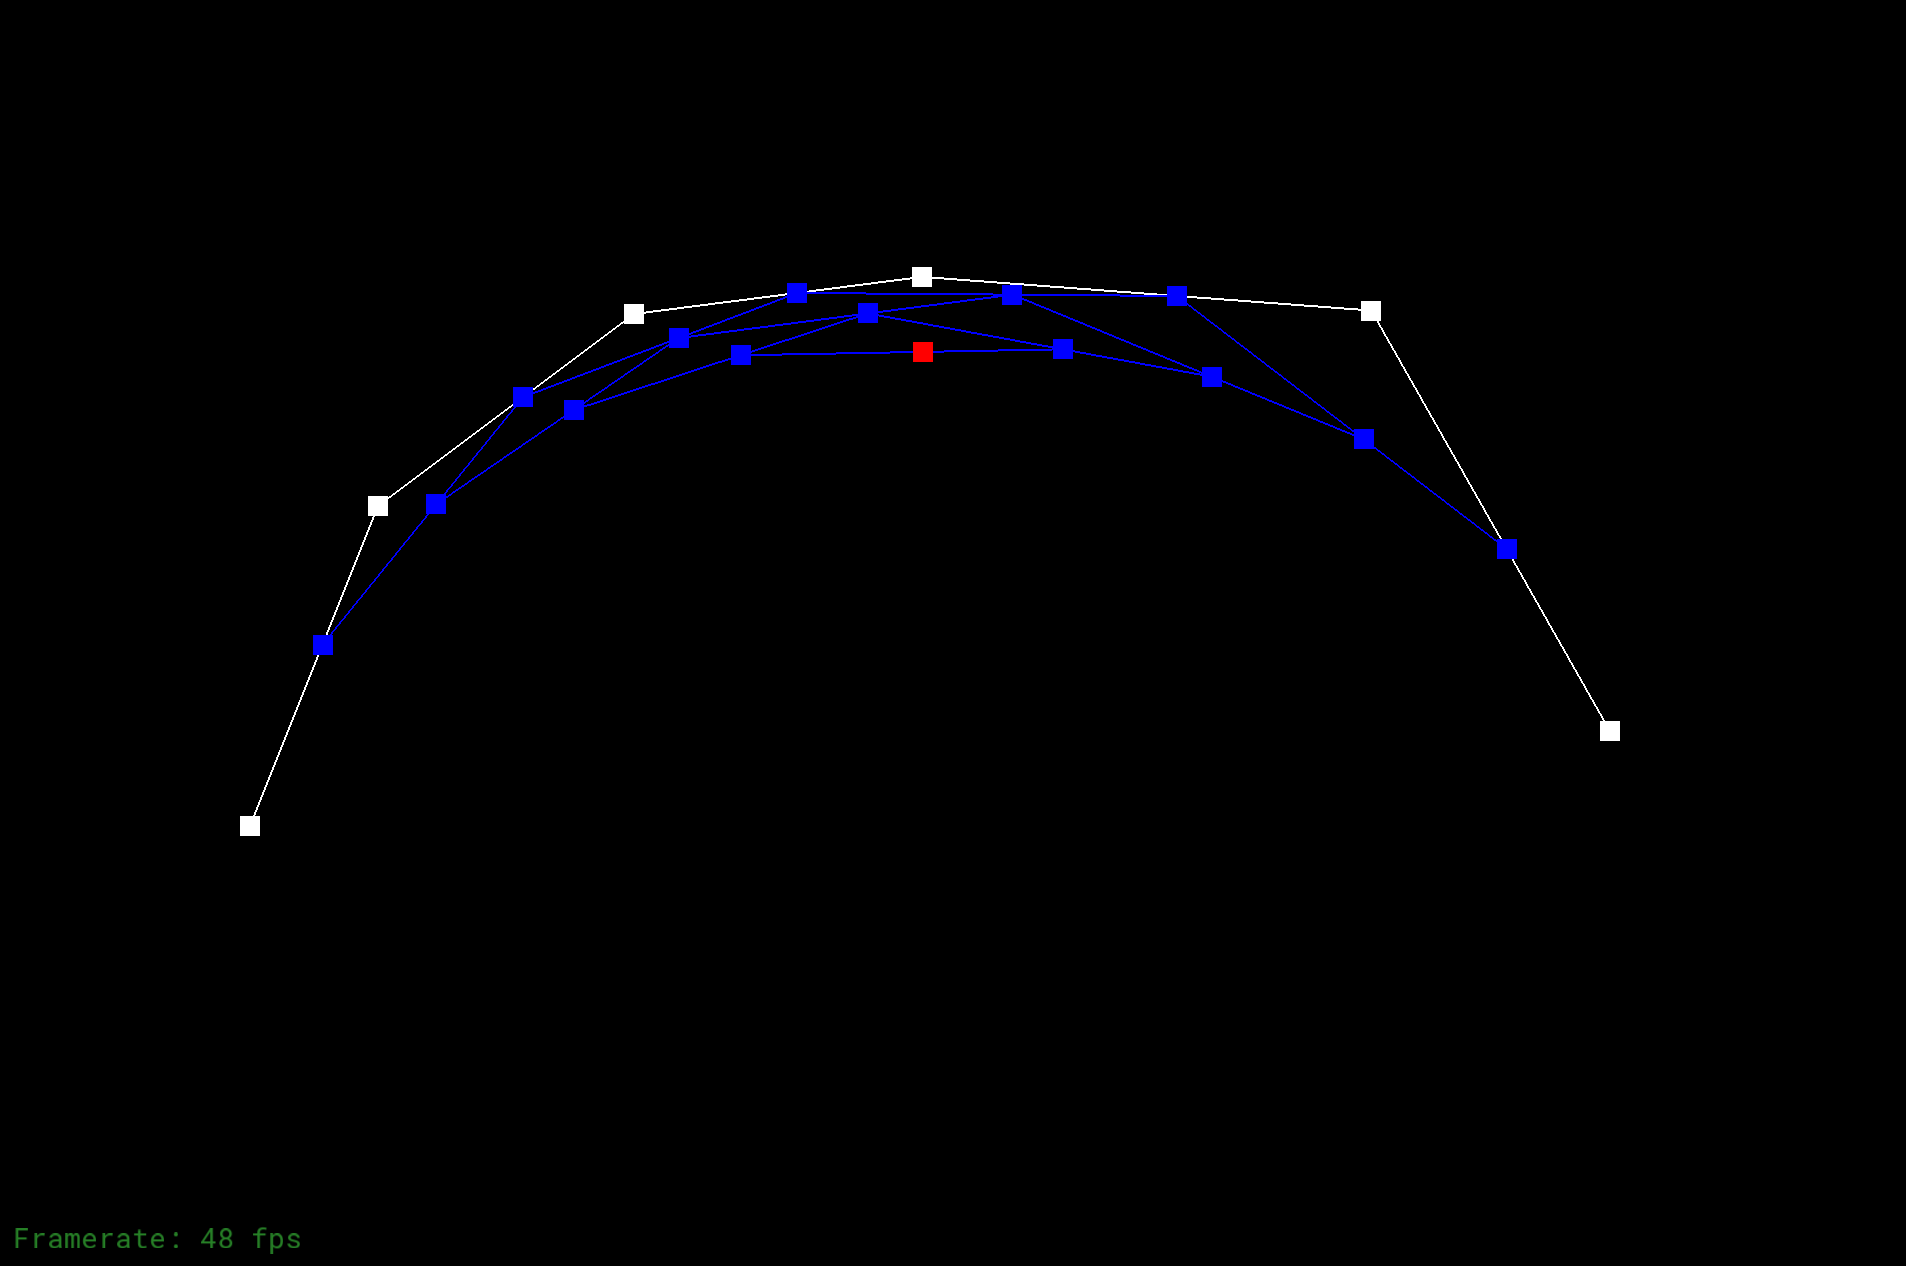
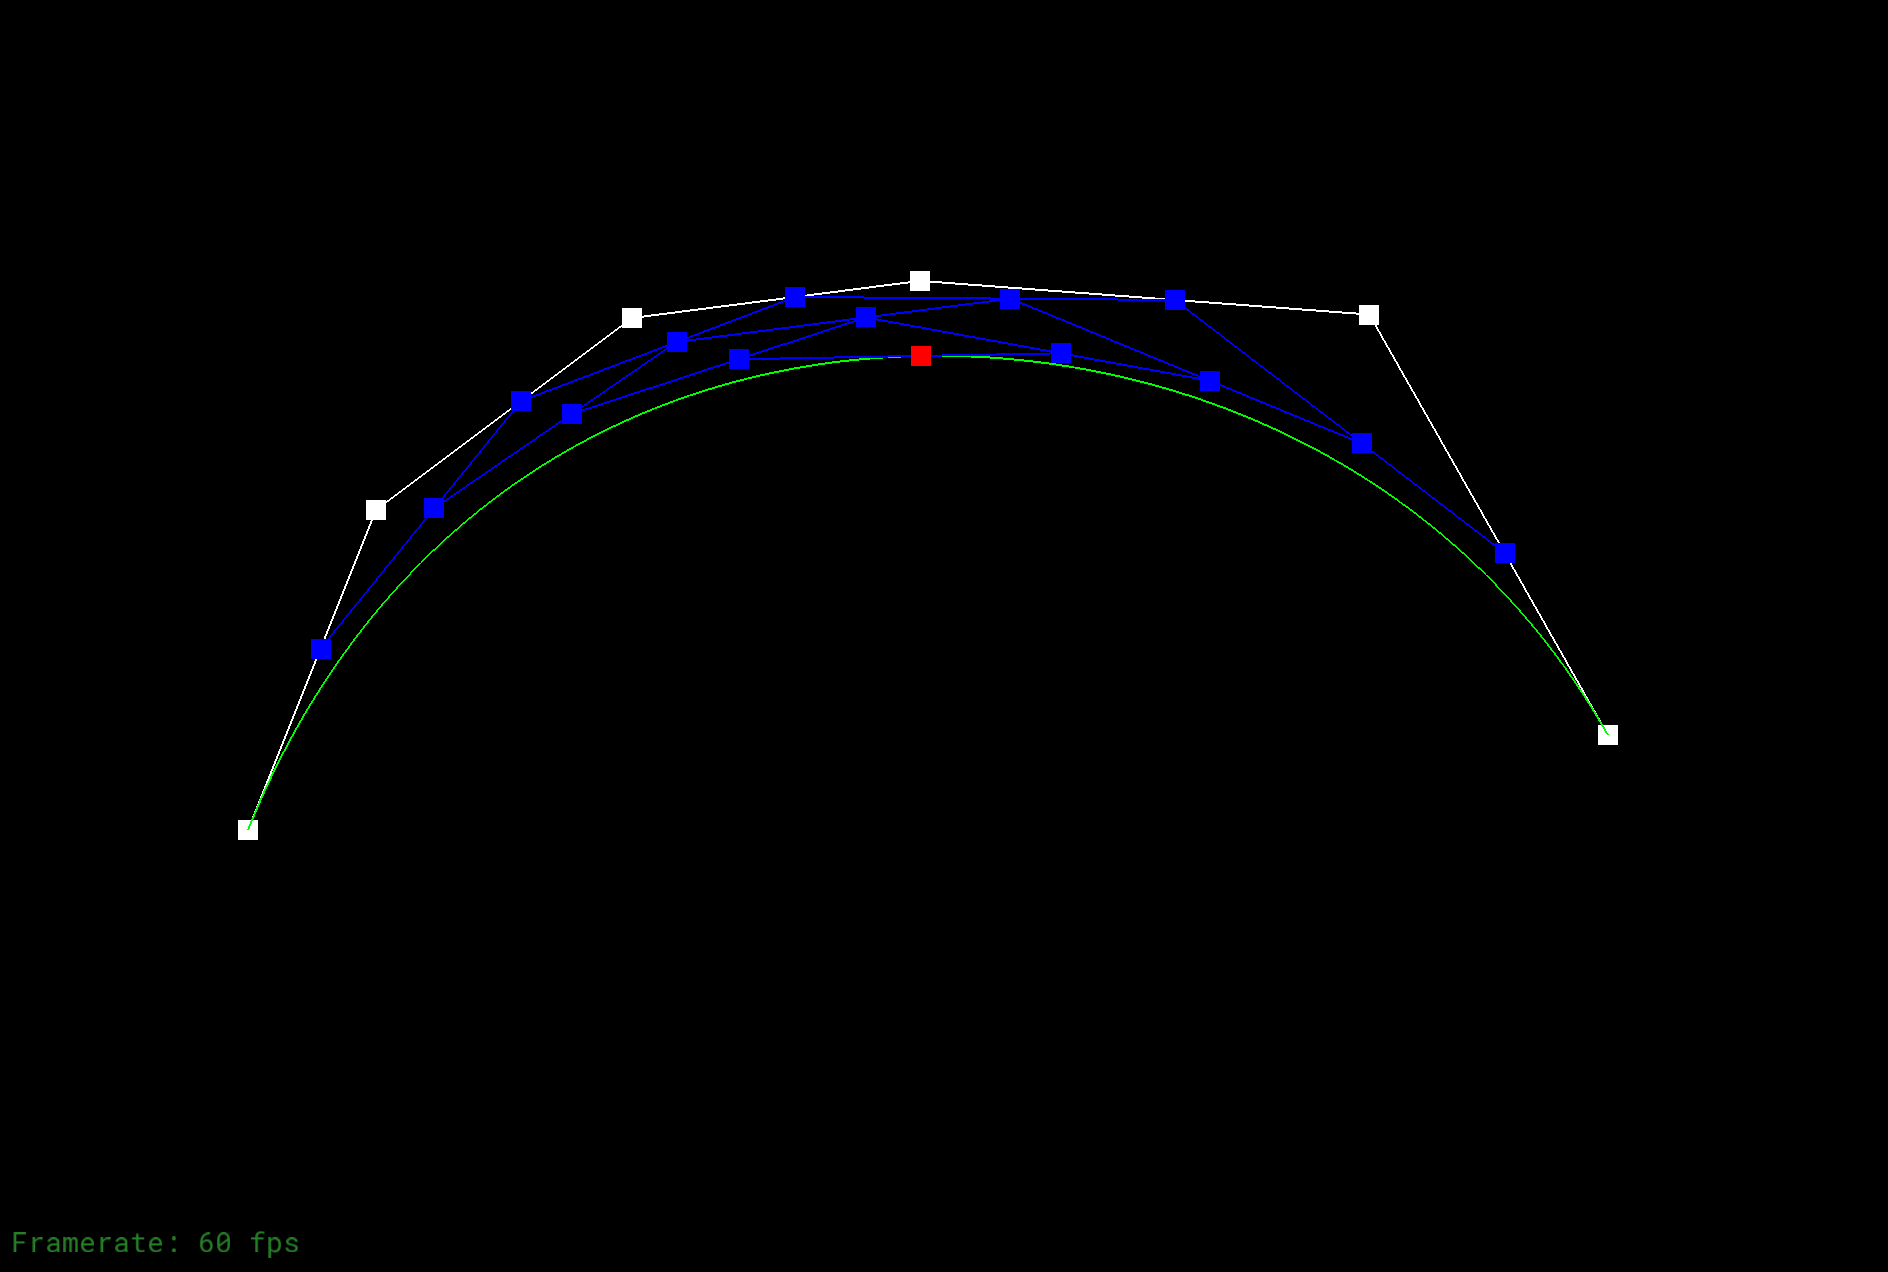
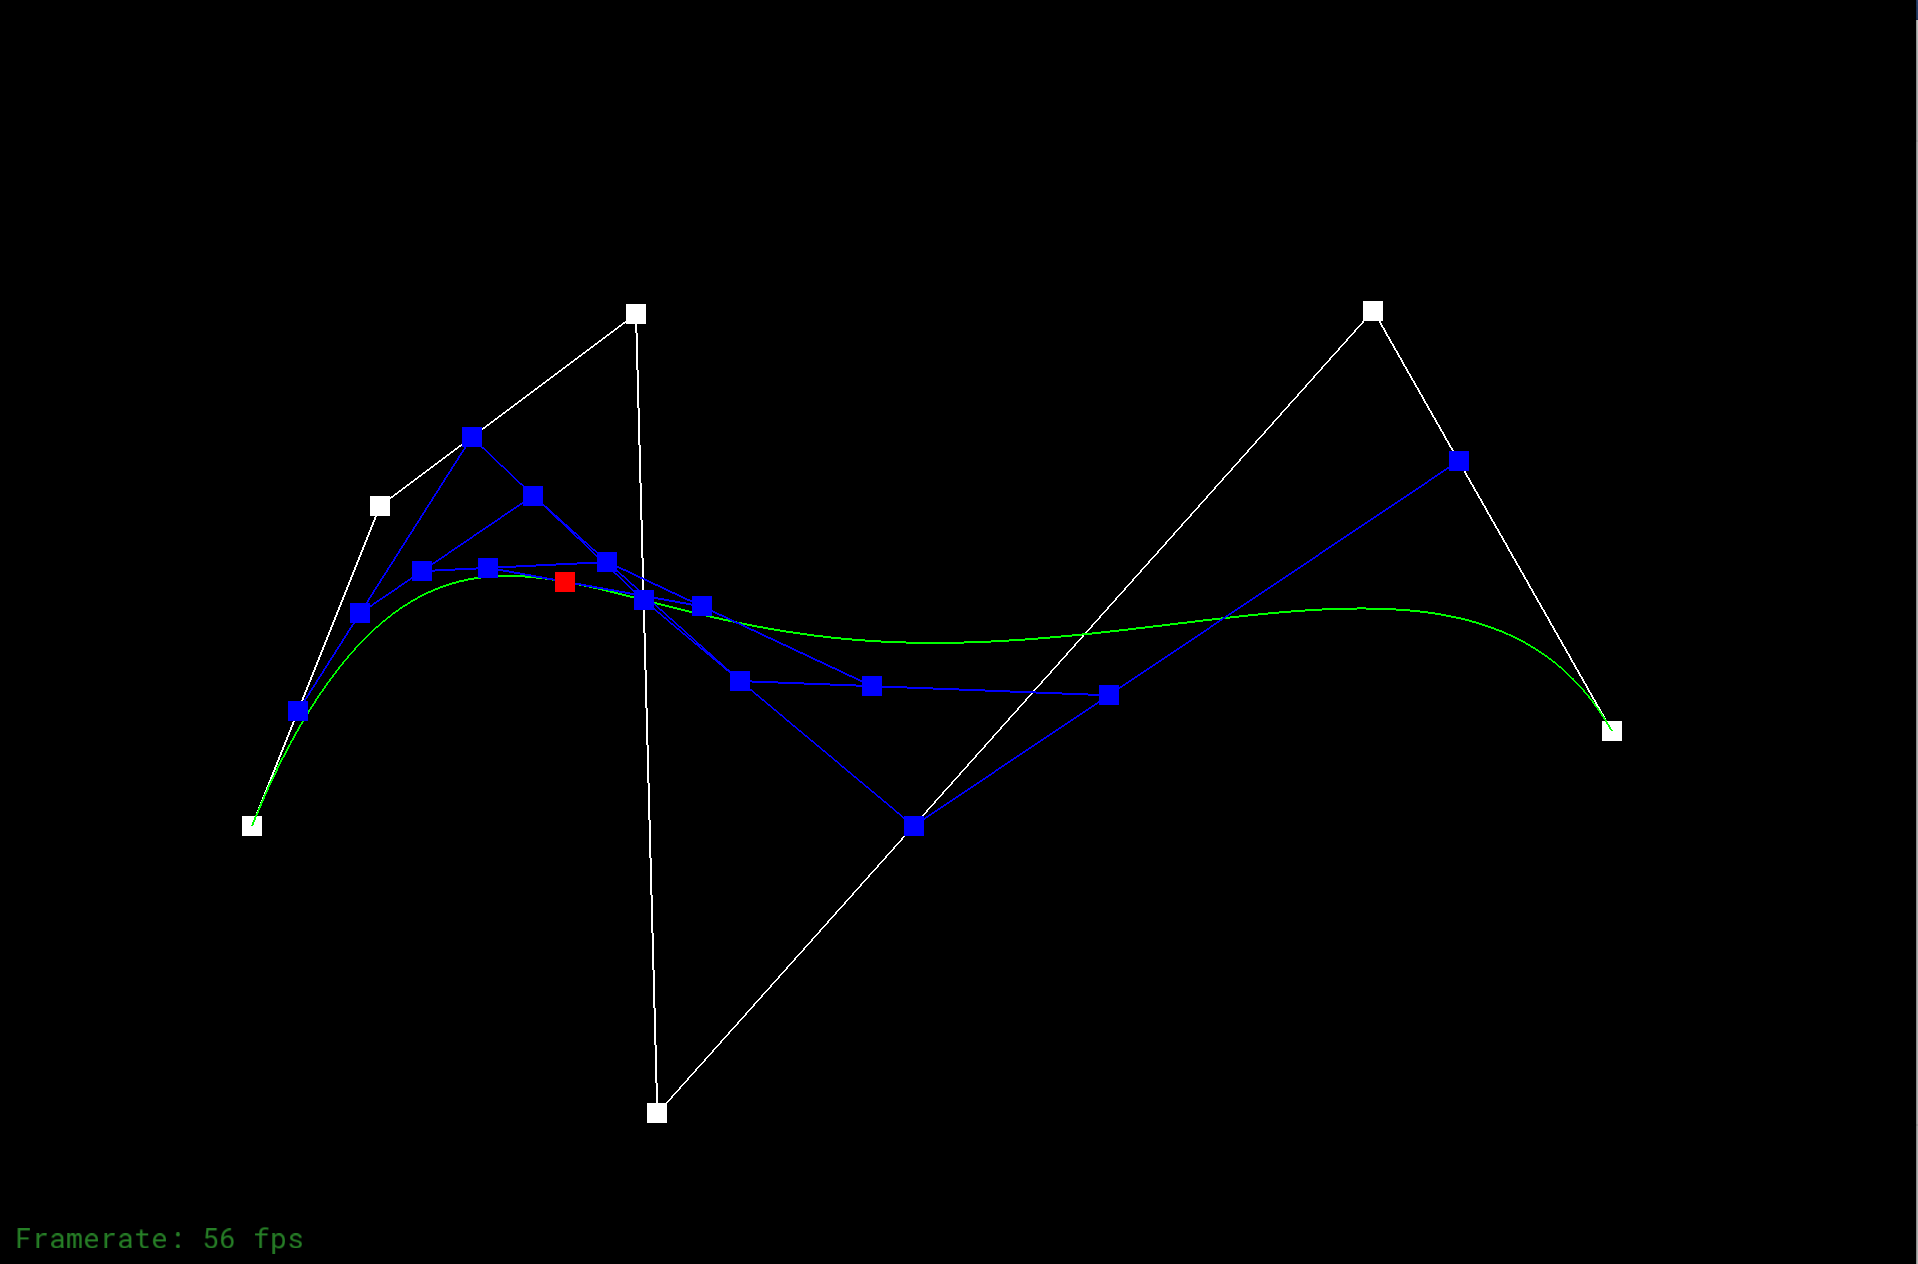
Part 1: Bezier curves with 1D de Casteljau subdivision
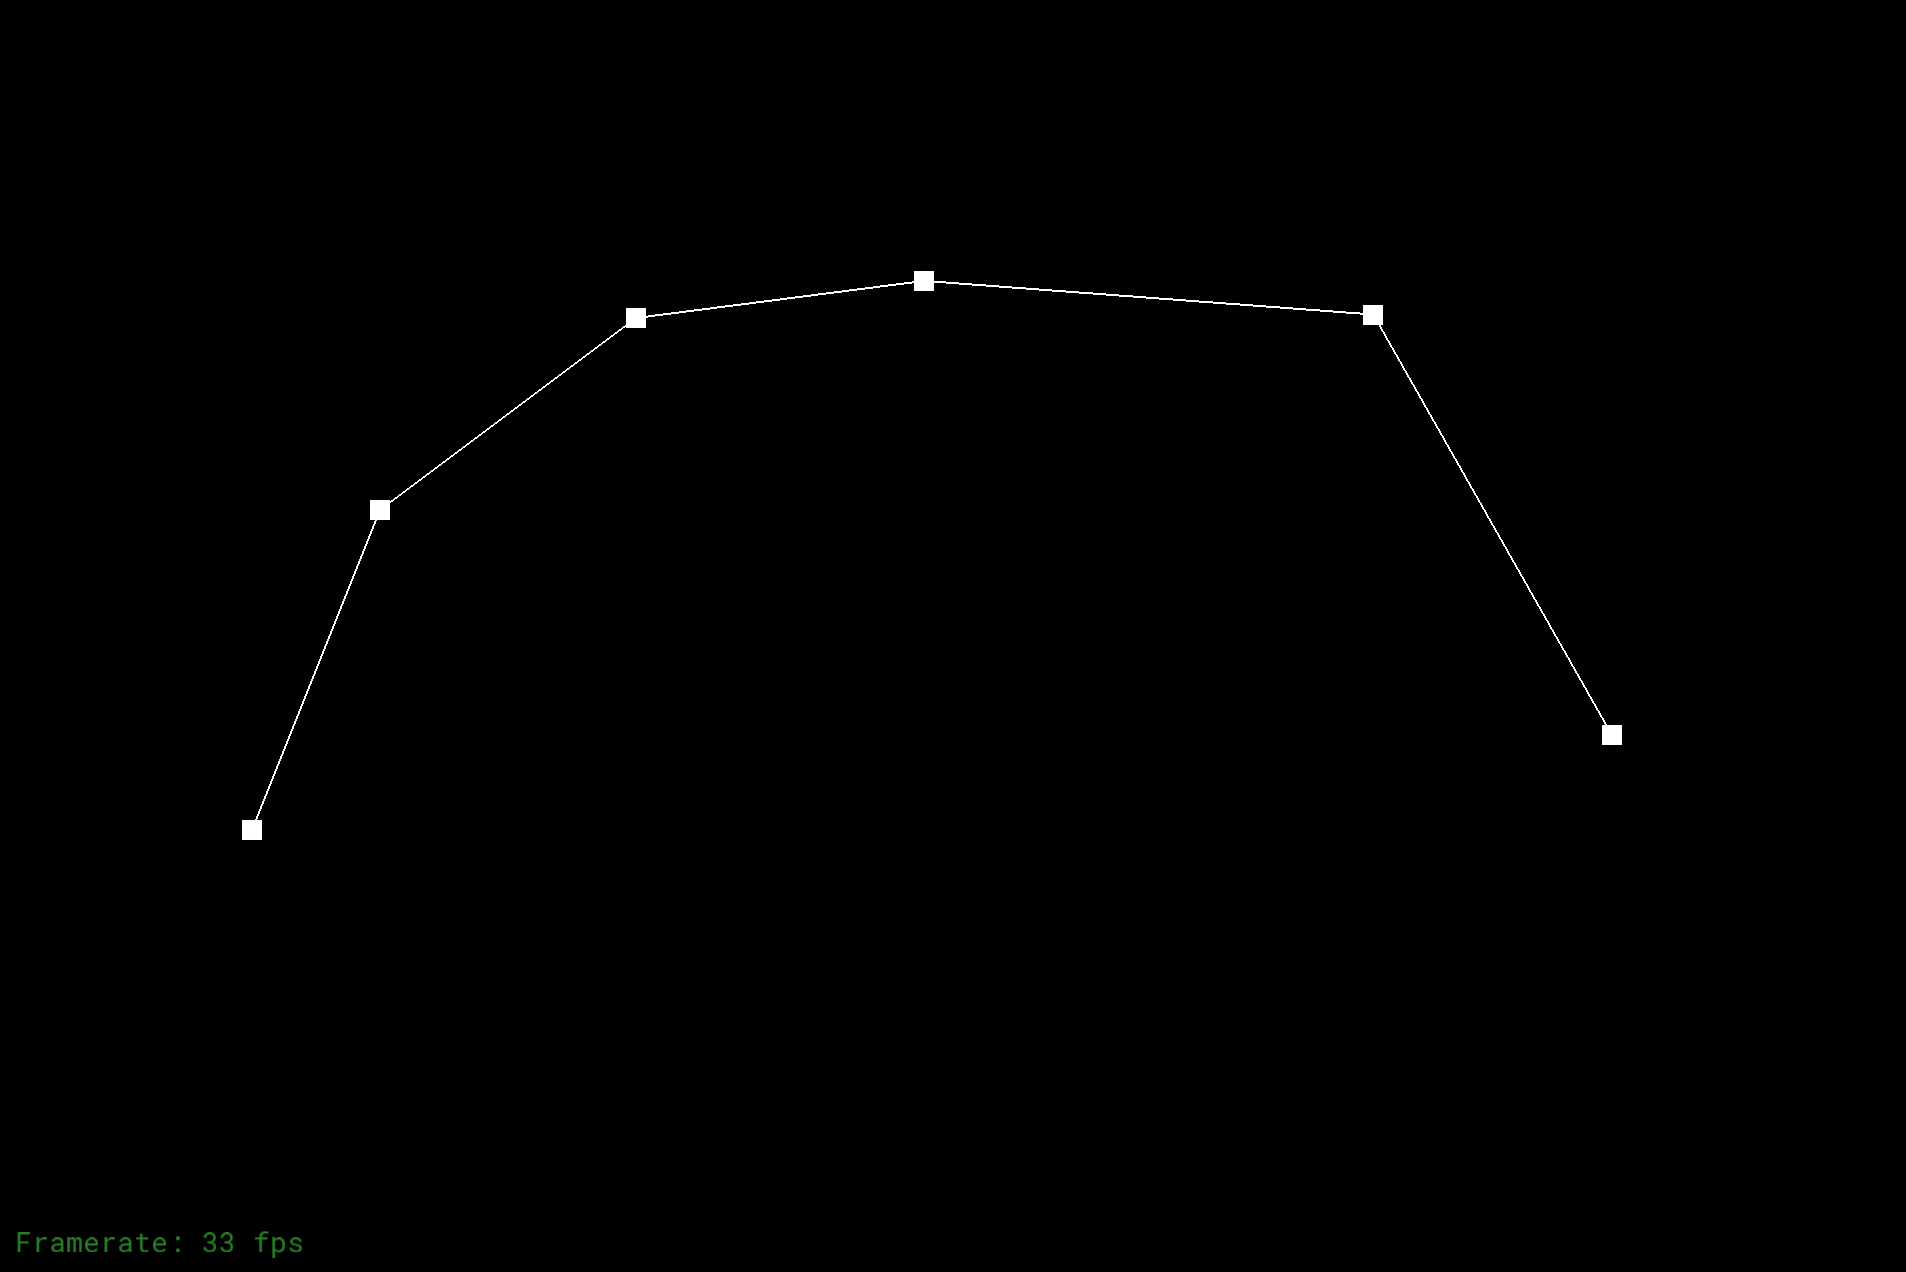
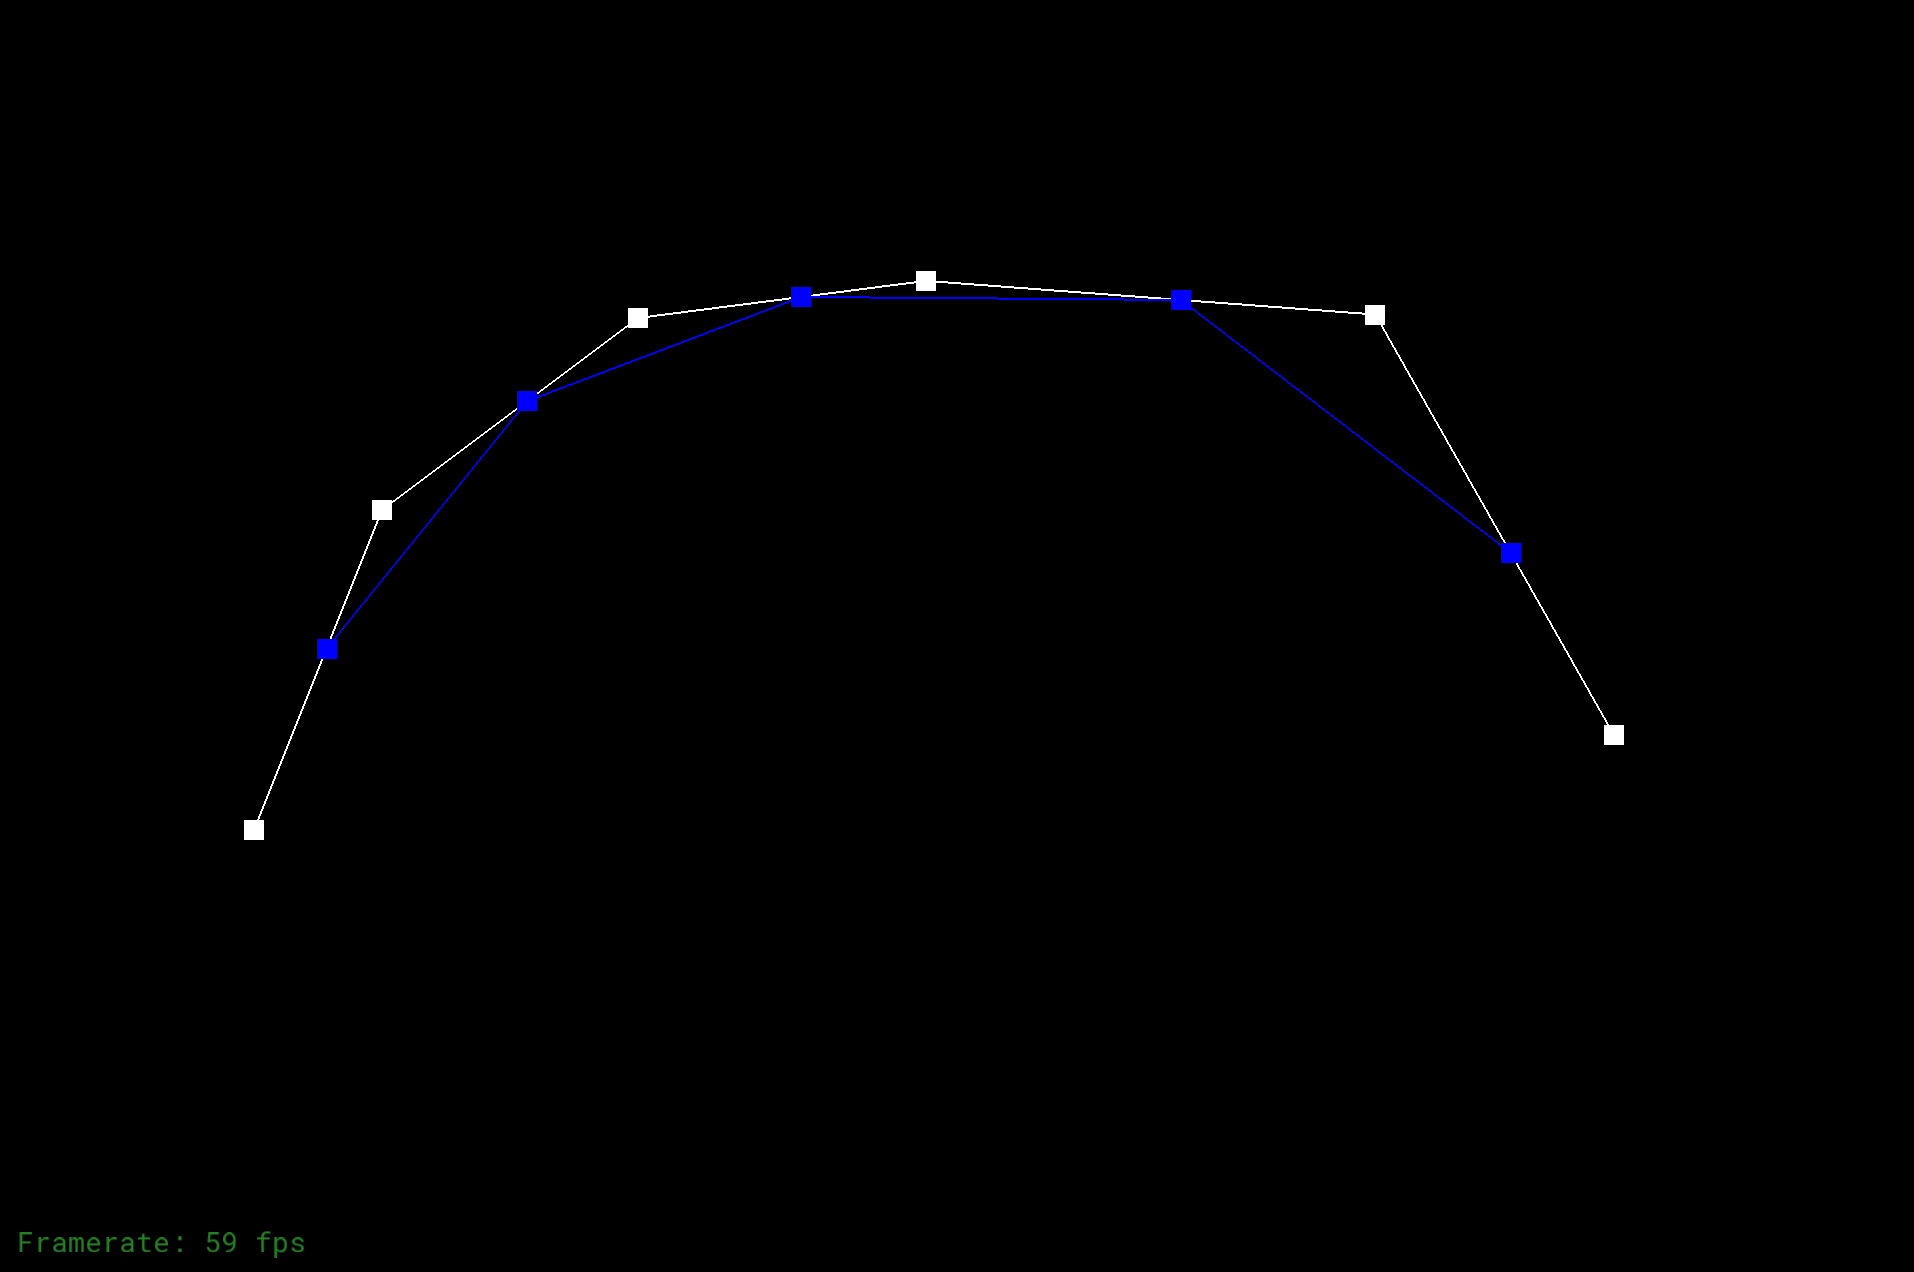
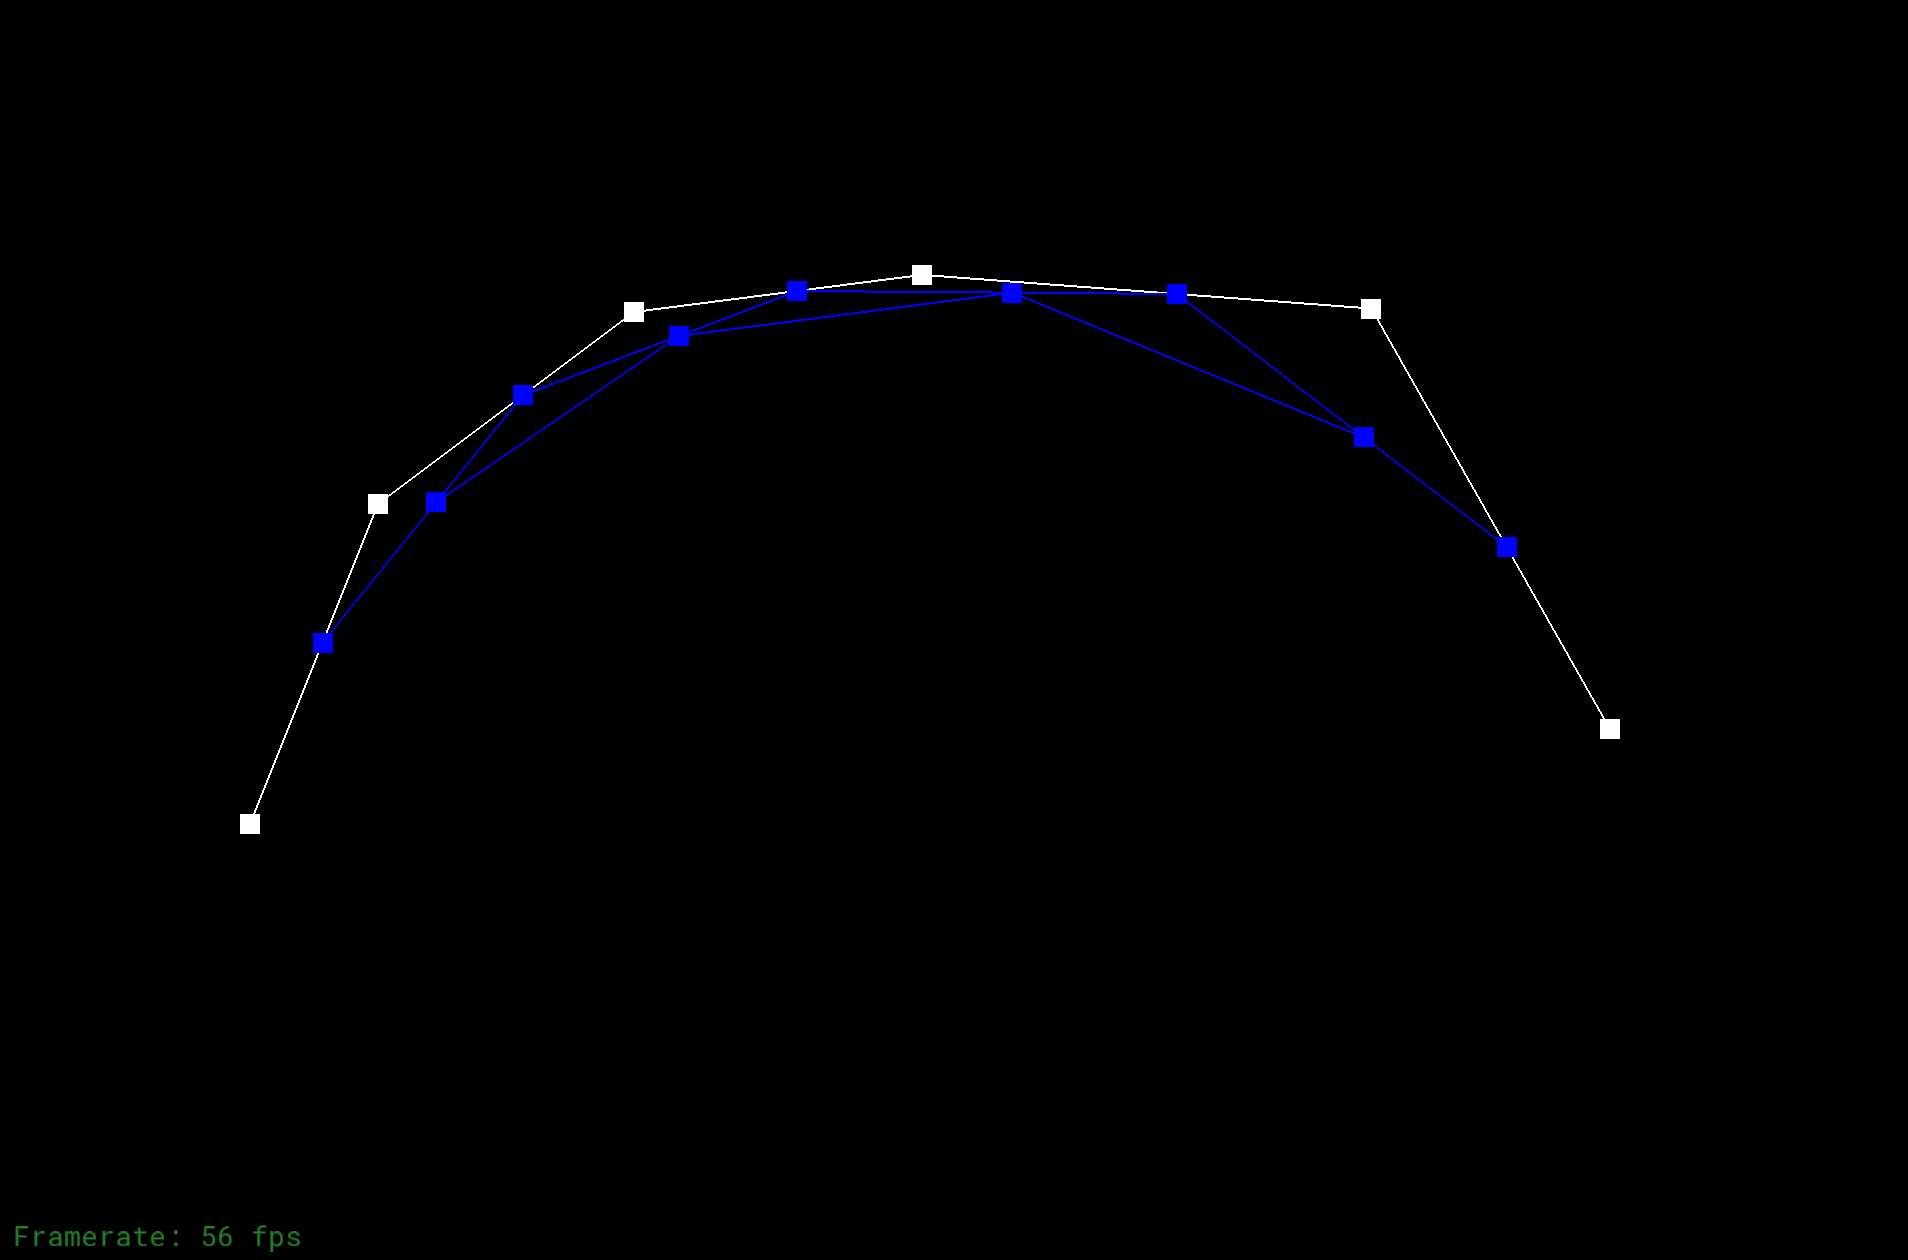
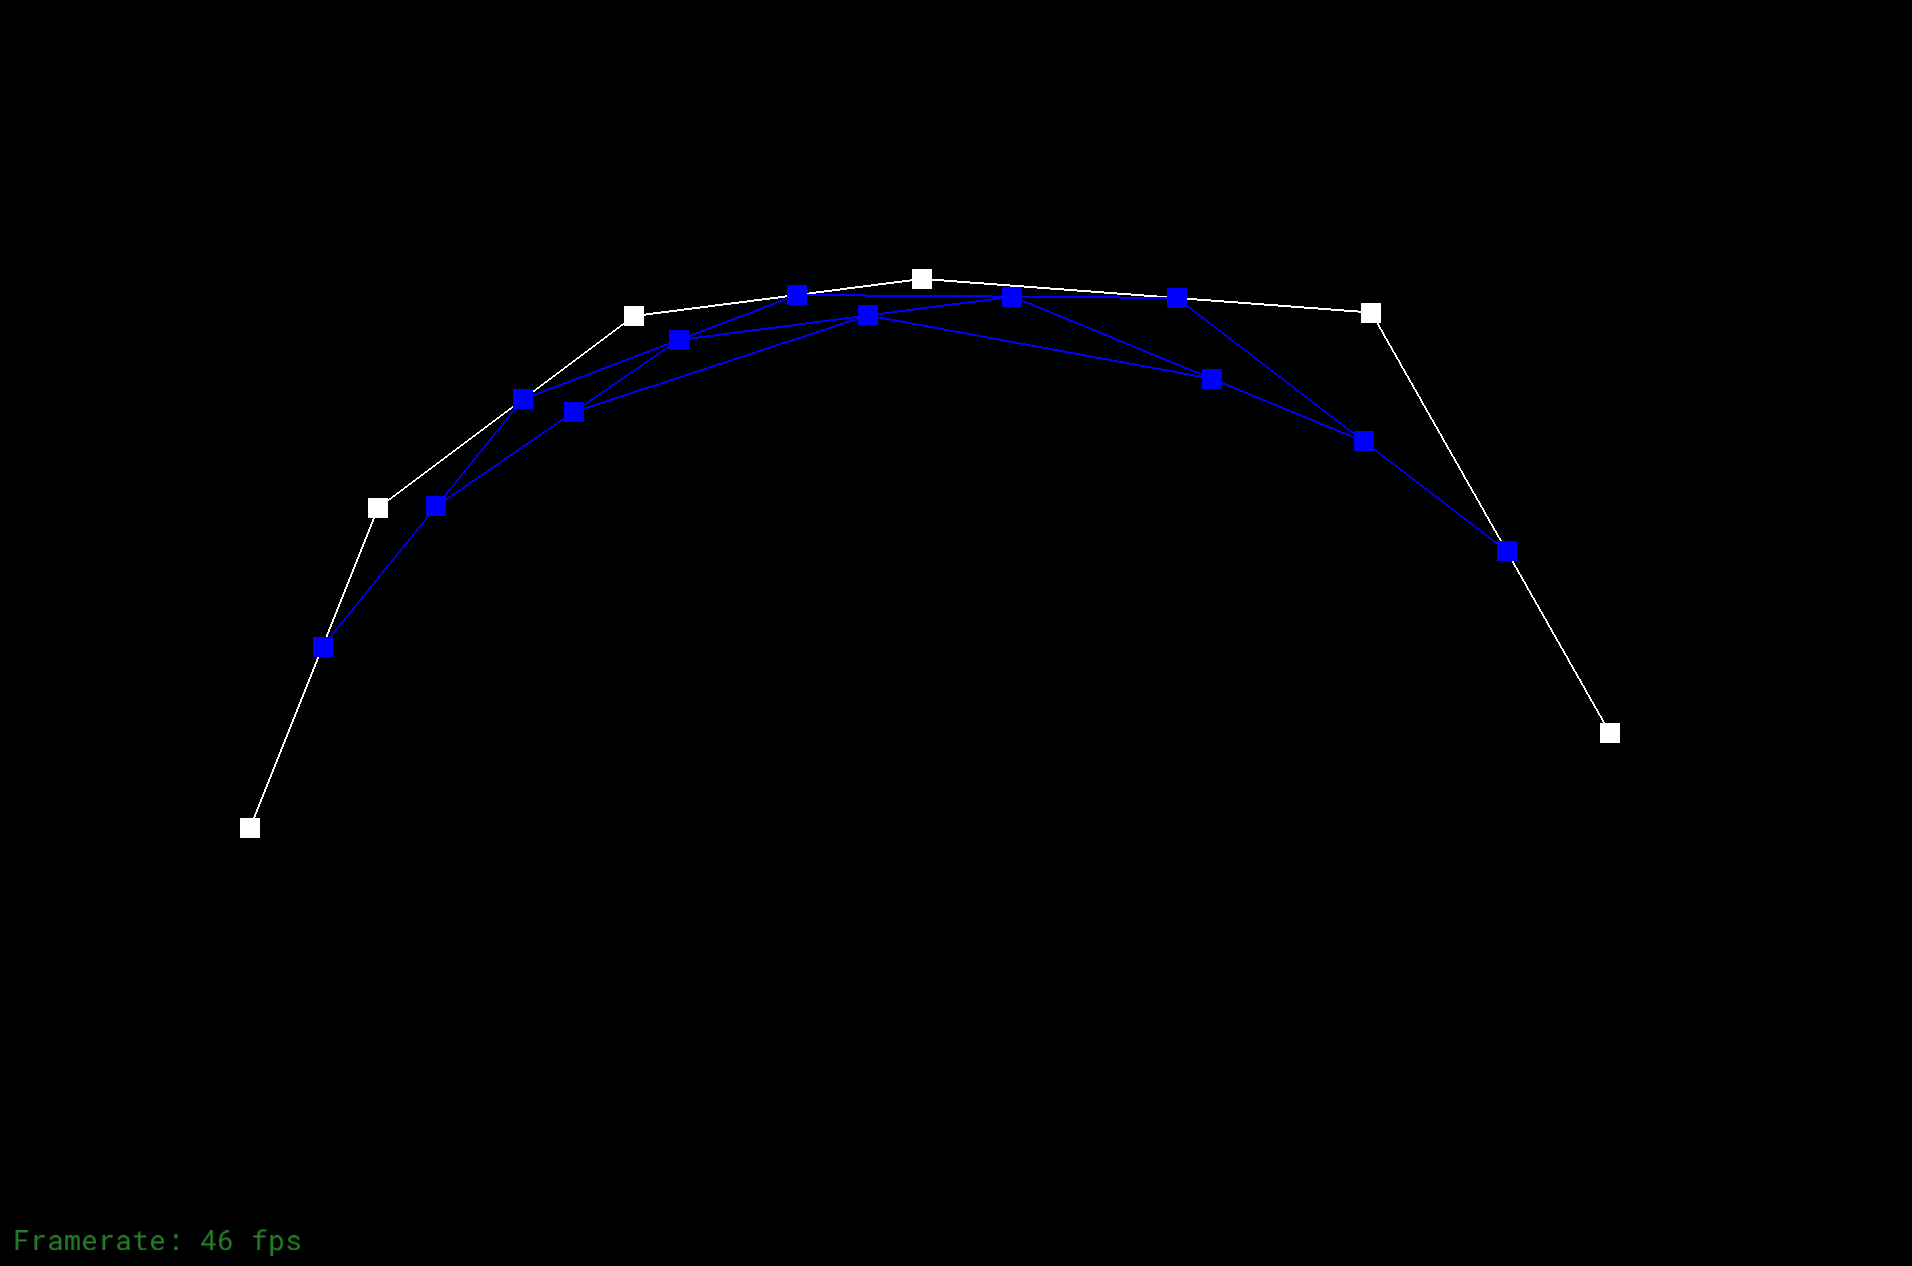
De Casteljau's algorithm is a method of linear interpolation of a set of points, in order to evaluate polinomials in bezier curves. Implementing De Casteljau's algorithm will create a new set of points which contains one less point than the original, and that original point is used to generate smooth curves for approximation. If we implement this algorithm until there is only one point left, we get a smooth bezier curve that fully approximates the original structure. To implement the algotithm, I first declare a new level (a vector of Vector2D), then I check how many levels have we got. I do this because that suppose we have n points, we will need n-1 levels (n-1 times of operation, which refers to n levels including level 0) to make that there only have one point left. I check if there are "numControlPoints" number of levels, which implies that there is only one point left. If so, we return since we do not need to implement the algorithm any more. If not, we do a for loop to the remaining points, implementing "lerp" function \(p*(1-t) + p*t\) to implement the algorithm for each point, and each result will be stored to the next level. Doing so, we finish one loop of implementing De Casteljau's algorithm.
|
|
|
|
|
|
|
|
Part 2: Bezier surfaces with separable 1D de Casteljau subdivision
We take Bezier surface as a stack of Bezier curves. Since points forms lines and lines forms surfaces, we take the Bezier surface as an formation of Bezier curves on different layers. Thus we break the idea of Bezier surface into multiple layers and use 1D de Casteljau's algorithm to evaluate the Bezier curves on each layer, as an approximation and also an connection of points. After all, we implement 1D de Casteljau's algorithm again, but for points on all layers (note that for each layer, after implementing 1D de Casteljau's algorithm on each layer, we get Bezier curve on each layer and only one point left), thus forming a surface, formed by the results on each layer. The final approximation result is the Bezier surface we want.
|
|
Section 2: Sampling
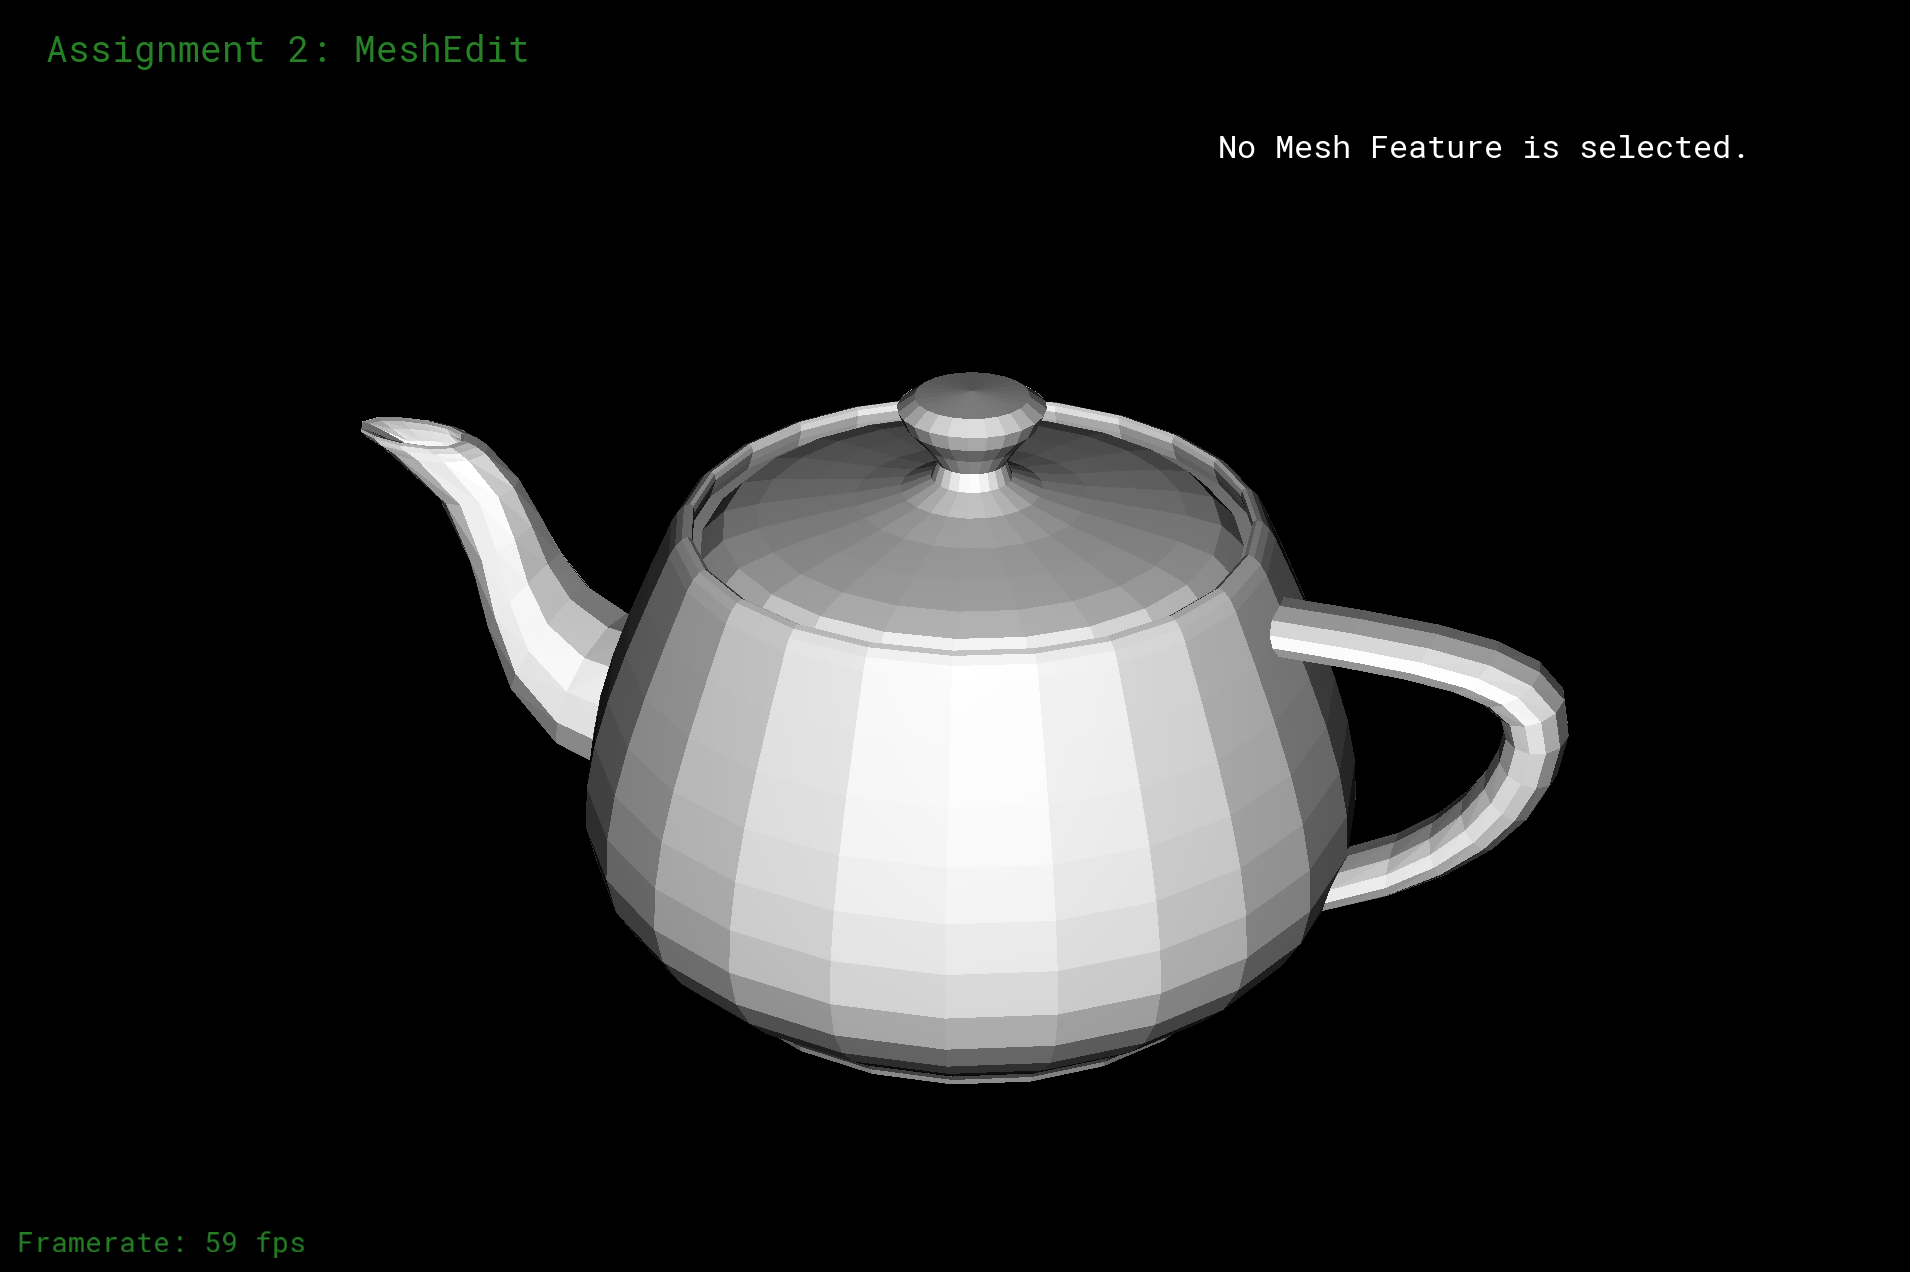
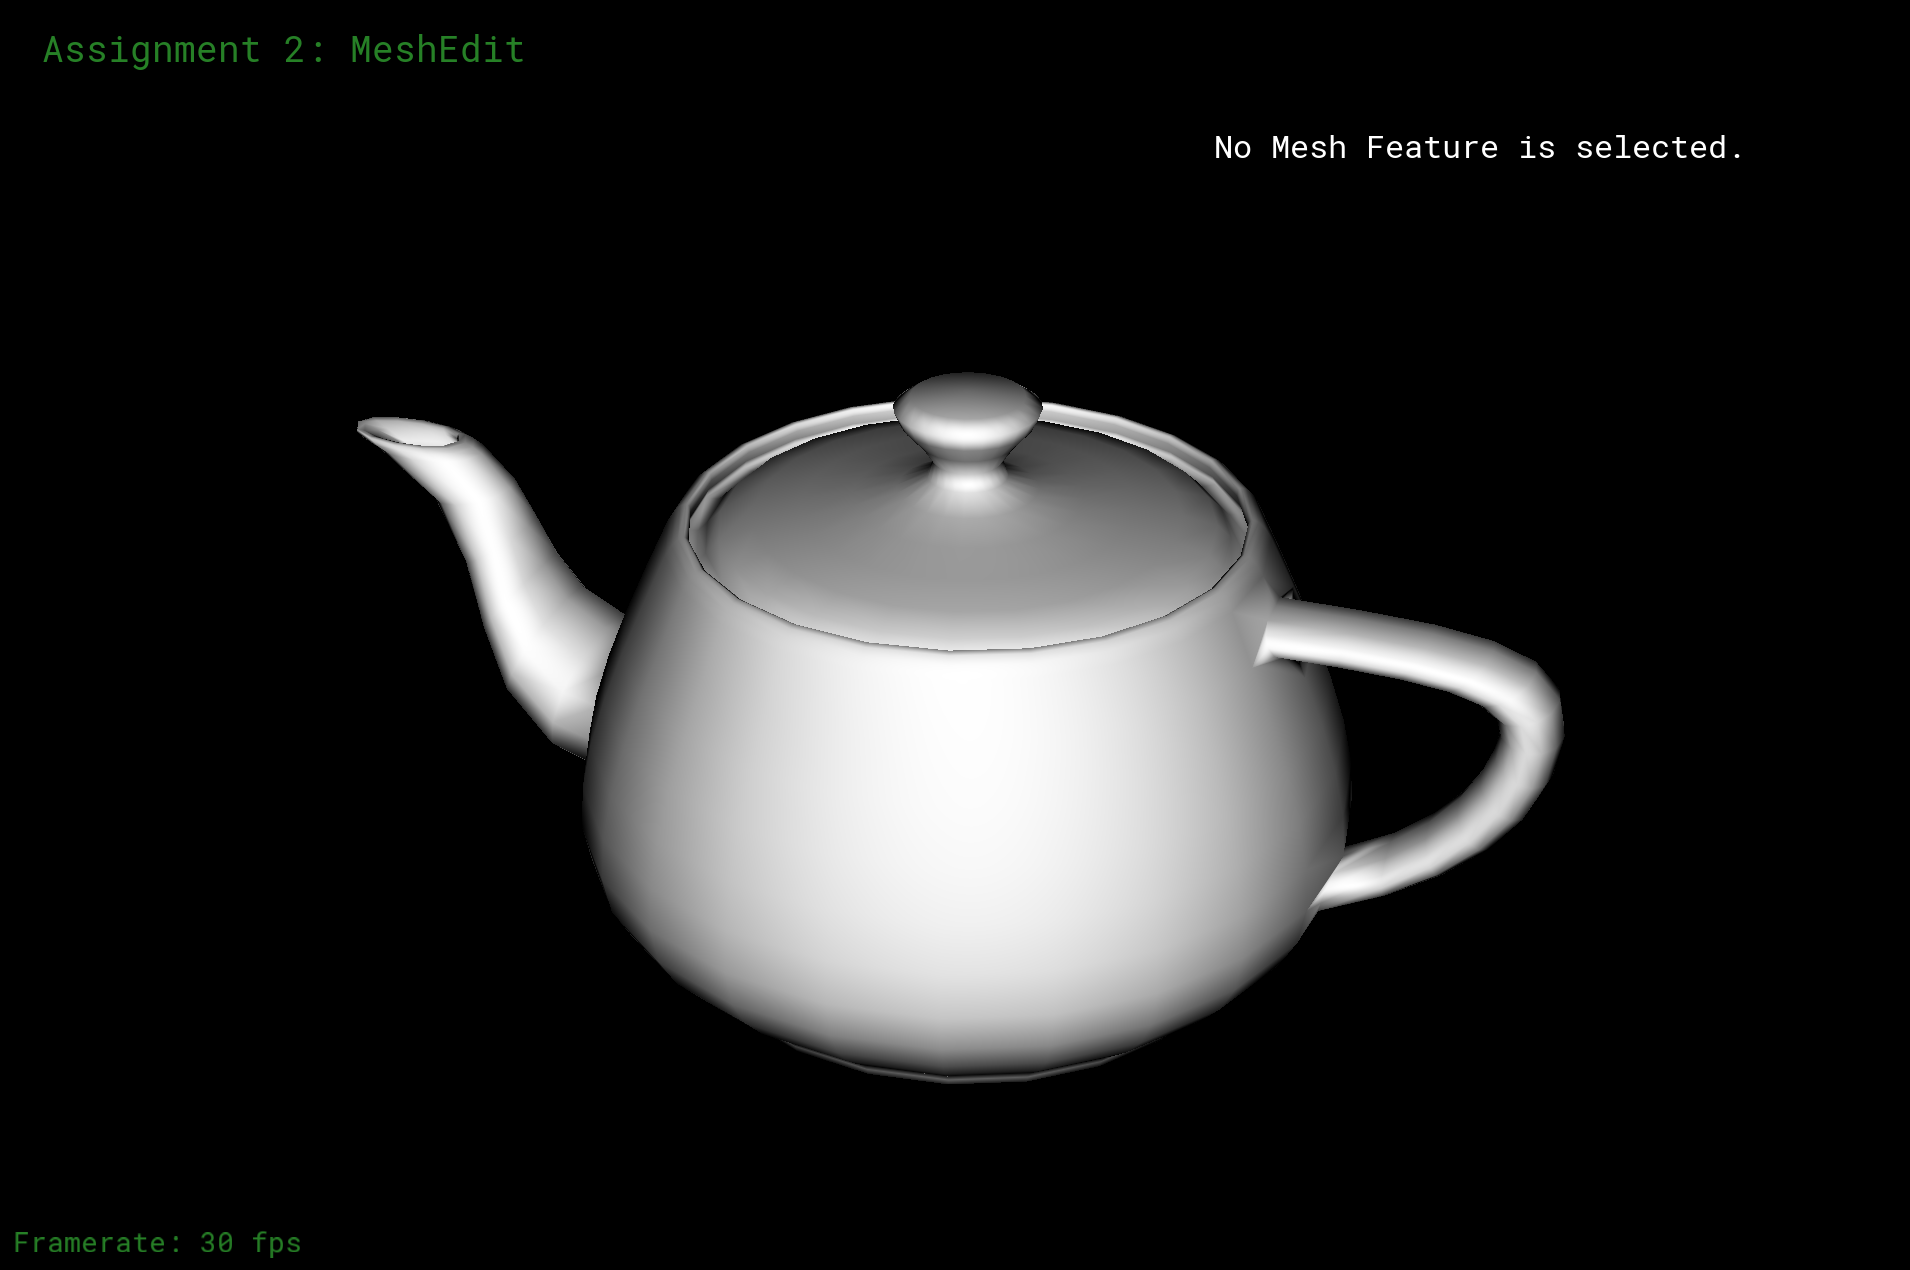
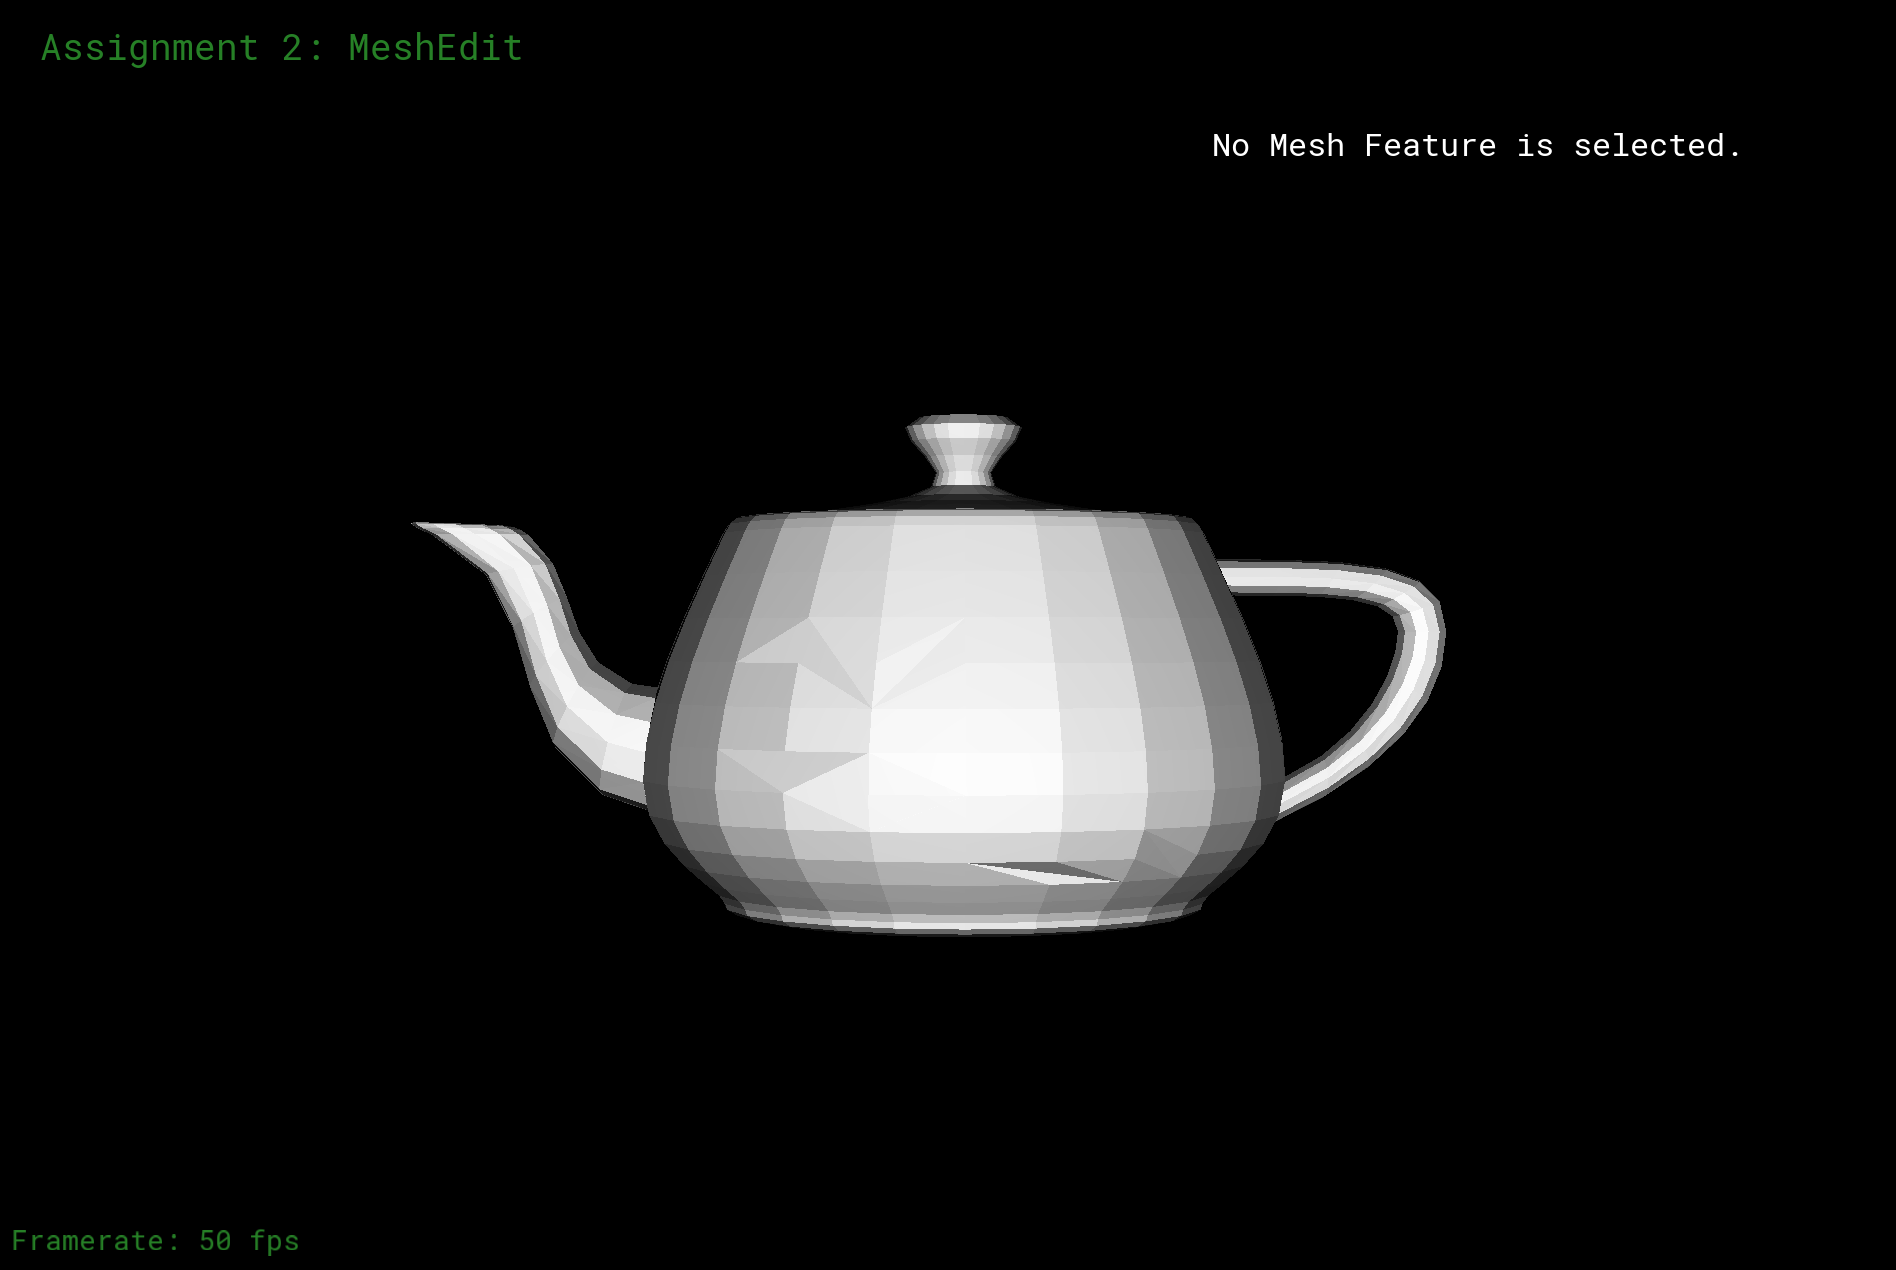
Part 3: Average normals for half-edge meshes
In this part I implemented an approximate normalizing way to smooth the mesh. The way I did this is that I go through every neighboring vertexs evaluating the cross product of the every two neighboring vertex. To be more specific, I find through neighboring vectors, through the half-edges connected to the given vertex, and we get the vector from the given vertex to the neighboring vertex, and find the cross product of the vectors. By doing so, we get the area-weighted average of the normals of the neighboring triangles, then do the normalizaiton. And we can update the position of the position of the vertex according to the weight, thus smoothing the mesh.
|
|
|
|
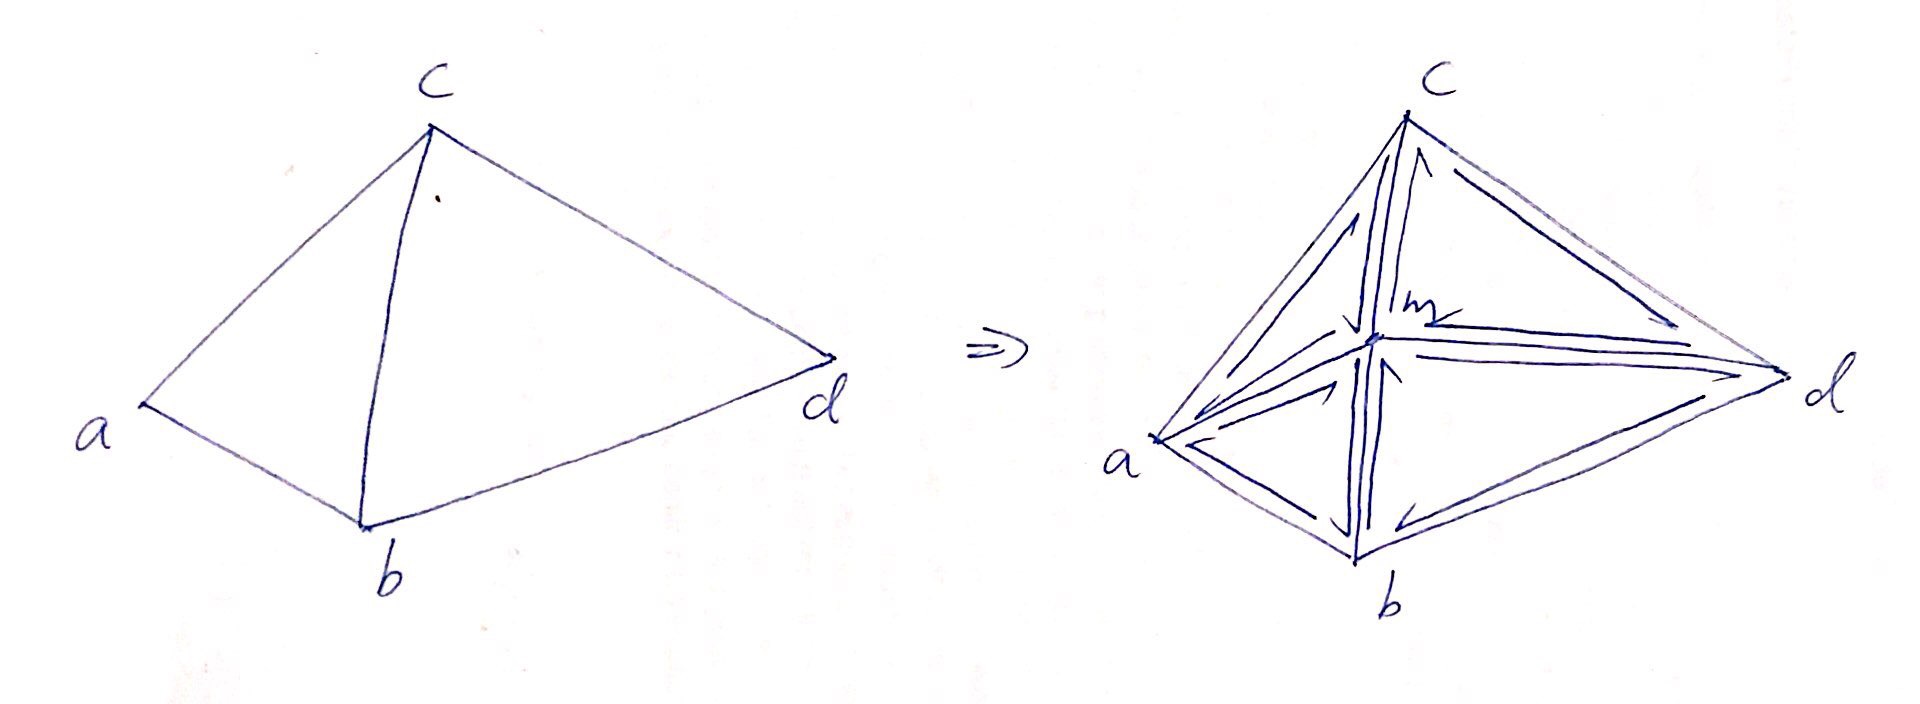
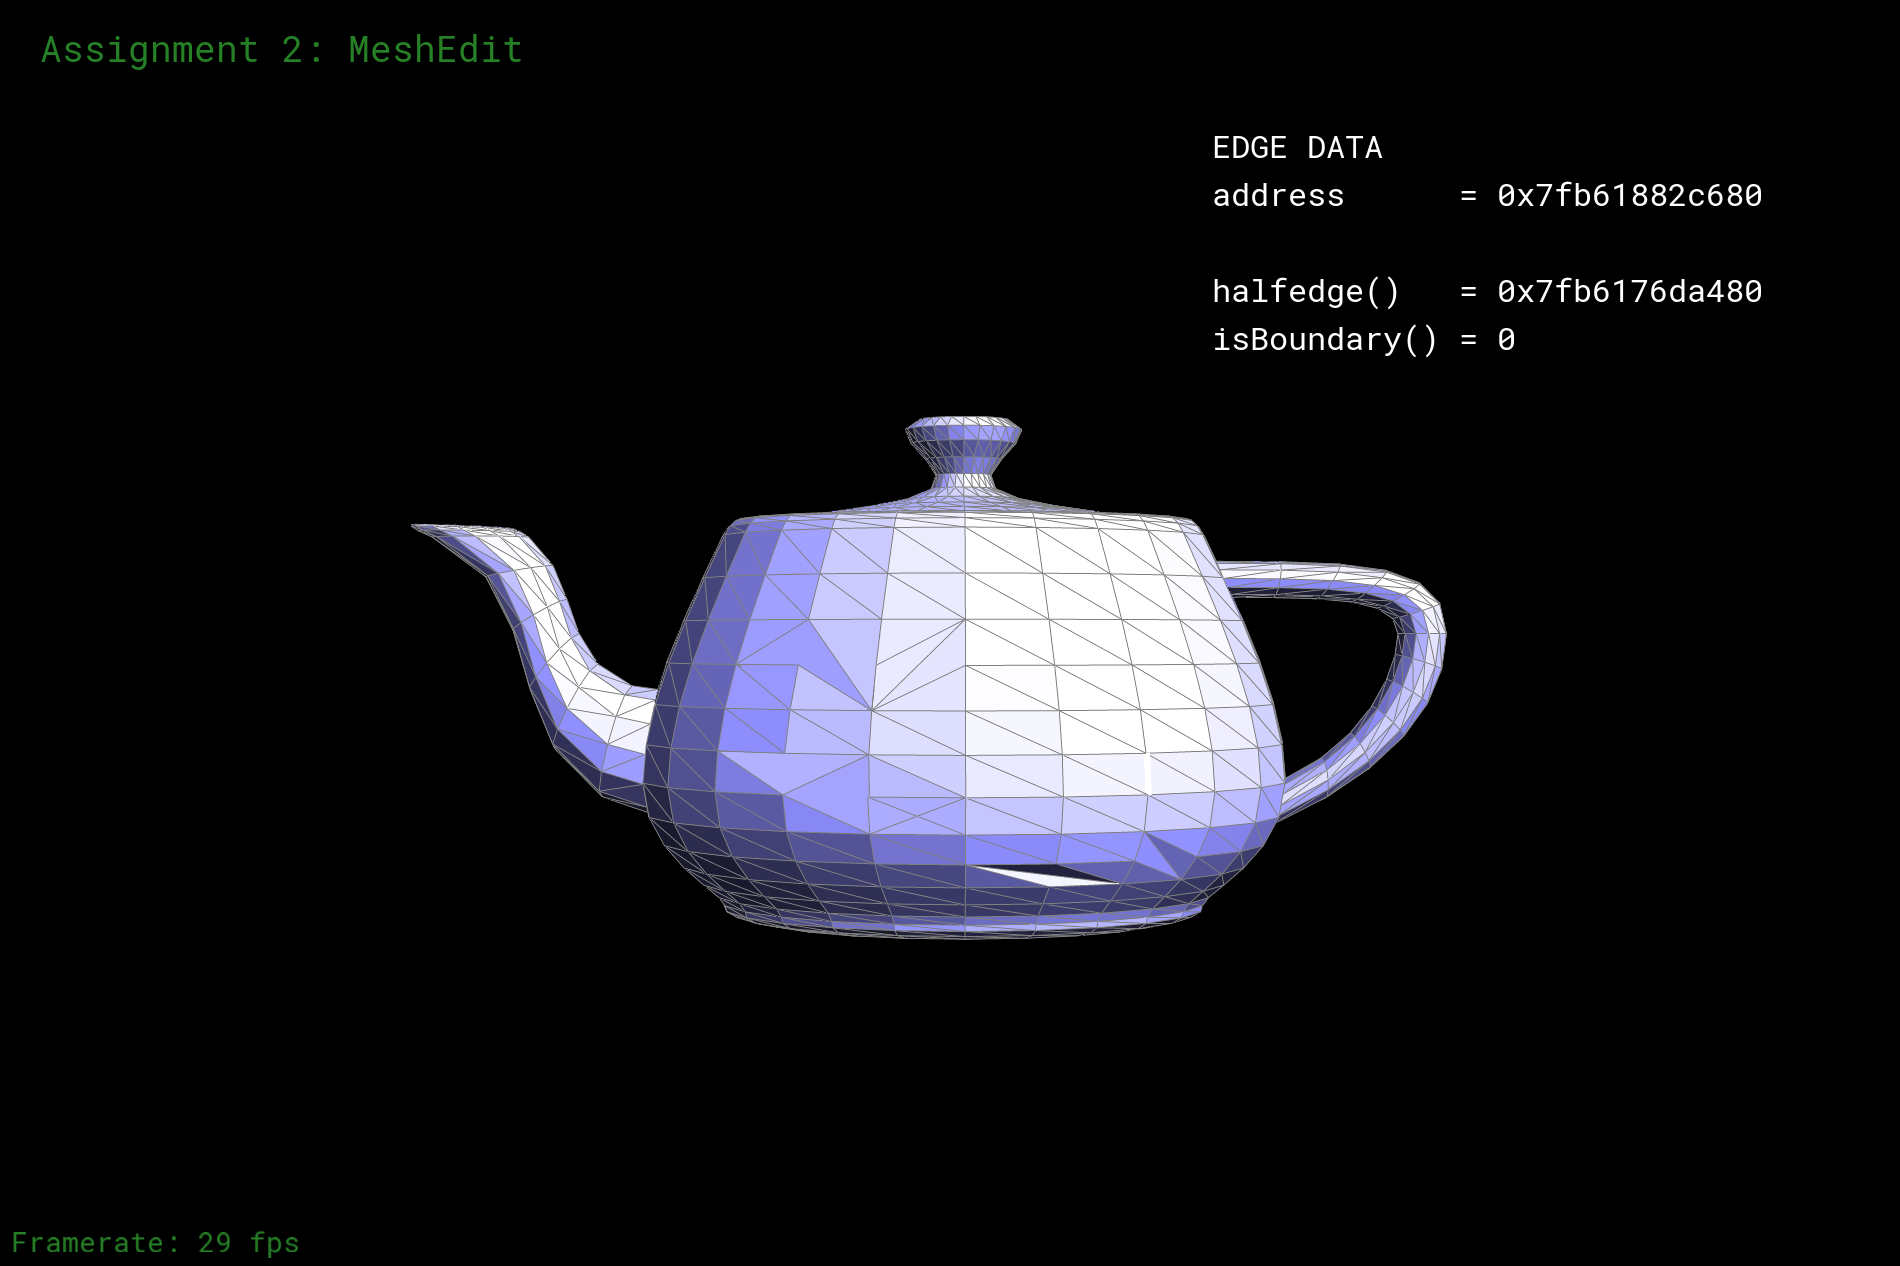
Part 4: Half-edge flip
The way I do flipping in this part is that, since if we flip an edge, we also need to consider the influence to the related vertexs and edges about their half-edges and stuffs. Thus, want I did is that I simply rotate the informations of the triangles. I will use some graphs to help my explanation.
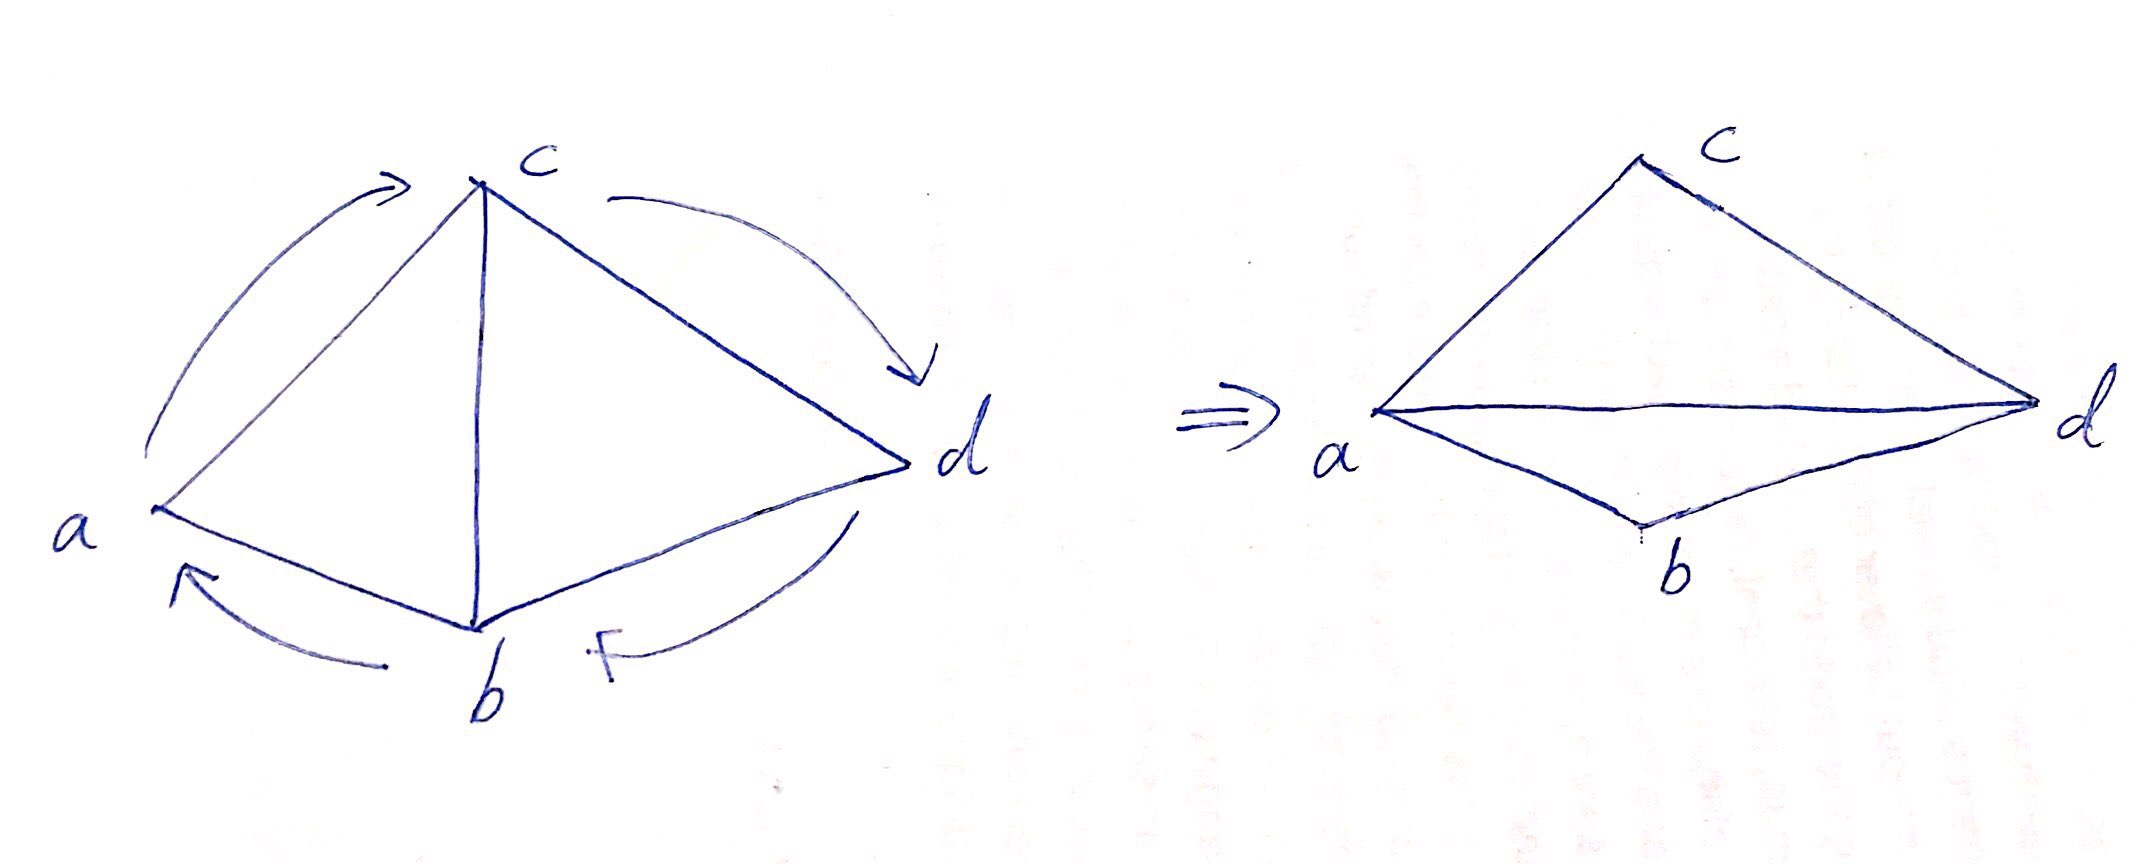
As the picture shown above, after checking boundaries, I literally extract the information, or, the attributes, and re-assign the attributes to each of the related vertexs. Some attributes of the vertexs/edges/half-edges/faces does not change, so I ignored those parts. I did not use any interesting debugging tricks, I literally just coded everything.
|
|
|
|
Part 5: Half-edge split
The way I deal with this problem is really similiar to what I did for the last one. I literally extract information about edges, half-edges, faces, and vertexs and re-assign them in proper ways. After checking the boundaries and make sure what I implement are all edges, I first get all current information about the vertex and related edges, face, etc. Then, I create a new vertex in the middle, as what the following graph indicates.
Then I create new edges, faces, half-edges, etc. All that necessary. Then re-assign the attributes to each part of the graph, building connections. I did not make anything really interesting, probably the formatting of my code is good-looking? There is nothing interesting with the algorithm, and I did not really went into any bug during the process I write code based on, my graph and what I did was literally coping information on my paper into coding.
|
|
|
|
|
|
|
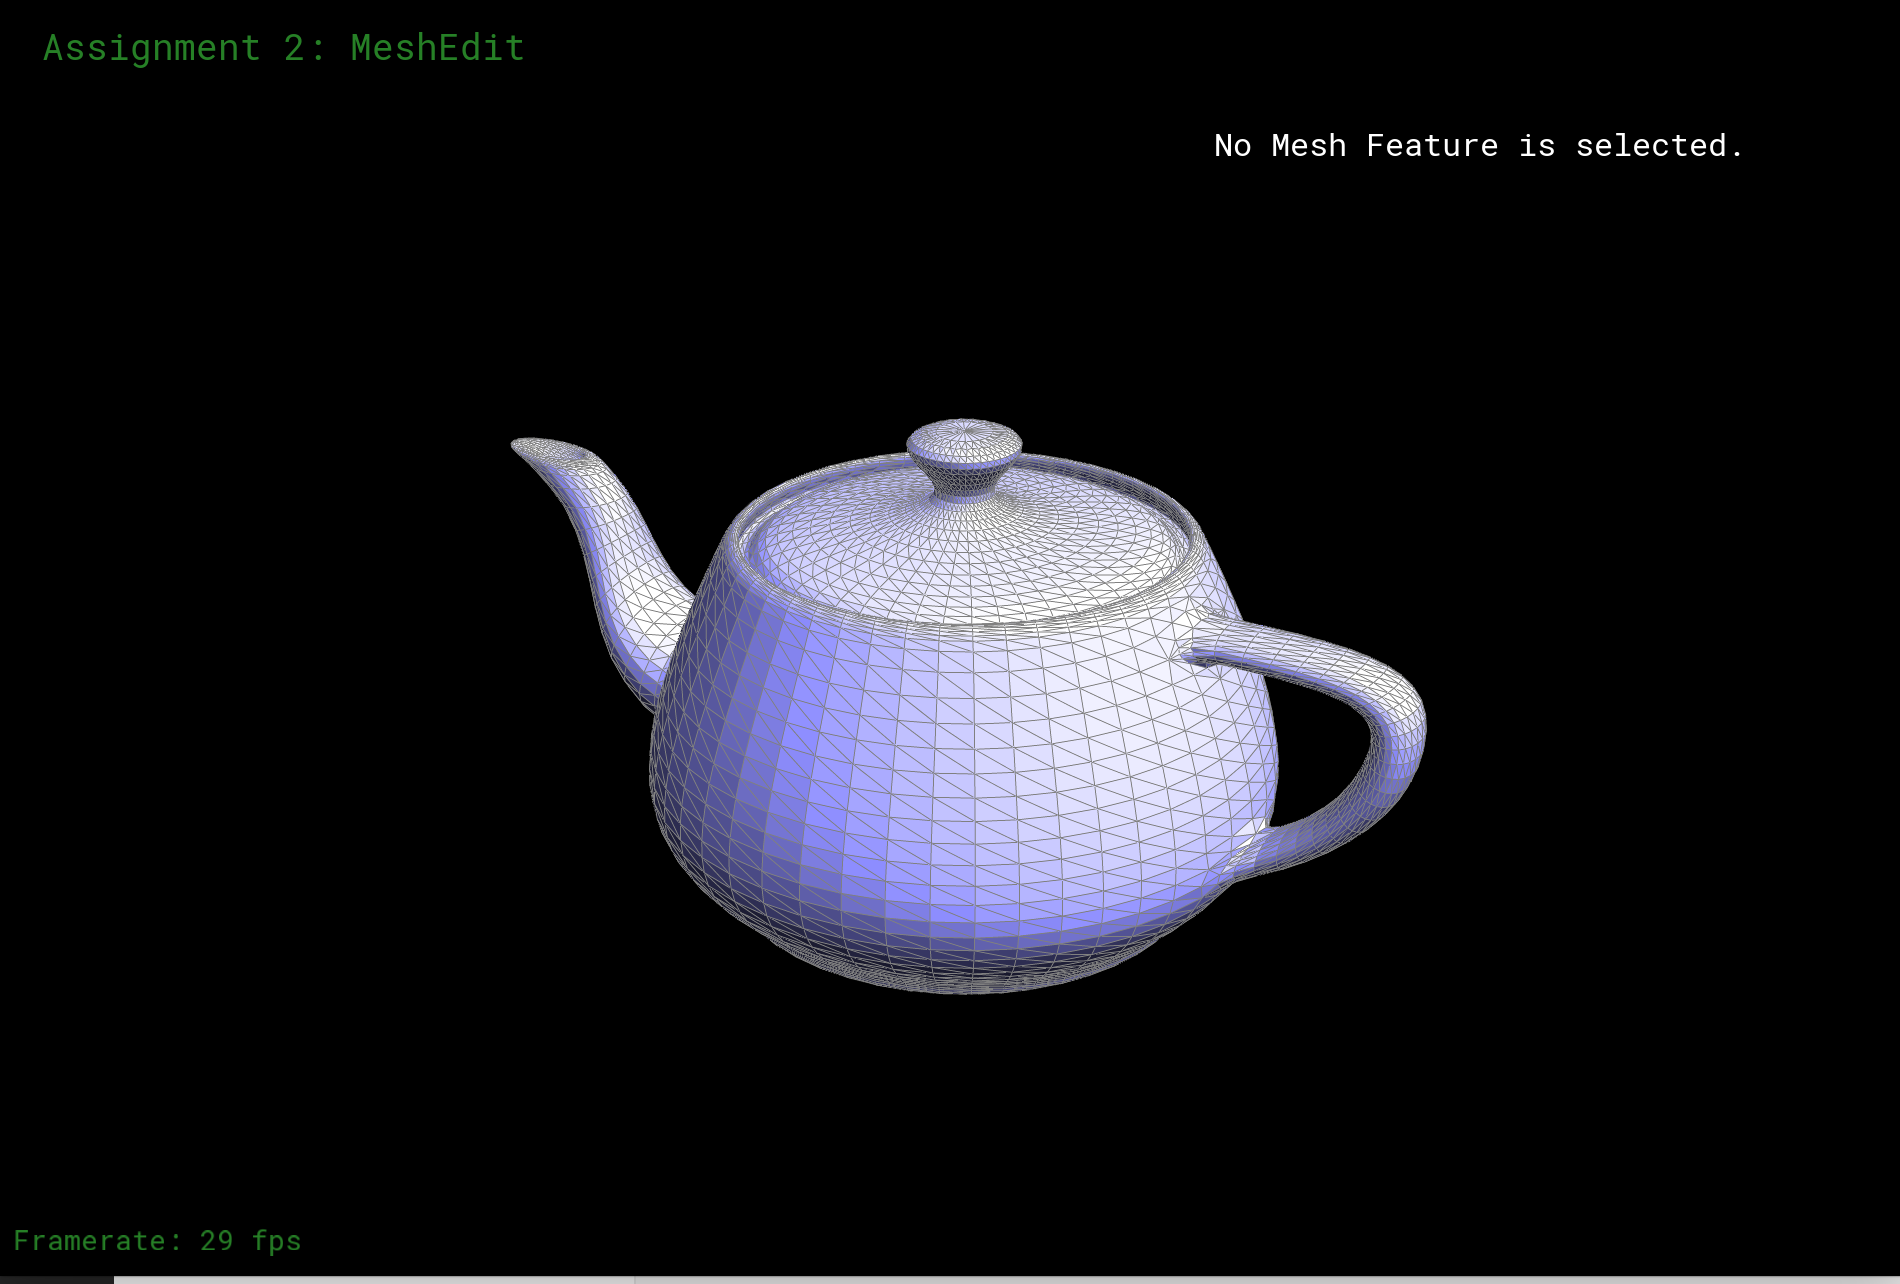
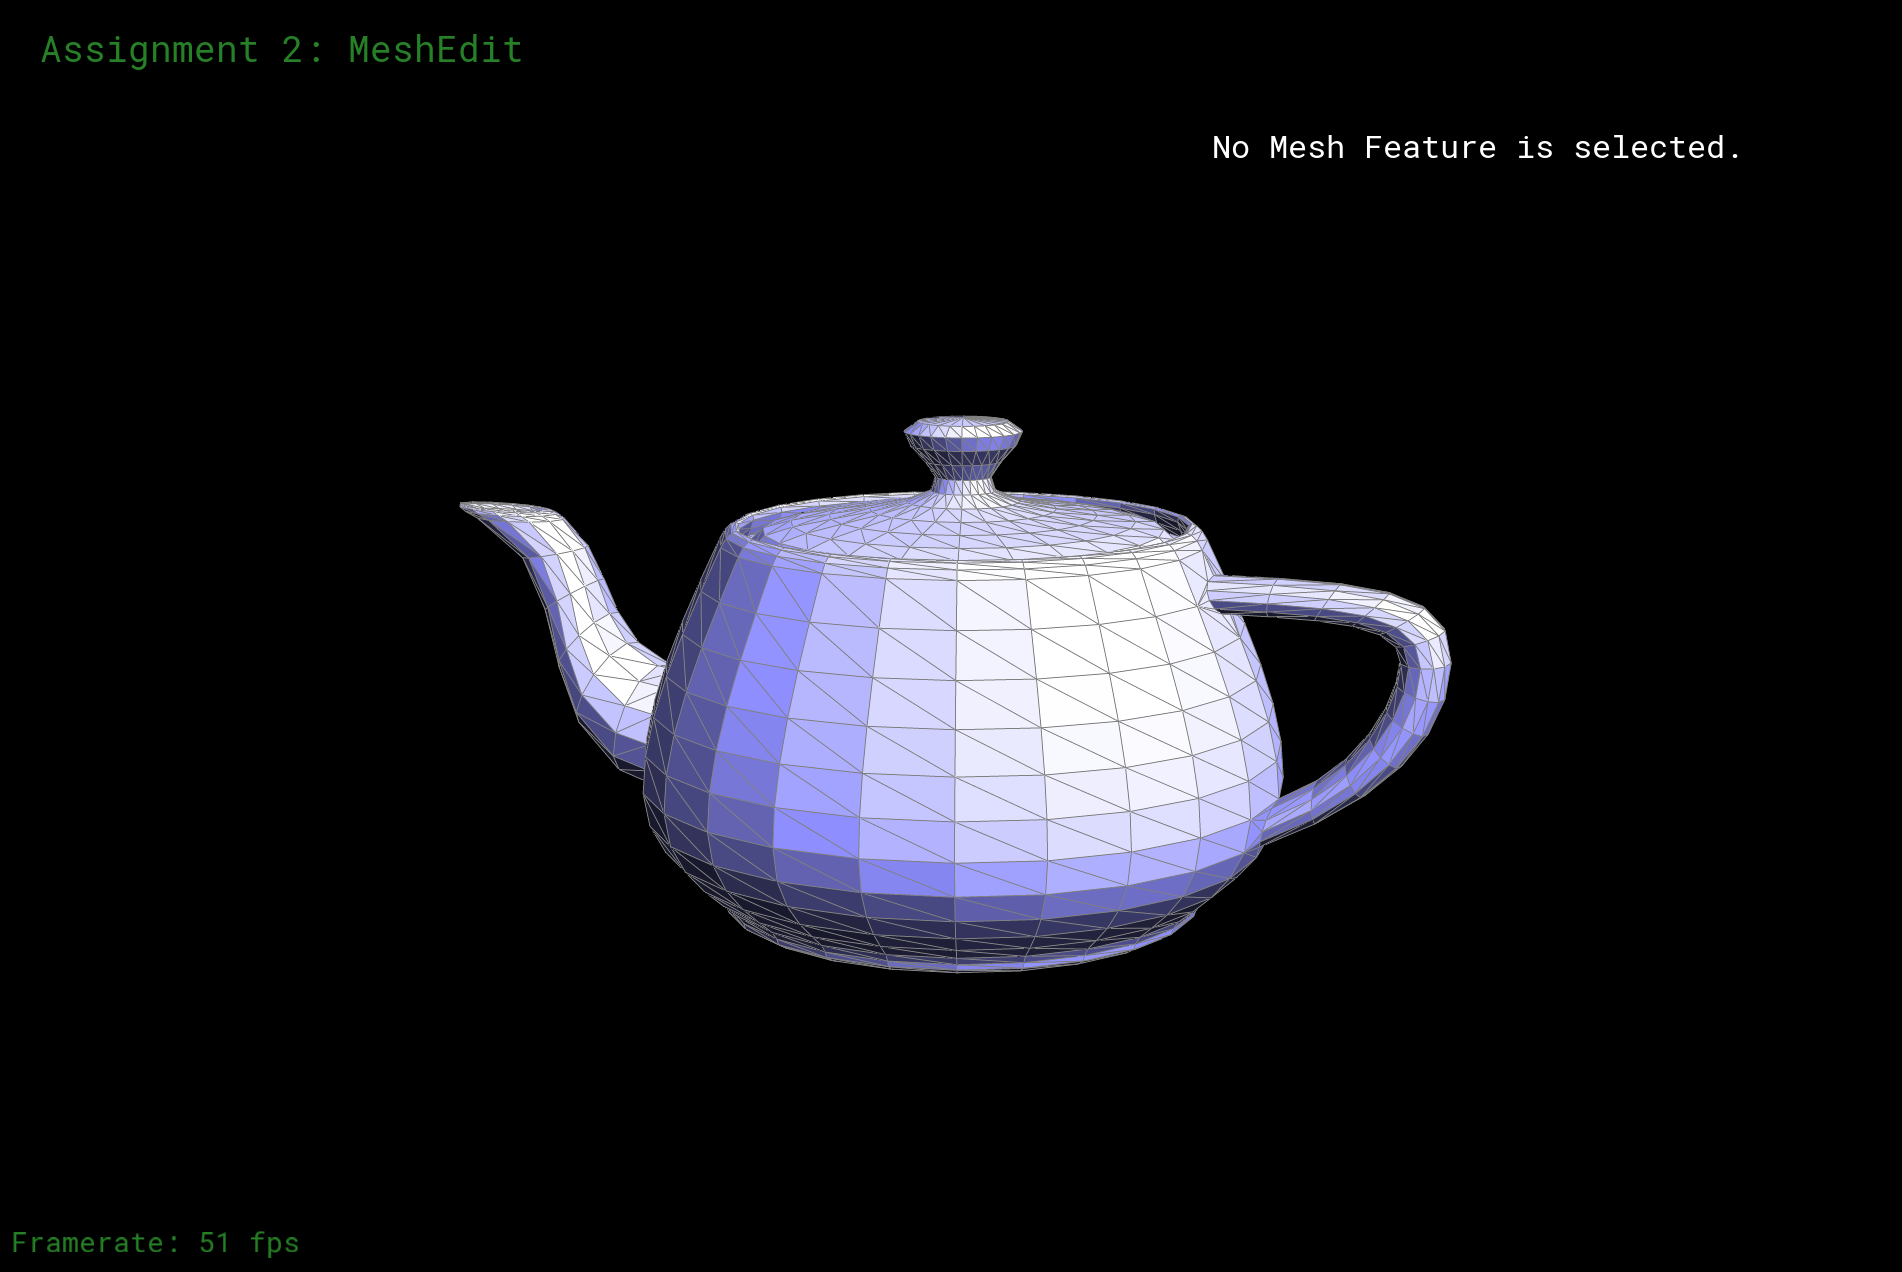
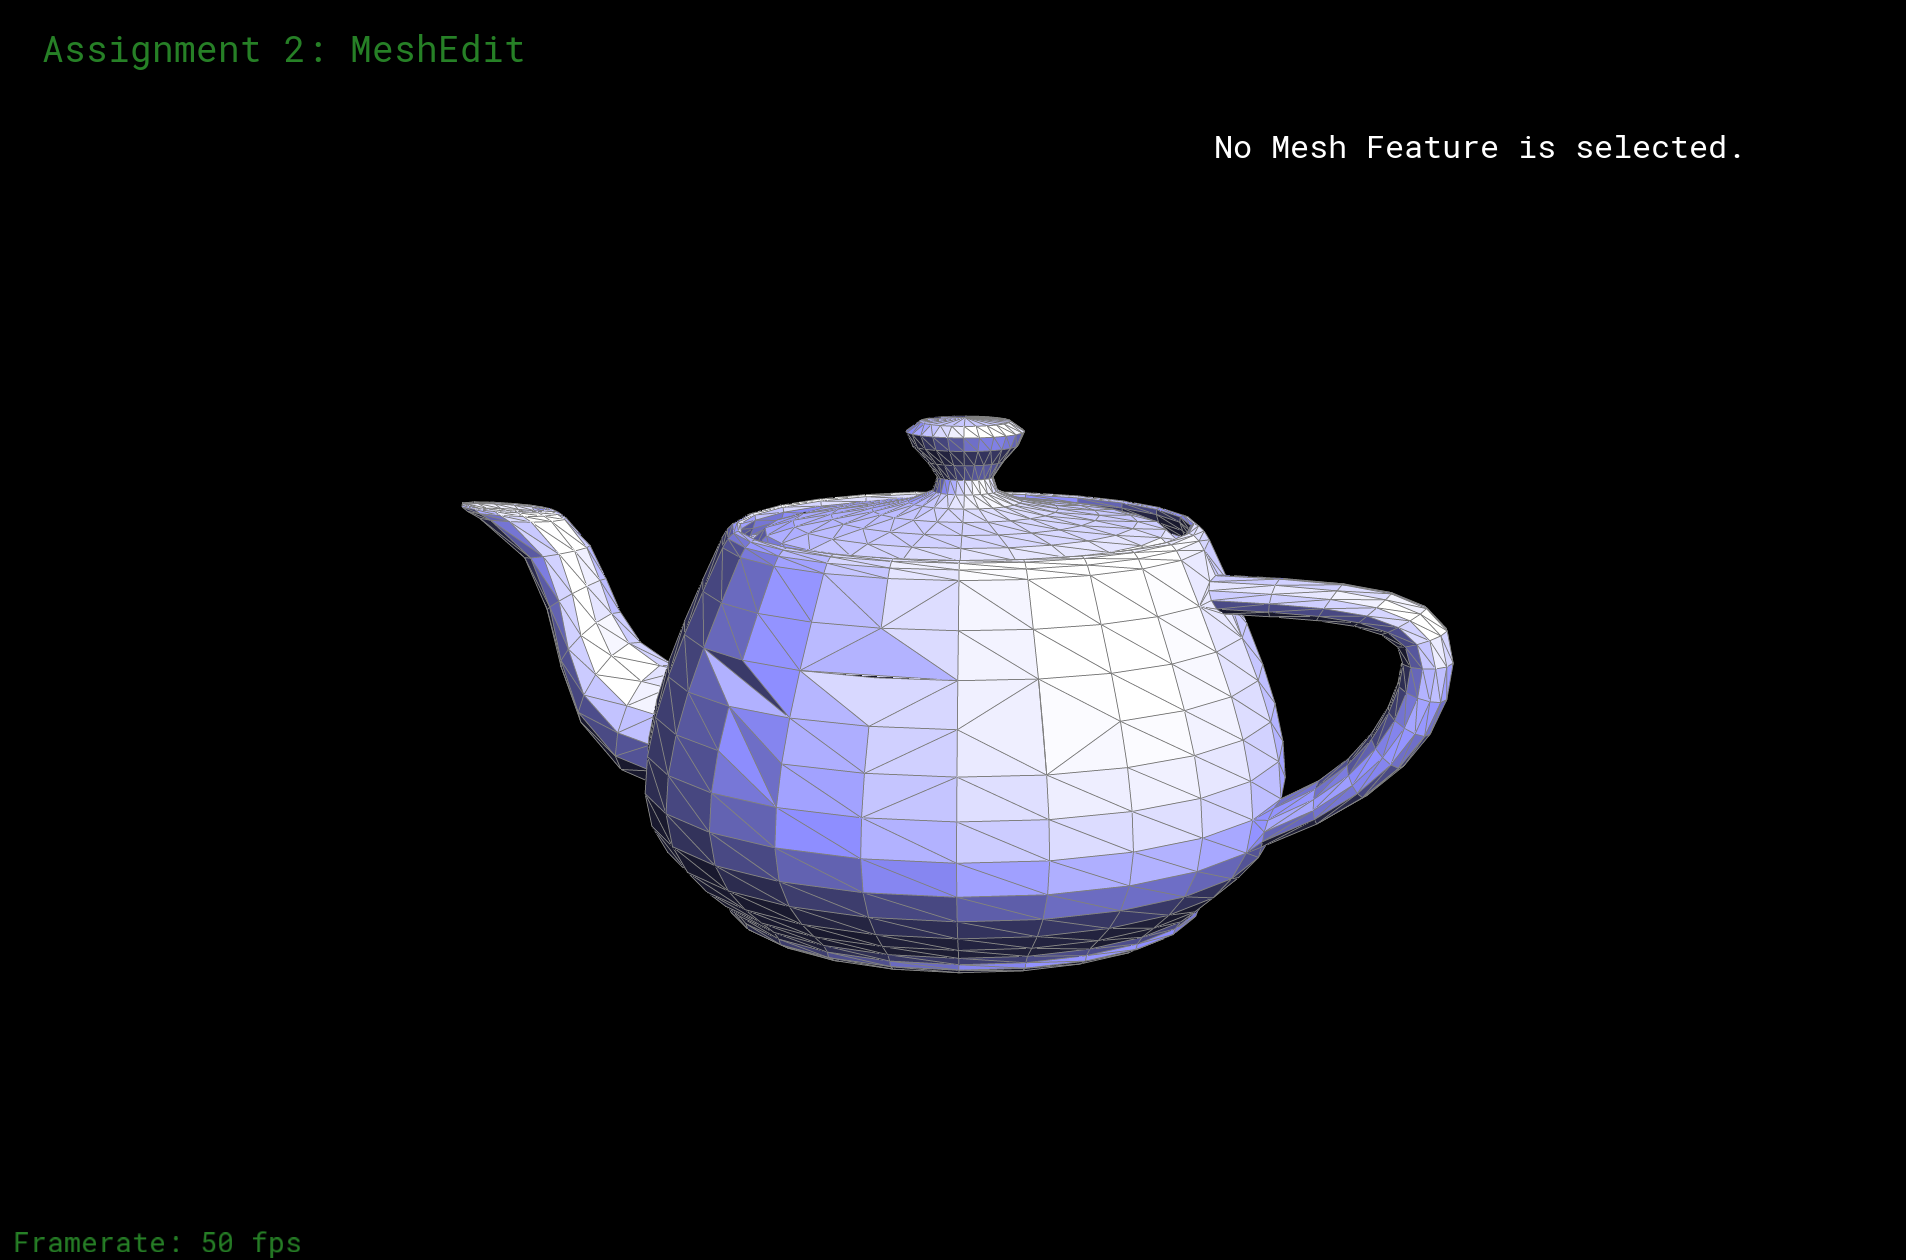
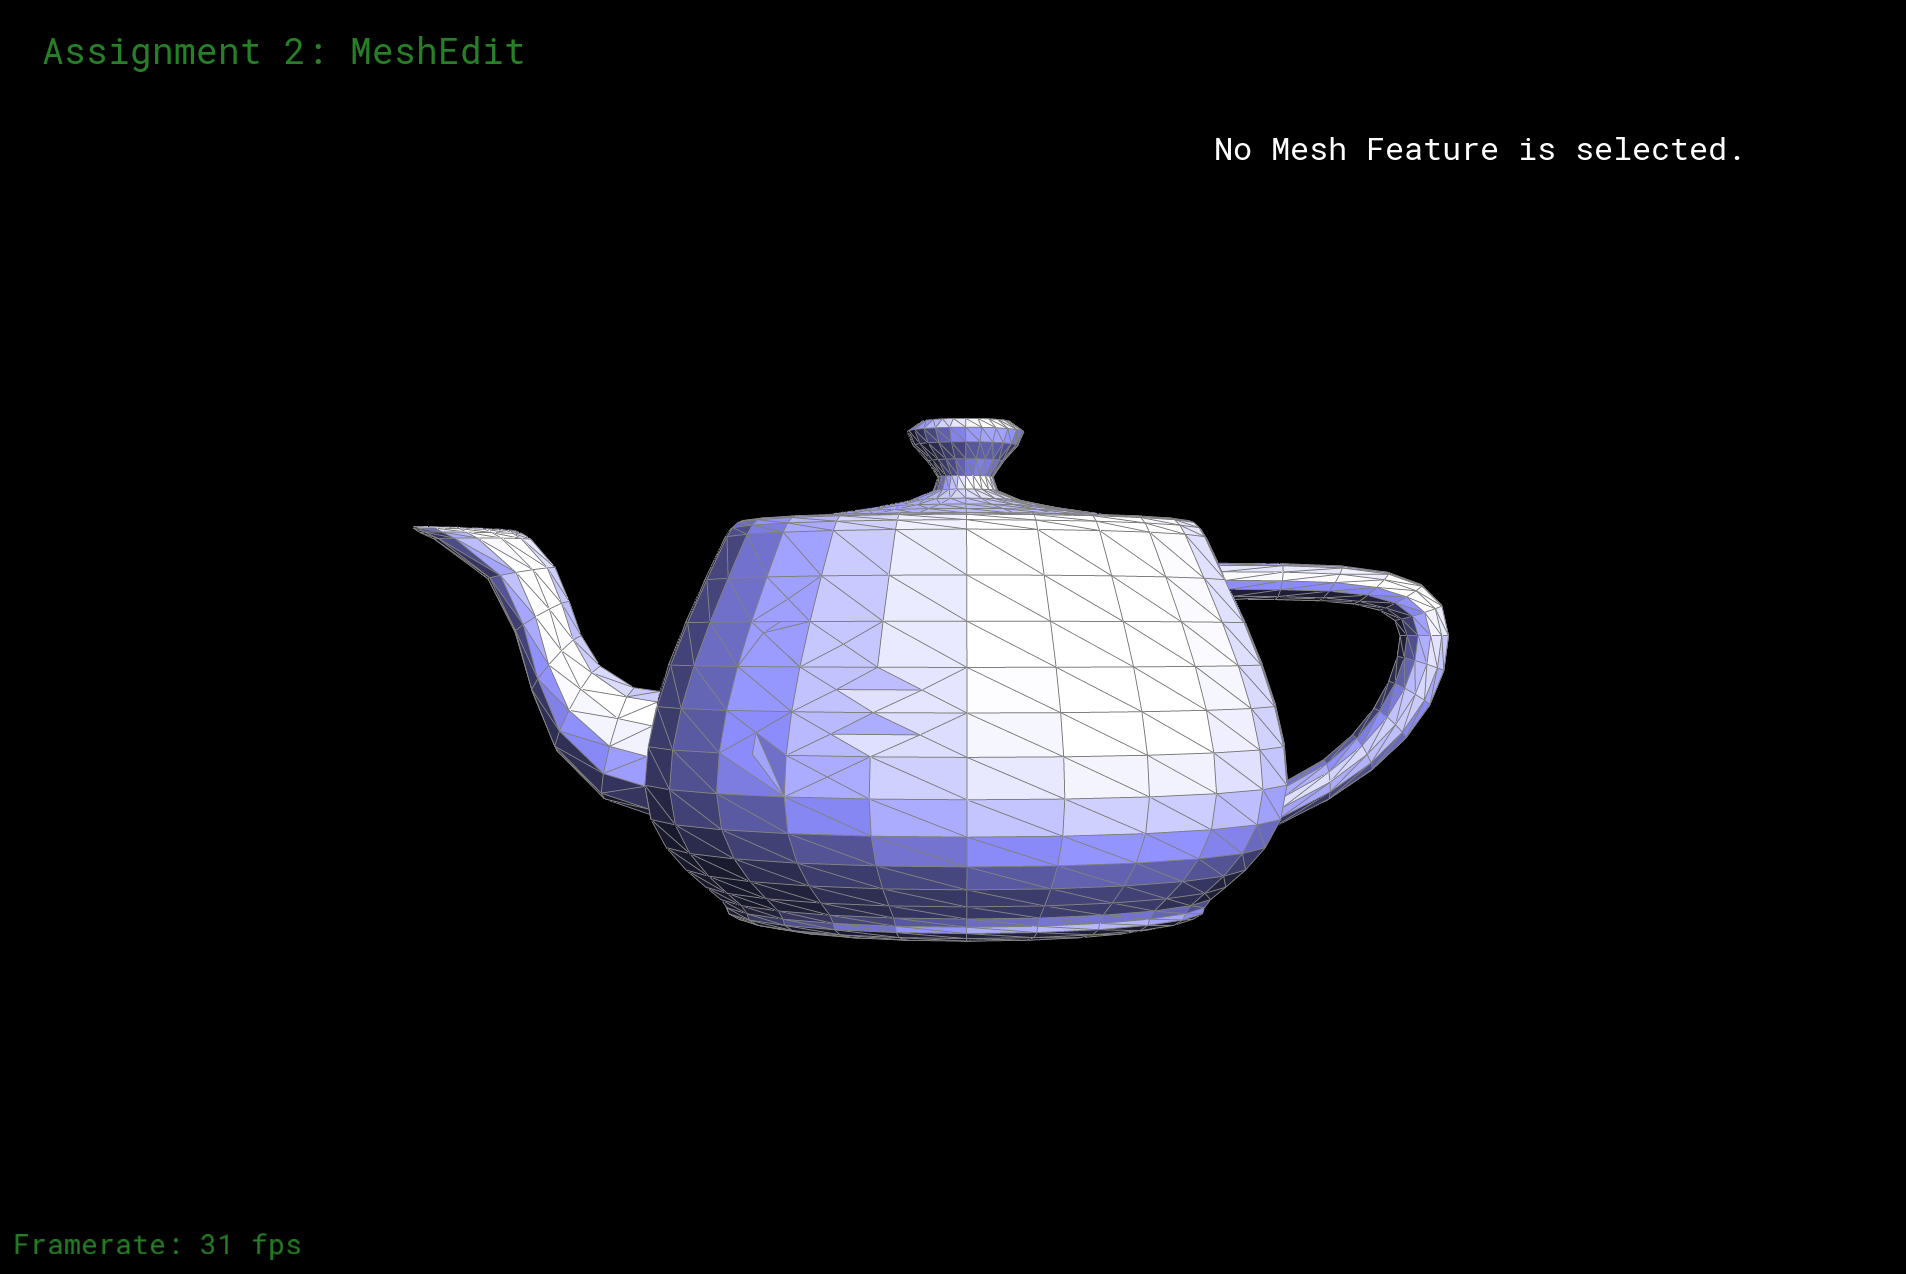
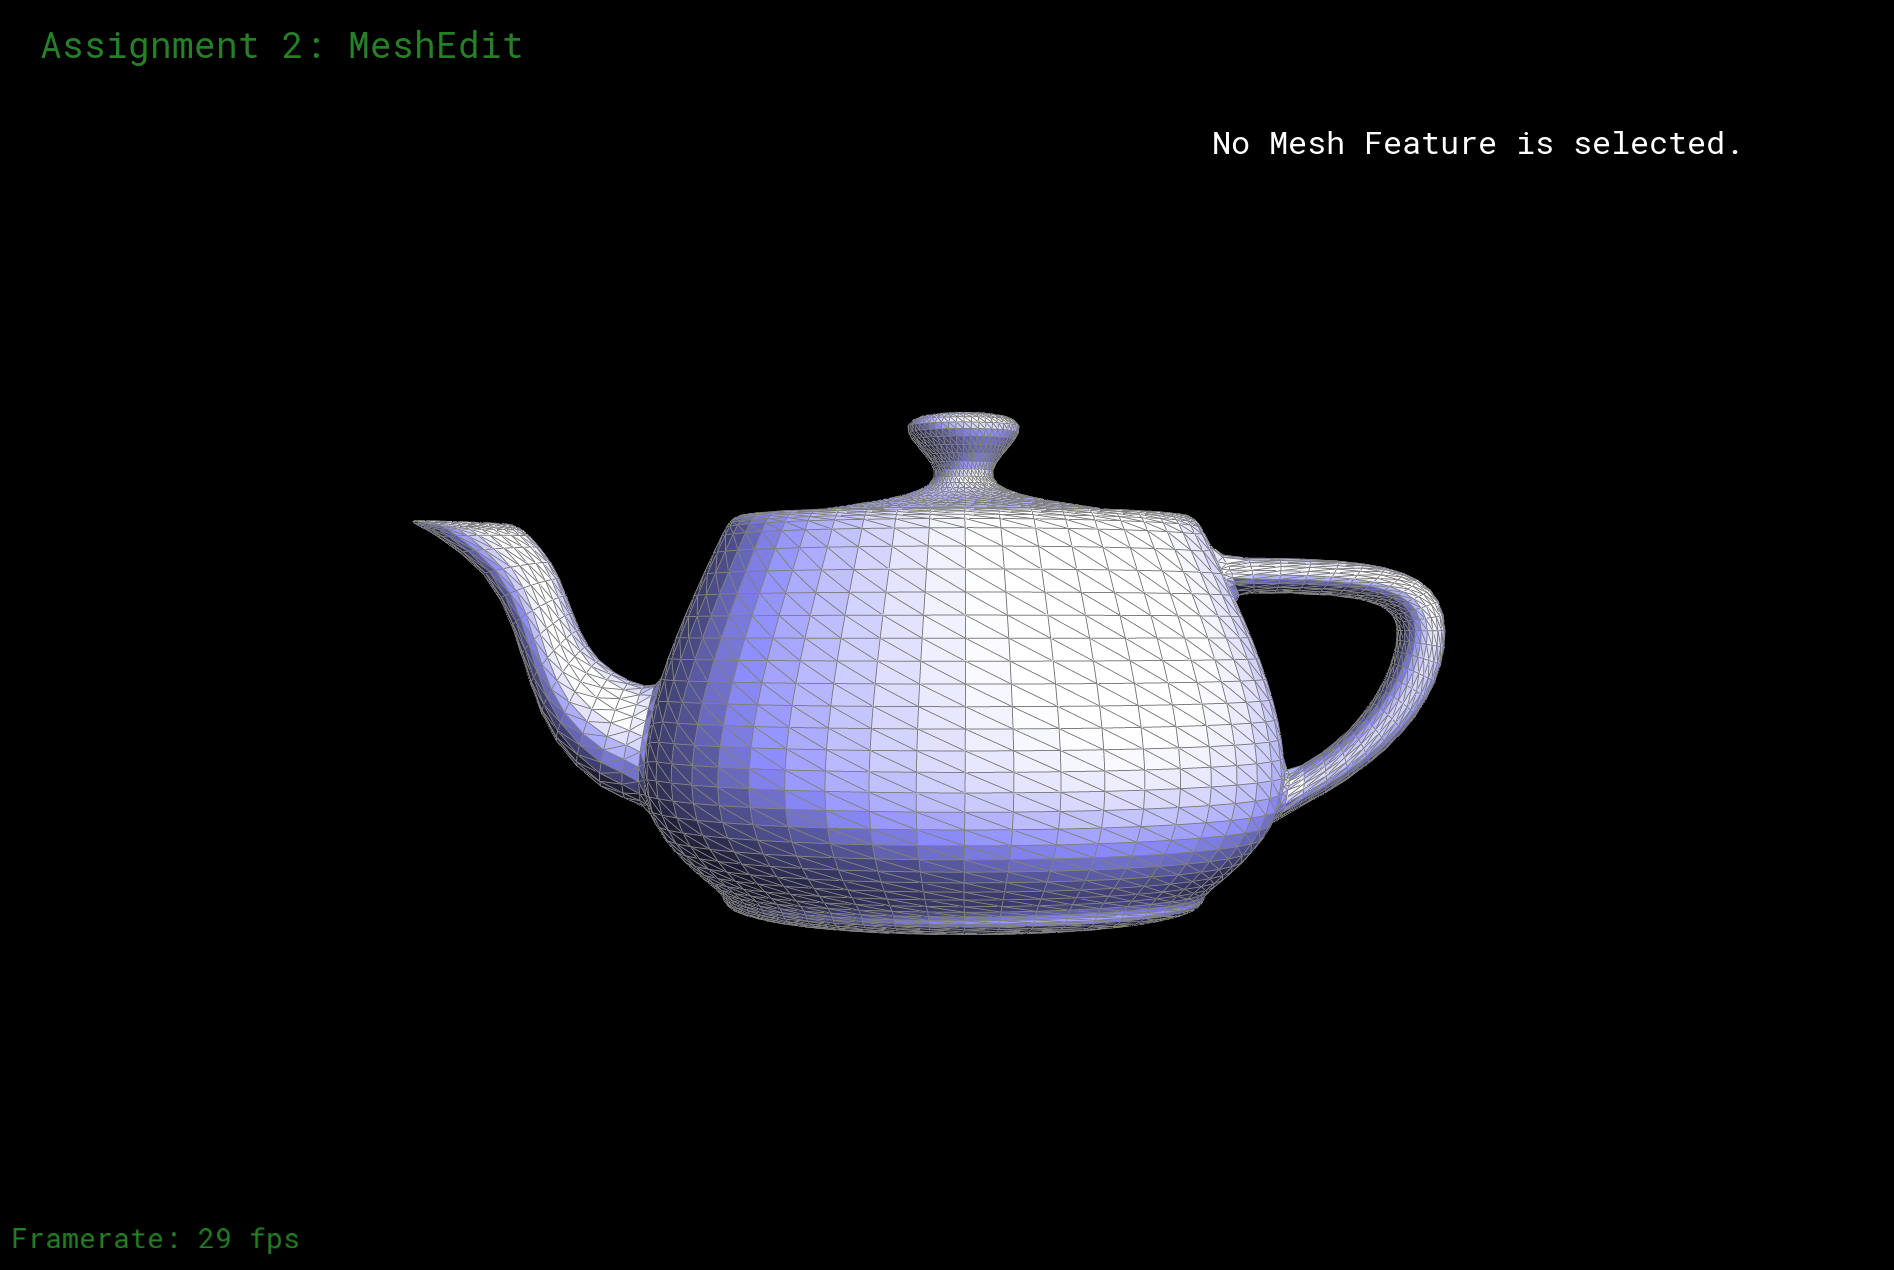
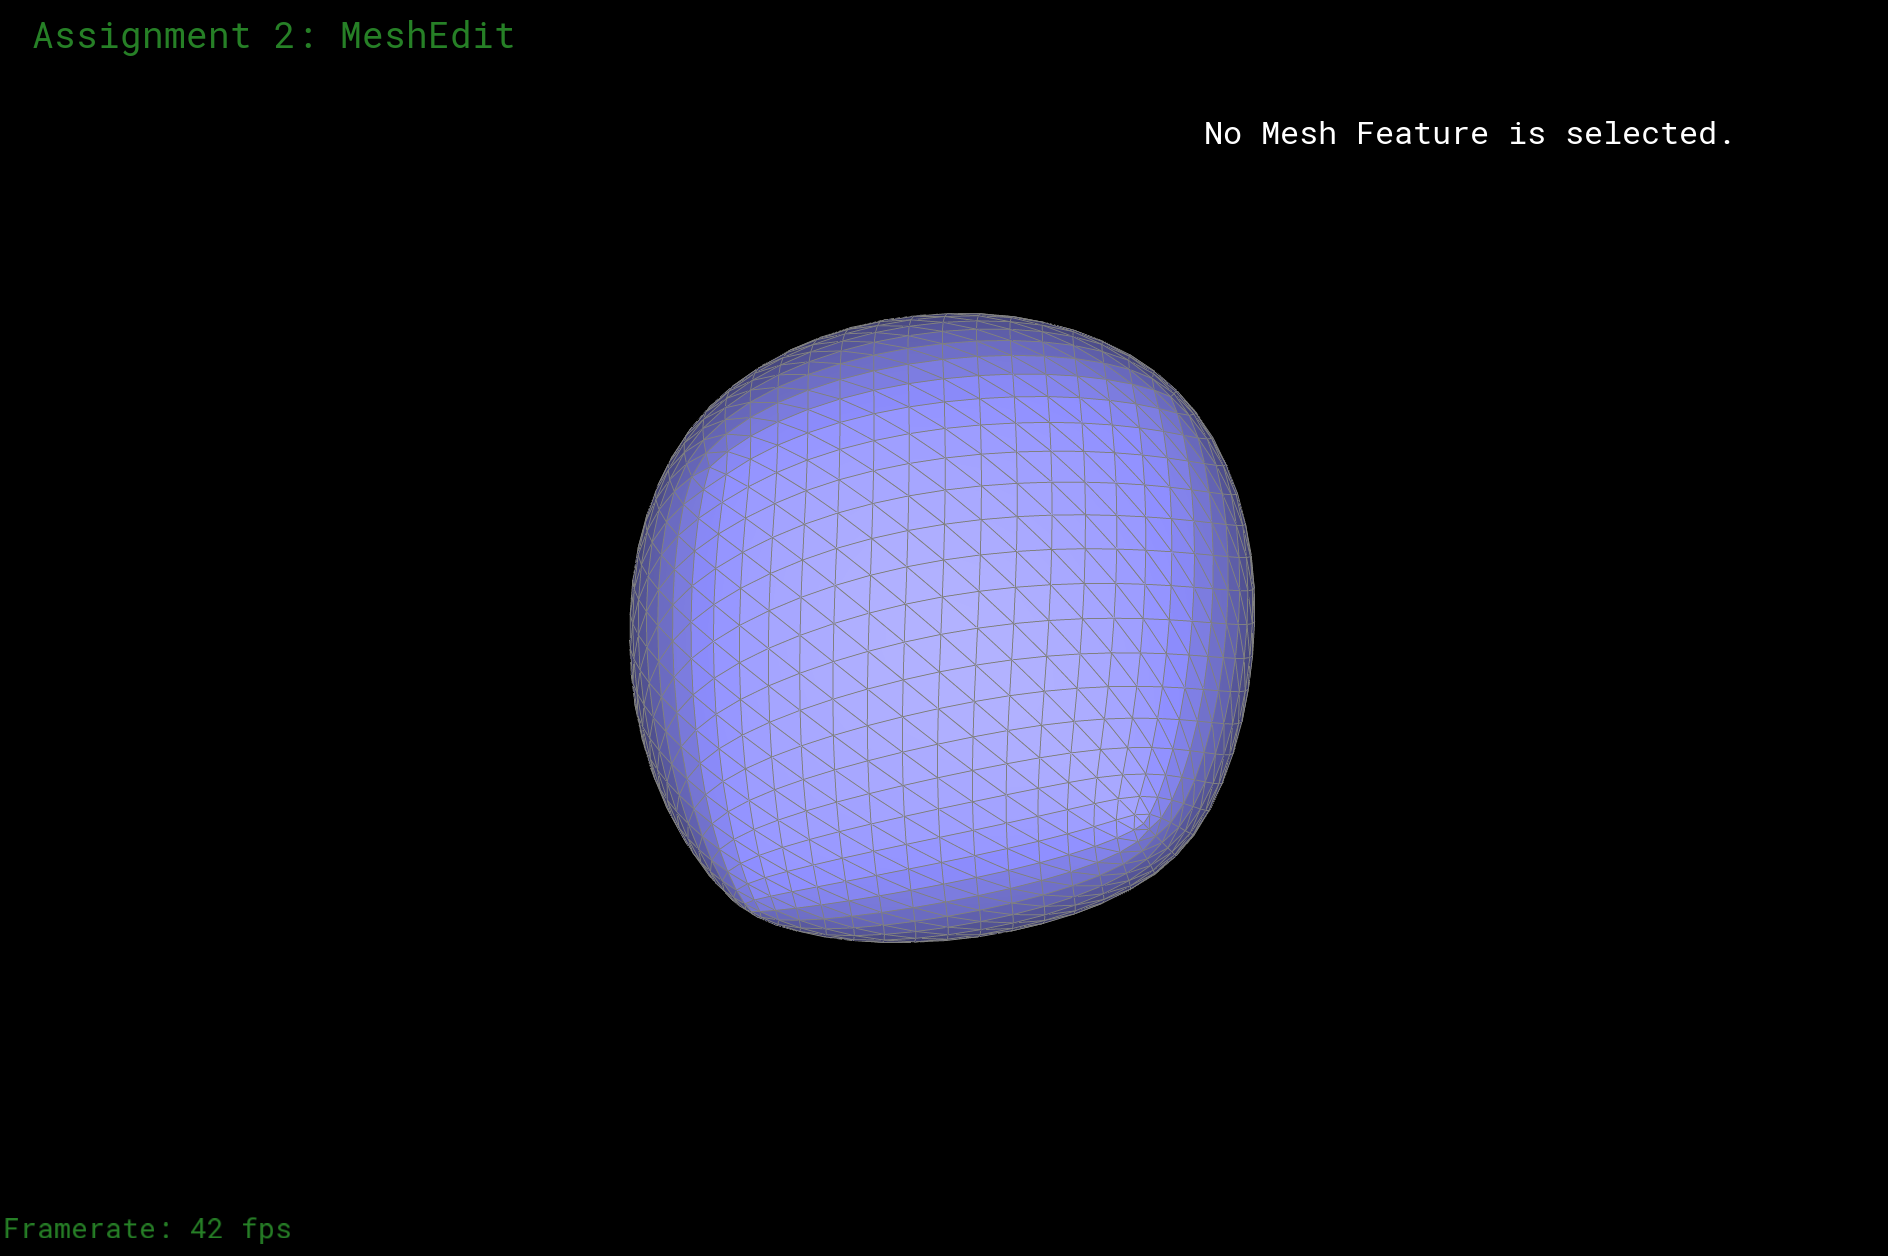
Part 6: Loop subdivision for mesh upsampling
In this part, again, I did not implement anything too interesting other than following the process: Firstly, I use loop subdivision, getting new position for each of the vertex. I go through each vertex and calculate their new position by, after checking boundaries, the formula "(1.0 - n * u) * v->position + u * vector", which is also the get_new_vertex_position method in the code. In this formula, u is "n == 3 ? (3.0 / 16.0) : 3.0 / (8.0 * n)", which correspond to the method "find_u" in my code. Note that there is an input "n". This means the degree (number of neighboring vertices). I count this if the edge is not a boundary. After calculating the new position foreach vertex, I store them in each vertex's "newPosition" attribute. Note that since the vertexs here in this process are not new since they just change their positions, so I remind the system by noting "v-isNew = false".
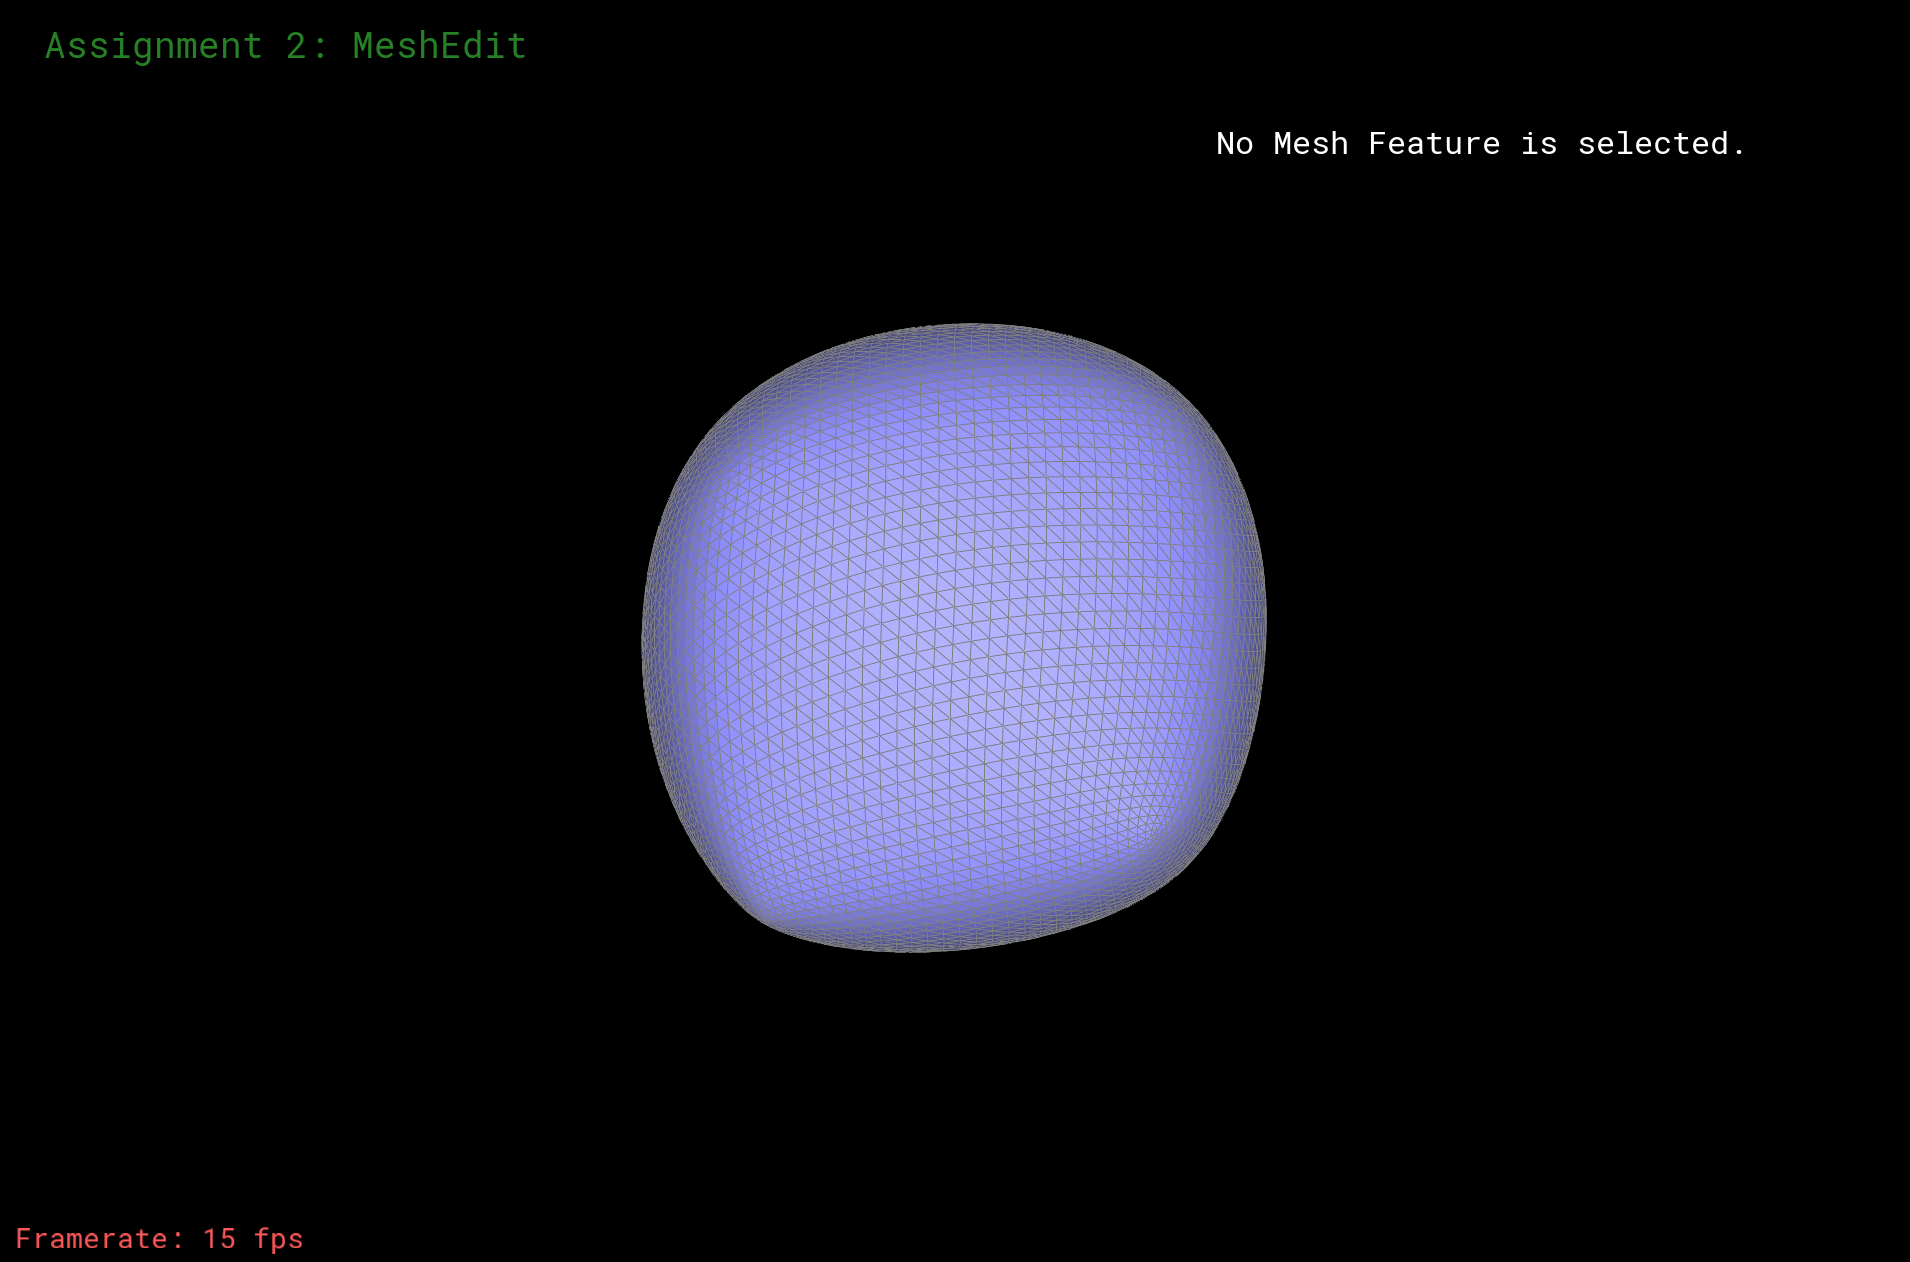
Then, with similair thinking, I calculate the updated vertex positions associated with edges. I iterate through every edge, and according to the formula "(3.0 / 8.0) * (A->position + B->position) + (1.0 / 8.0) * (C->position+D->position)" which associated with the related vertexs, we get new position for the edges, and we store those positions to each edge's newPosition attribute. Same theory as the above one, the edges are not new, we note that.
Here we come to the third loop. This time we iterate through edges, and try to implement spliting. We split the edges we went through in the last loop. We assign new vertex based on each position we calculated in the last step, and they become our new vertexs. We split by checking if the two edges are all old edges and not new. Although this is usually ok, this can help us not only avoid boundaries, but also it conforms the final attribute.
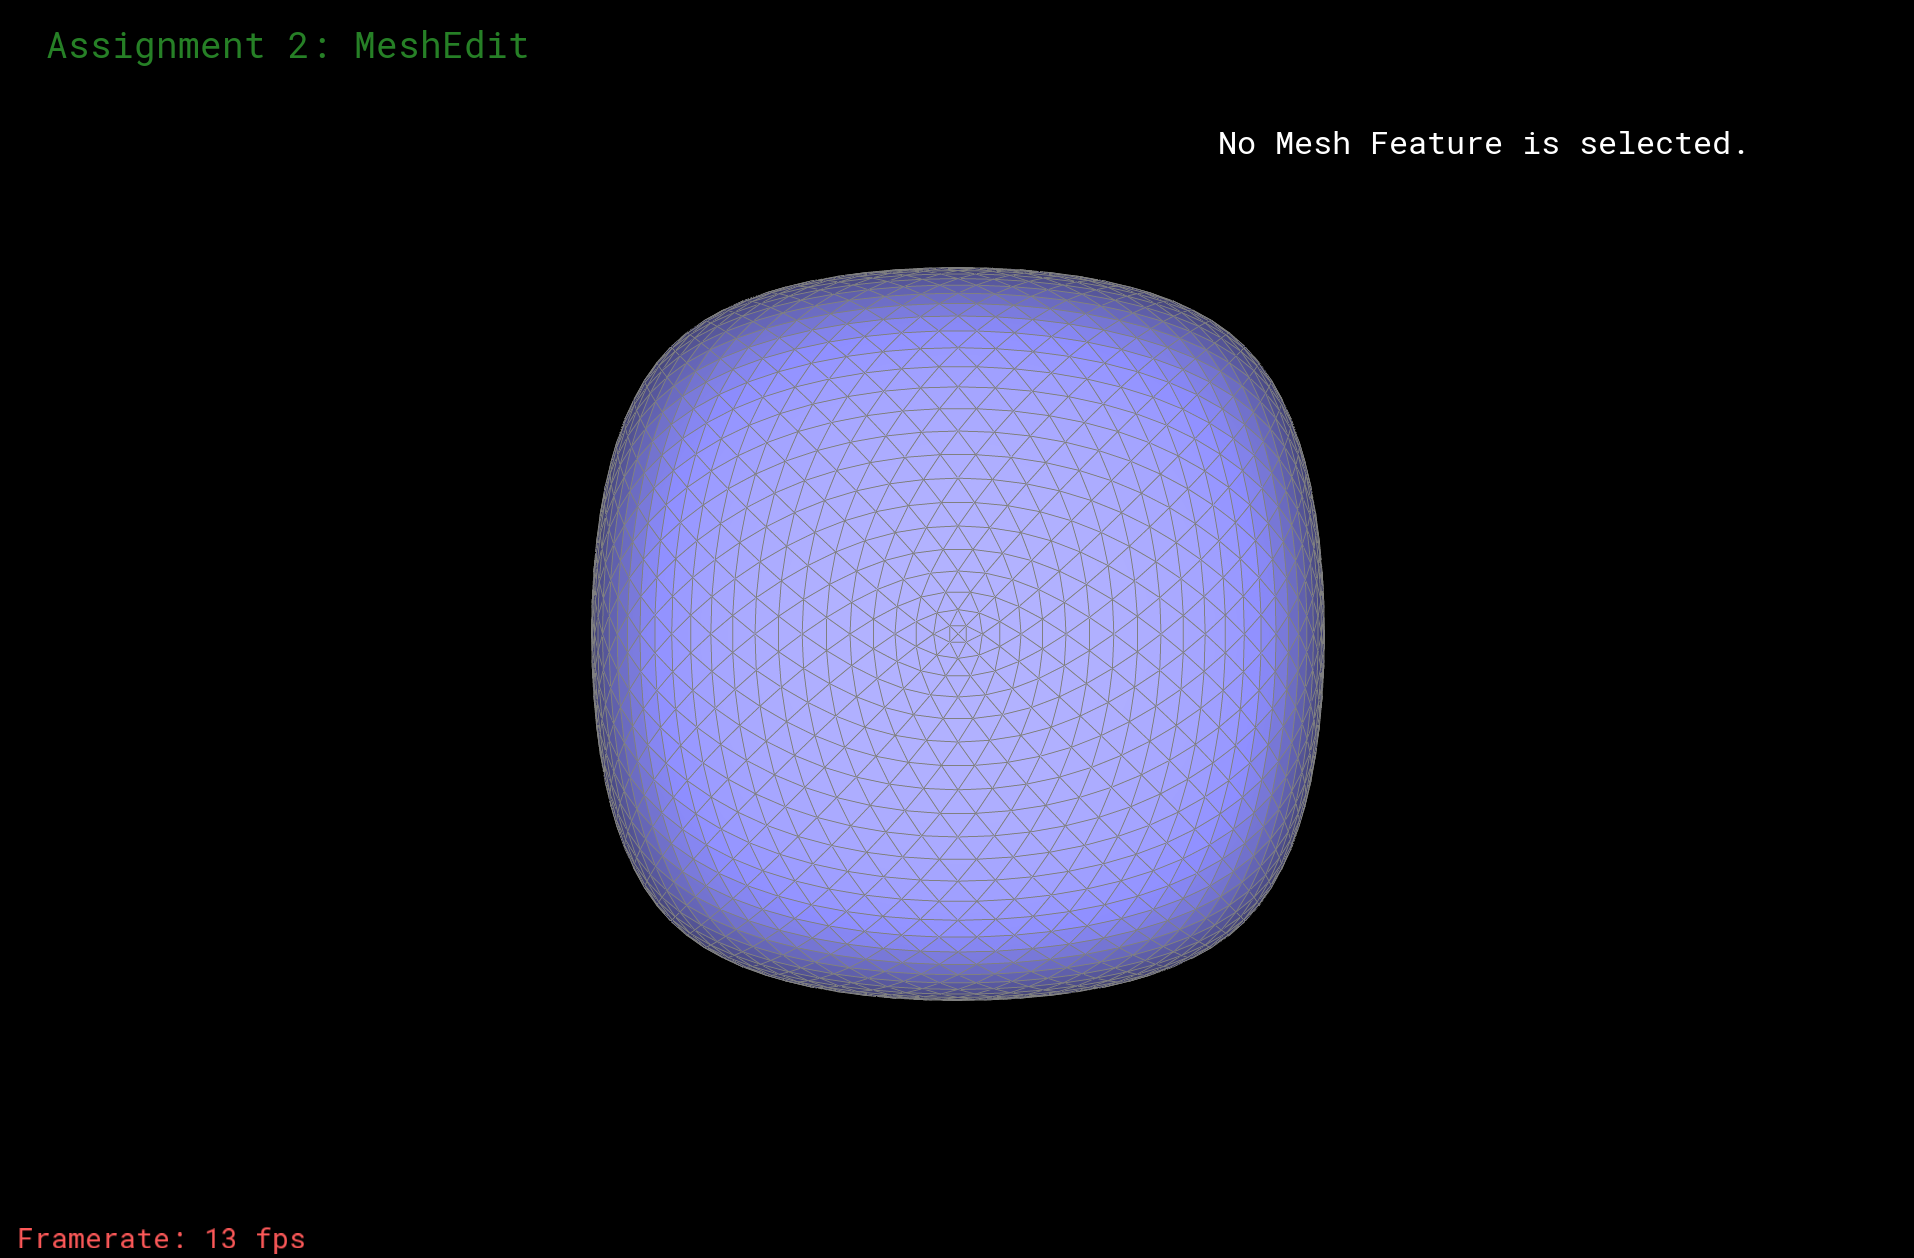
Then we do the filpping. We flip every half-edge that is "half old, half new", which means that the vertexs related to the edge is consist of one new vertex and one old edge. Here explains the meaning we assign attribute "isNew" to the vertexs. We check if a vertex is new or old by checking the "isNew" method. We flip new edges based on the rule.
The last step is that we loop through every vertex and assiagn their position to their new position.

|
|
|
|
|
|

|
|
|
|

|
|
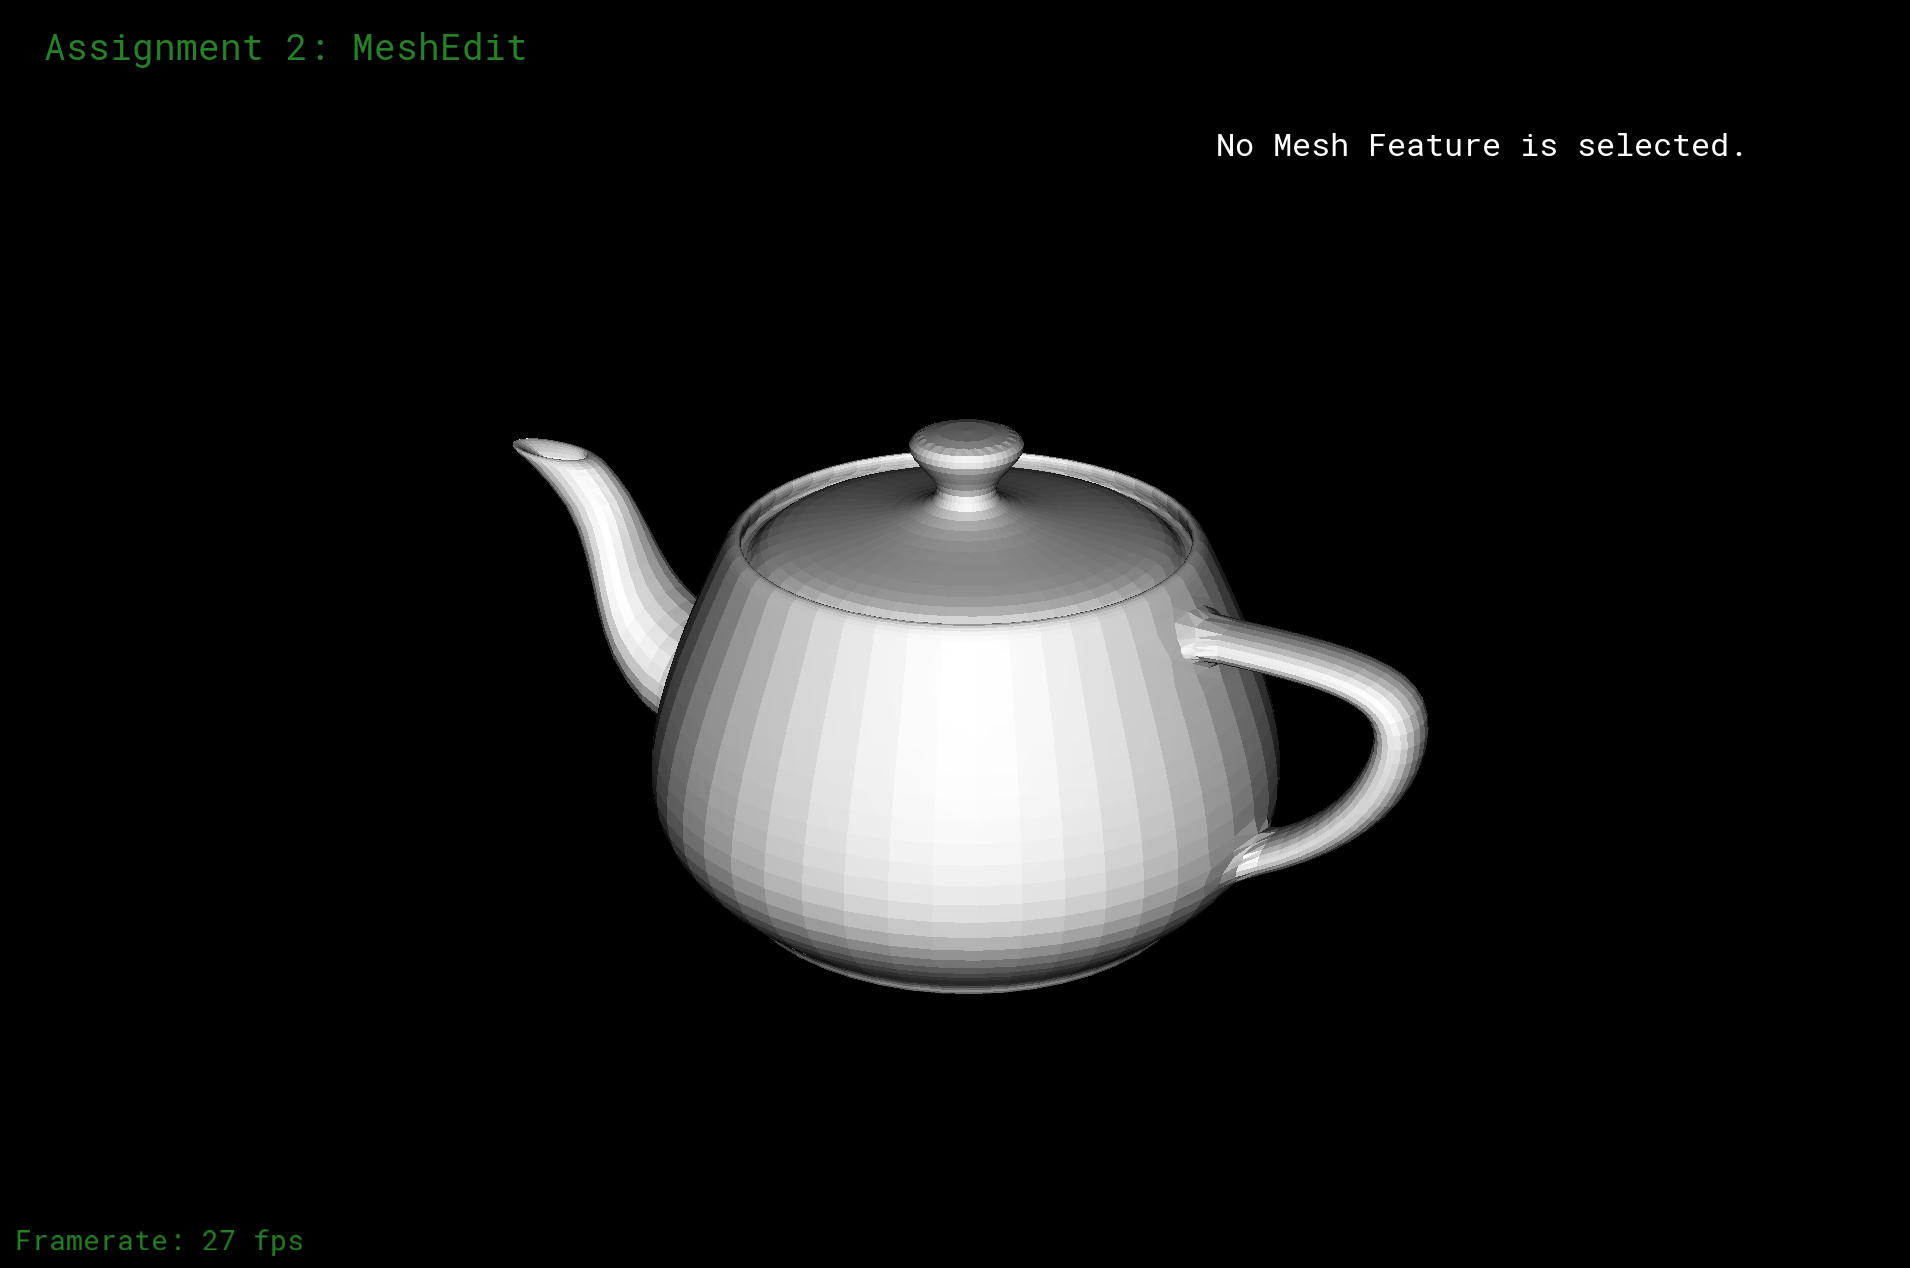
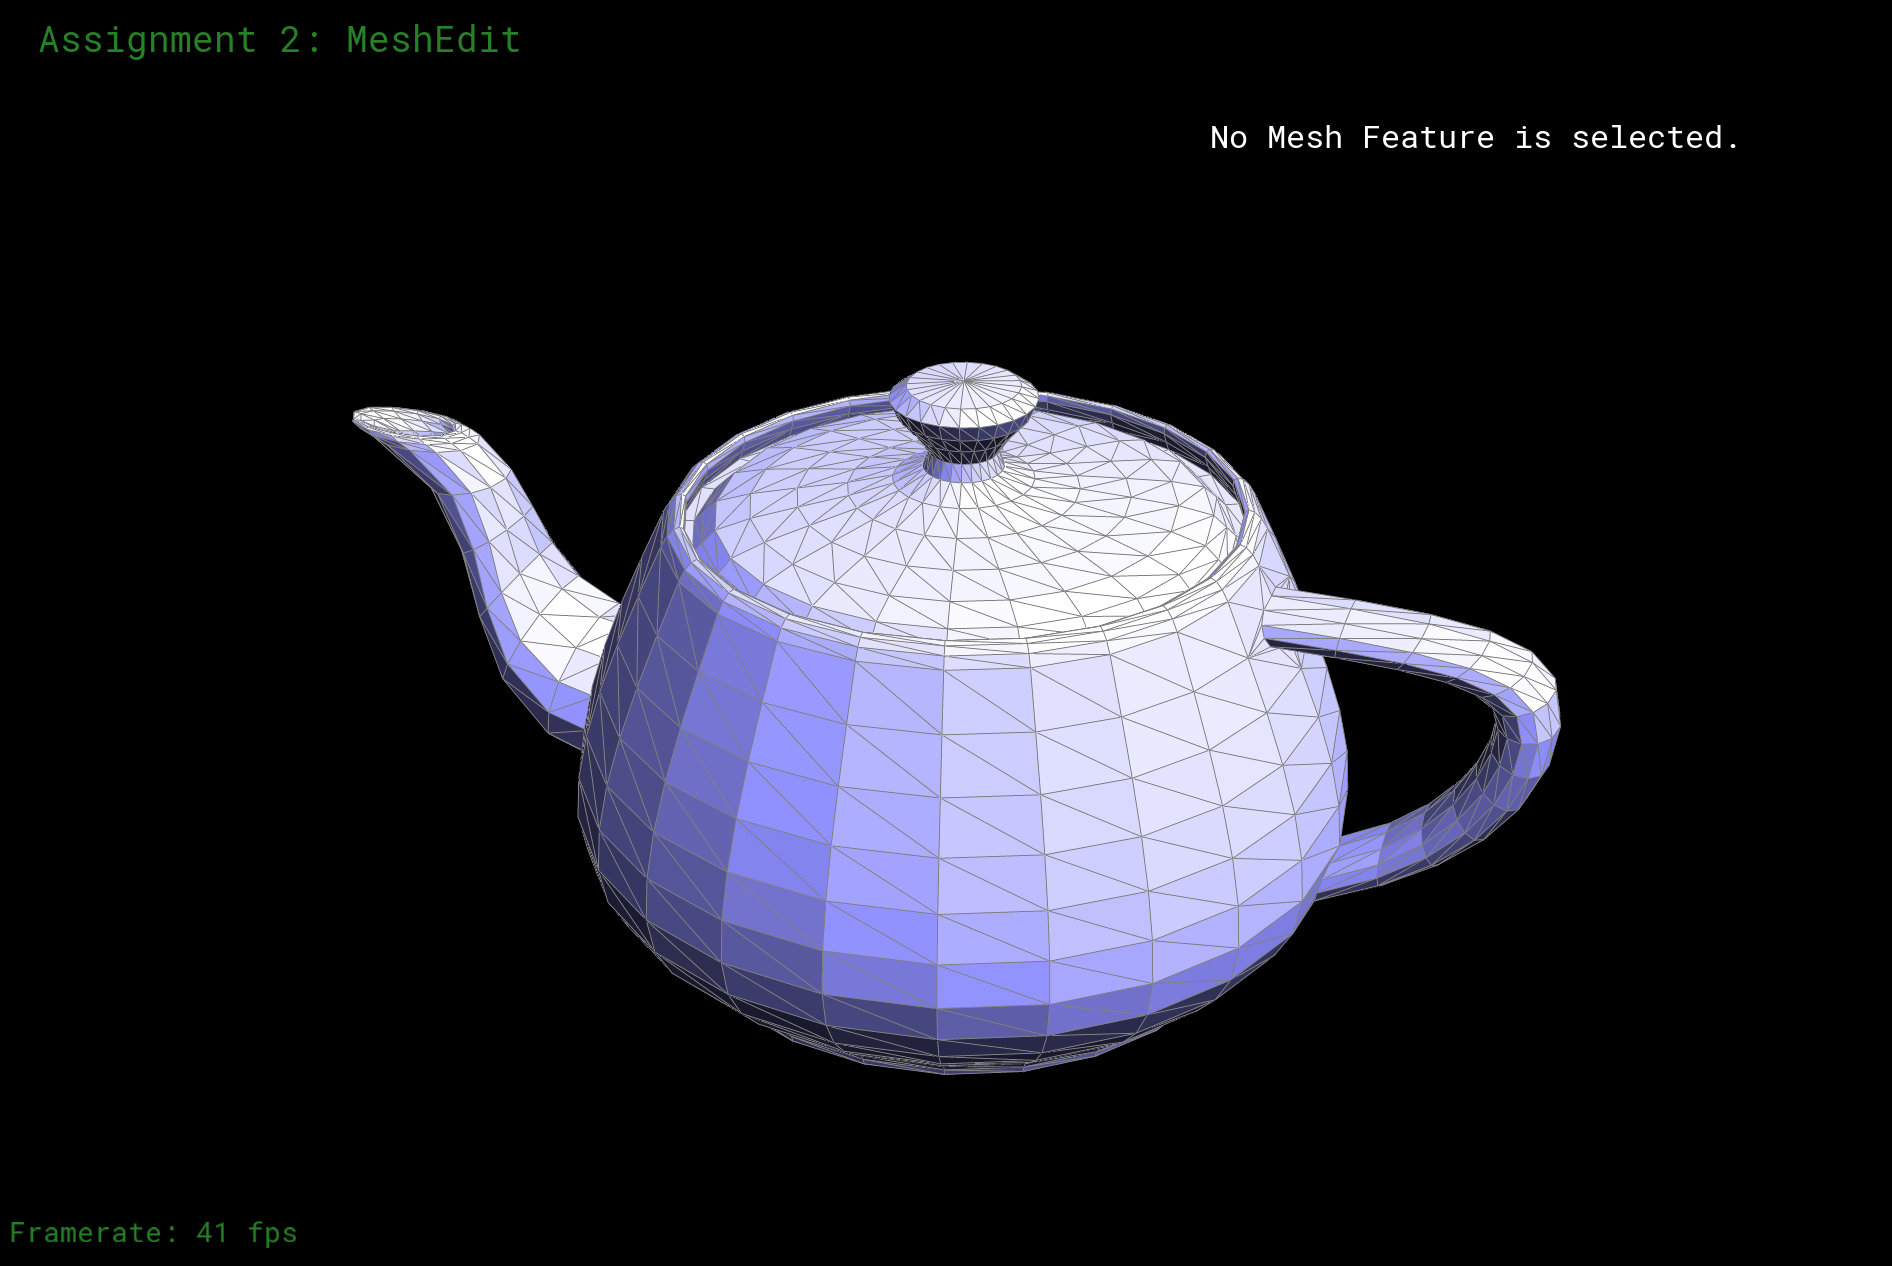
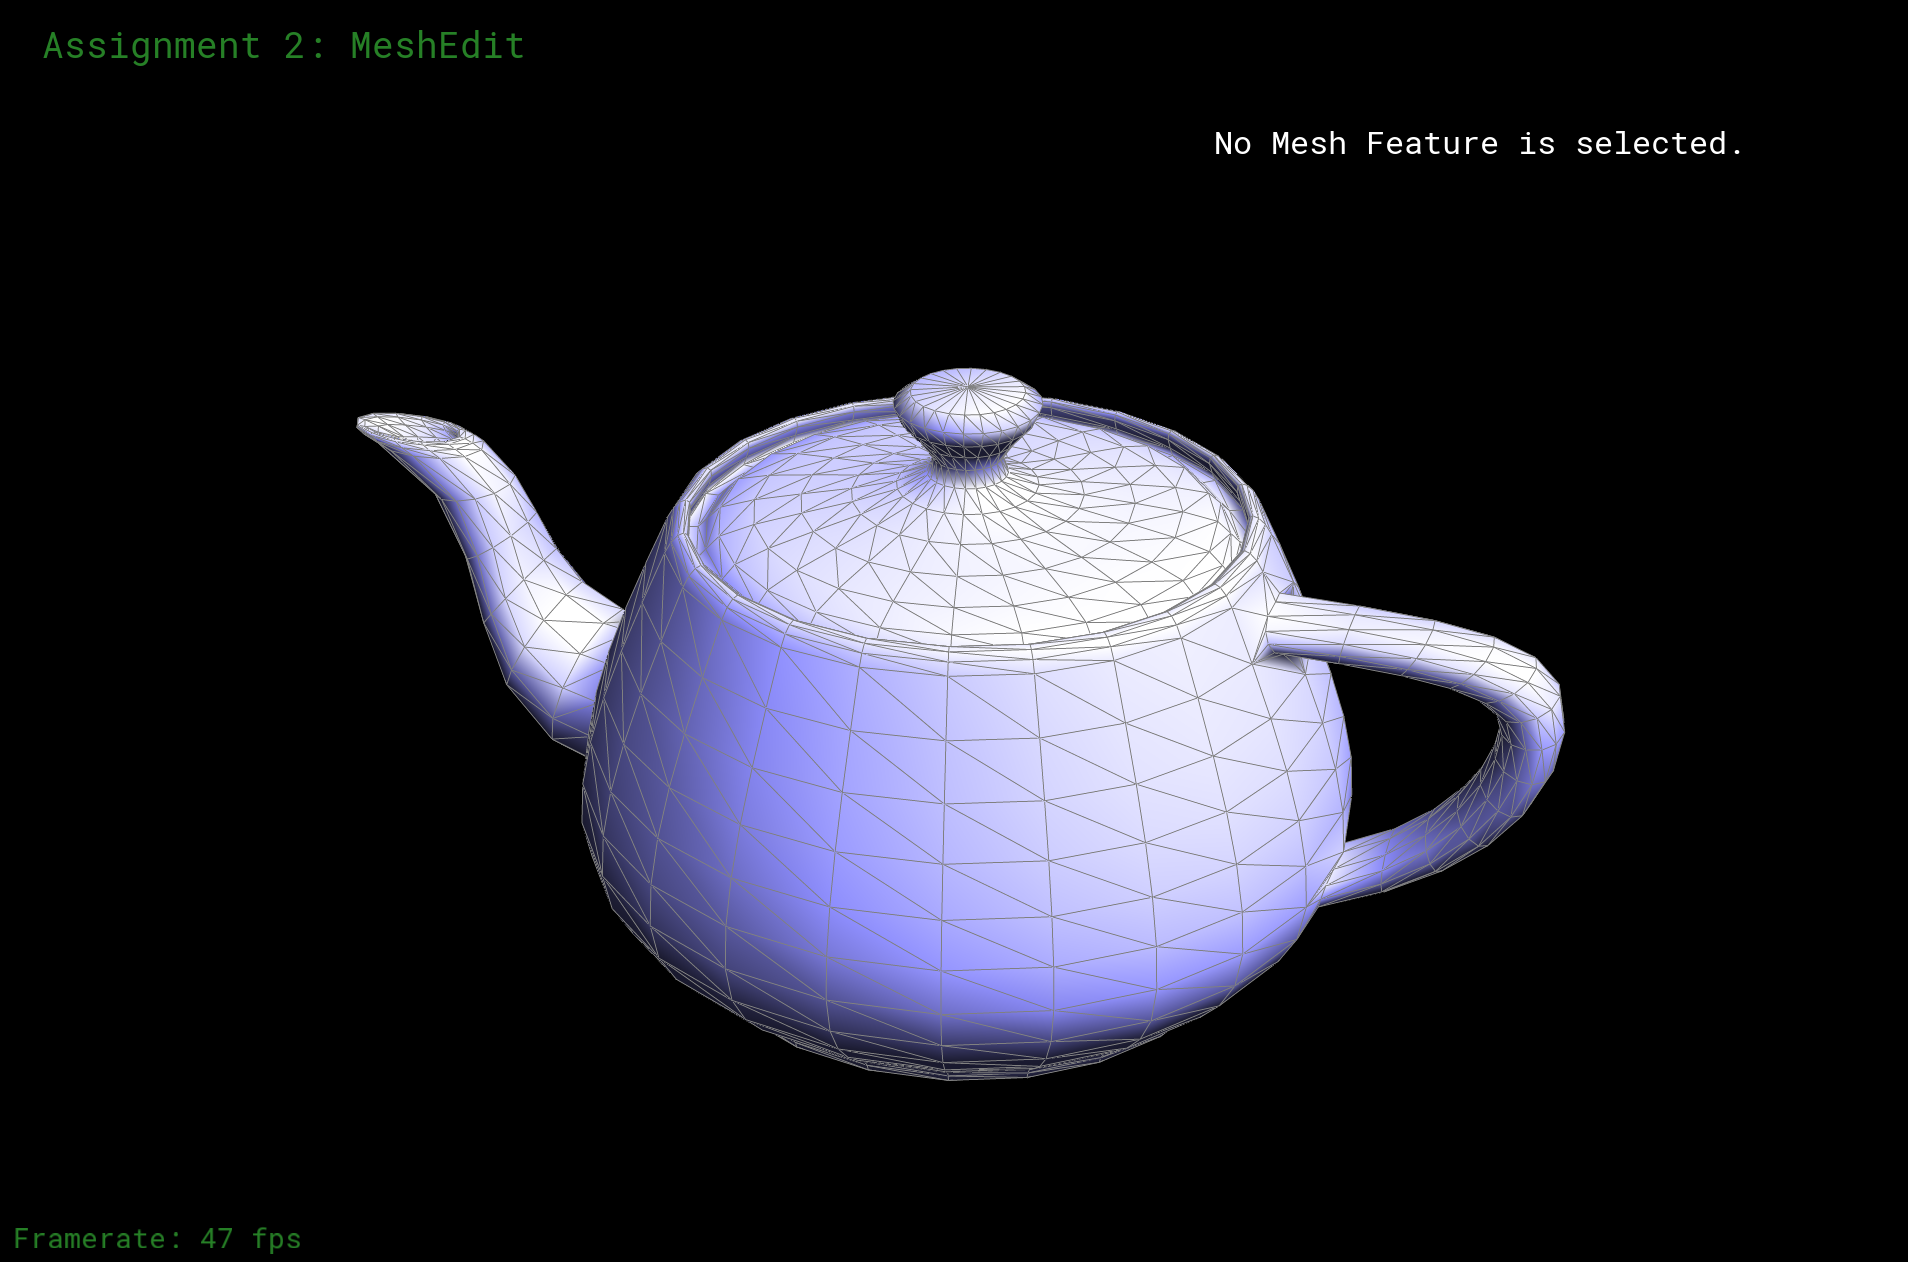
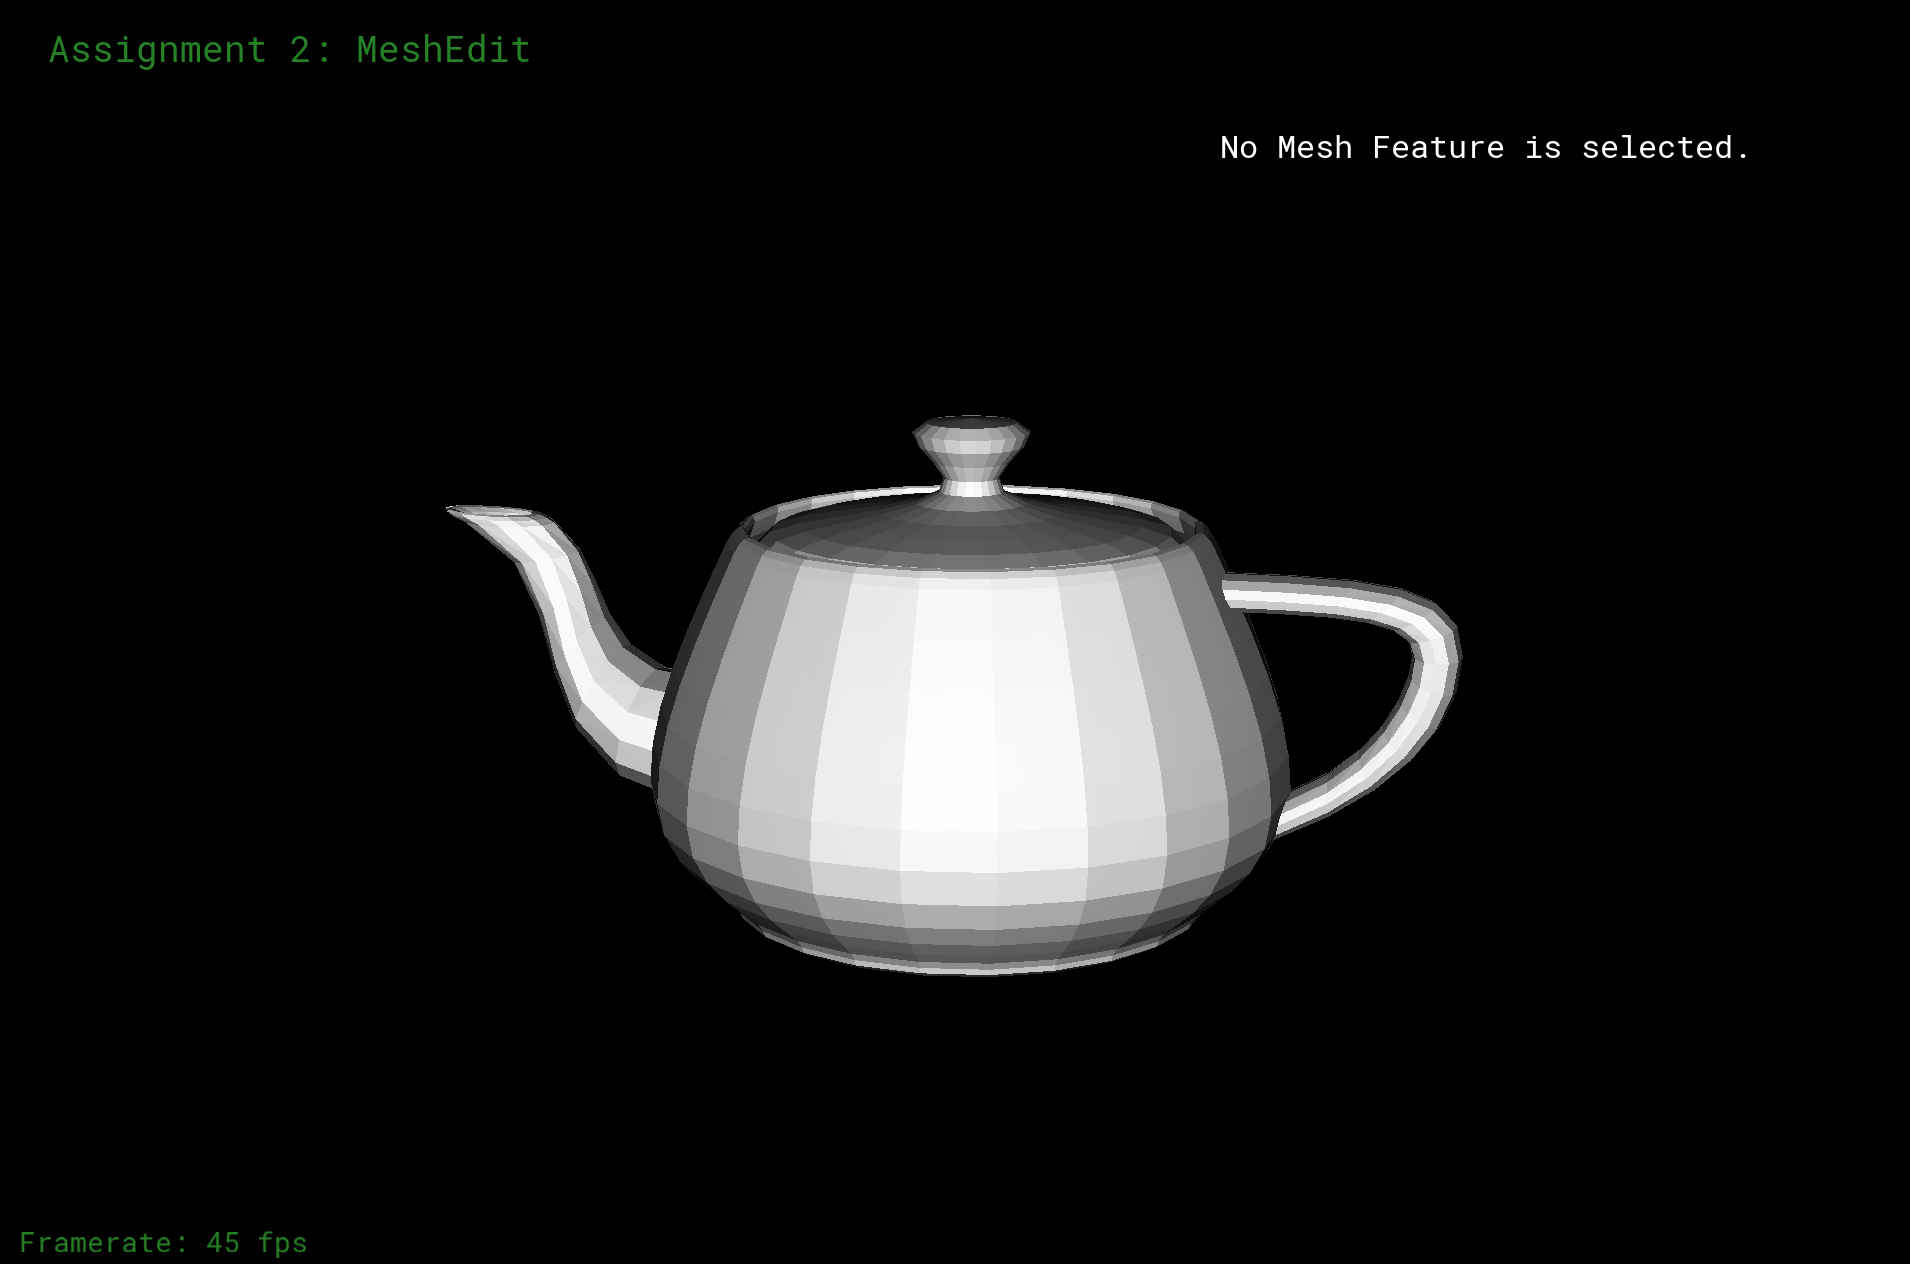
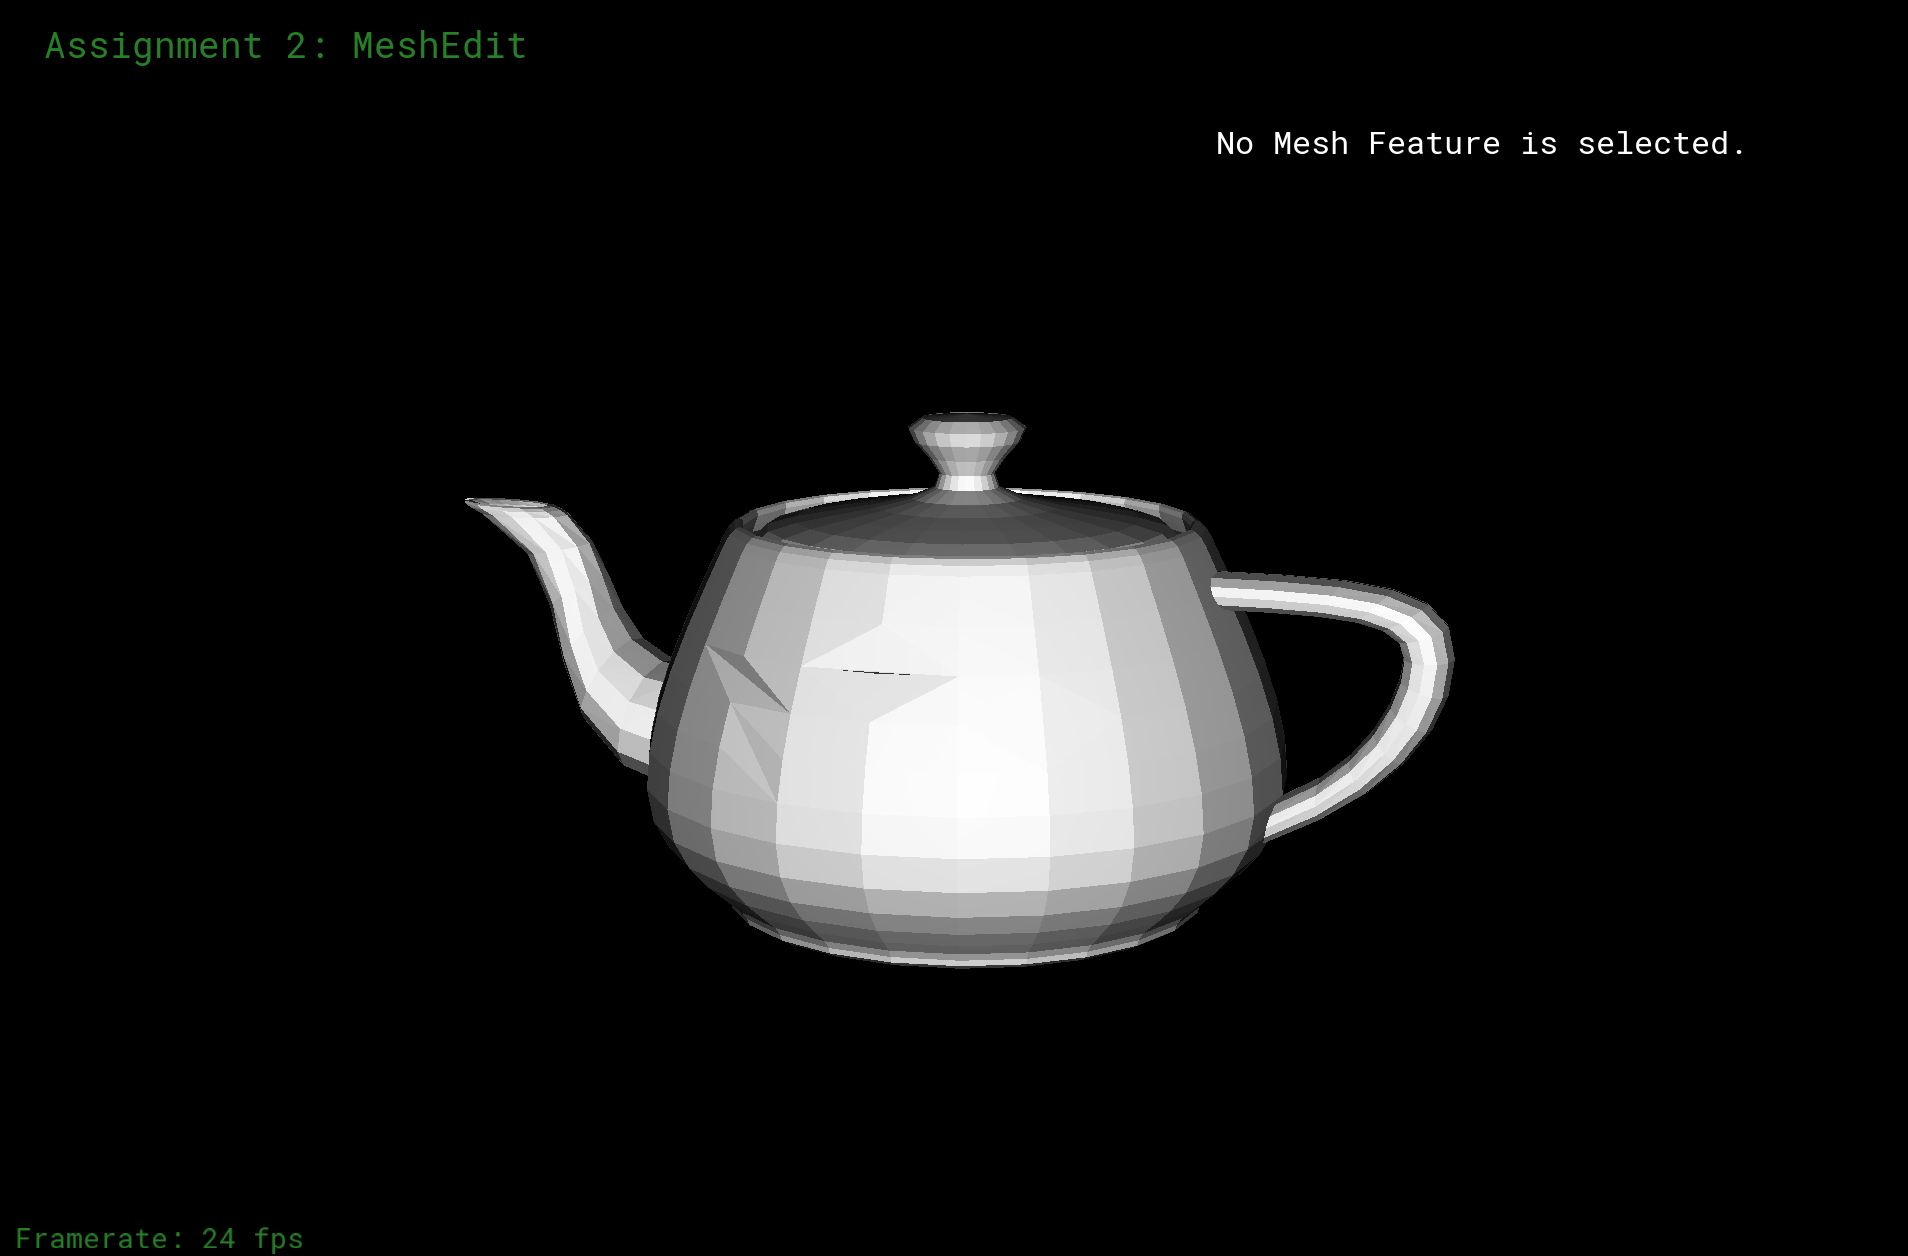
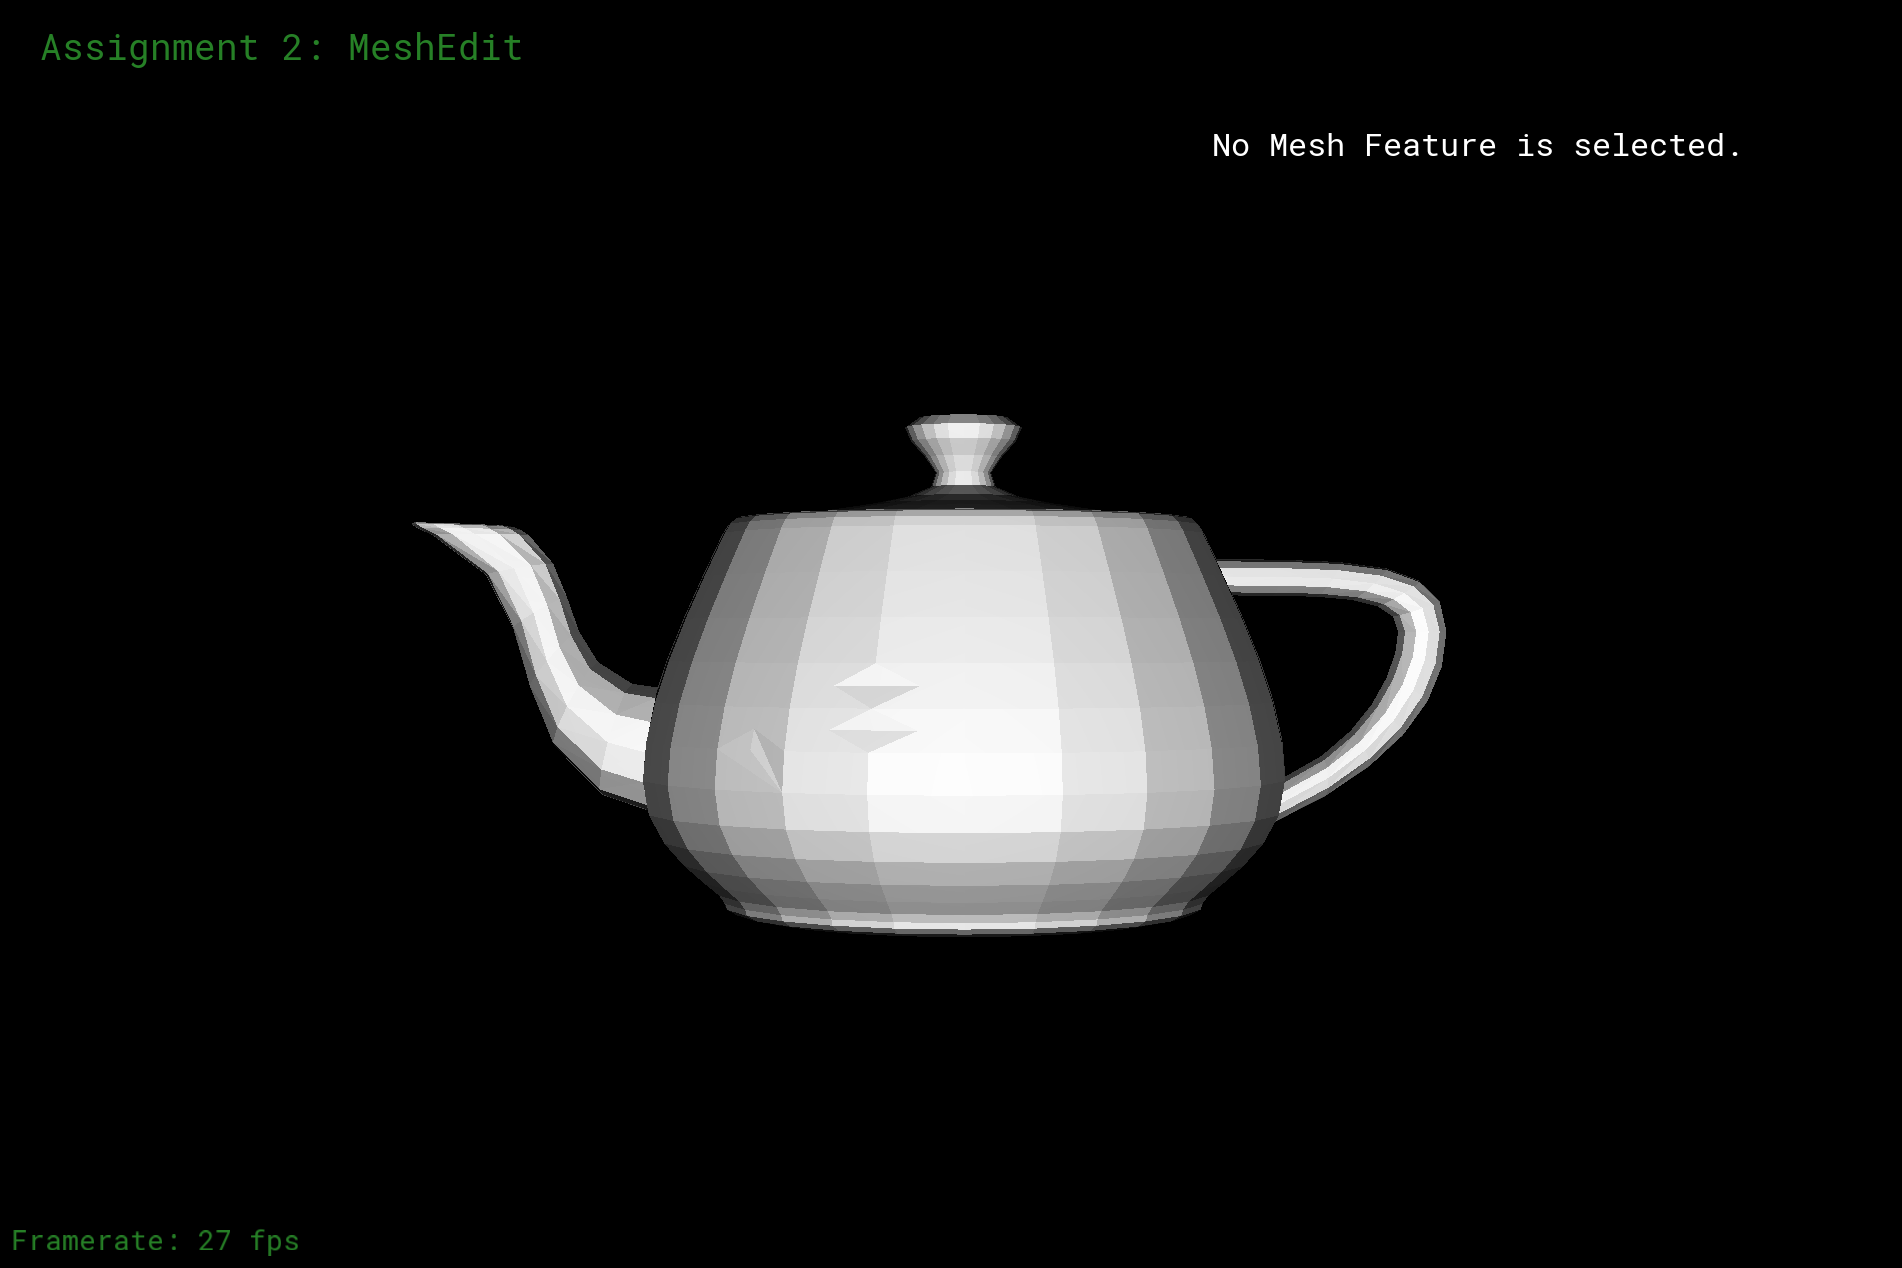
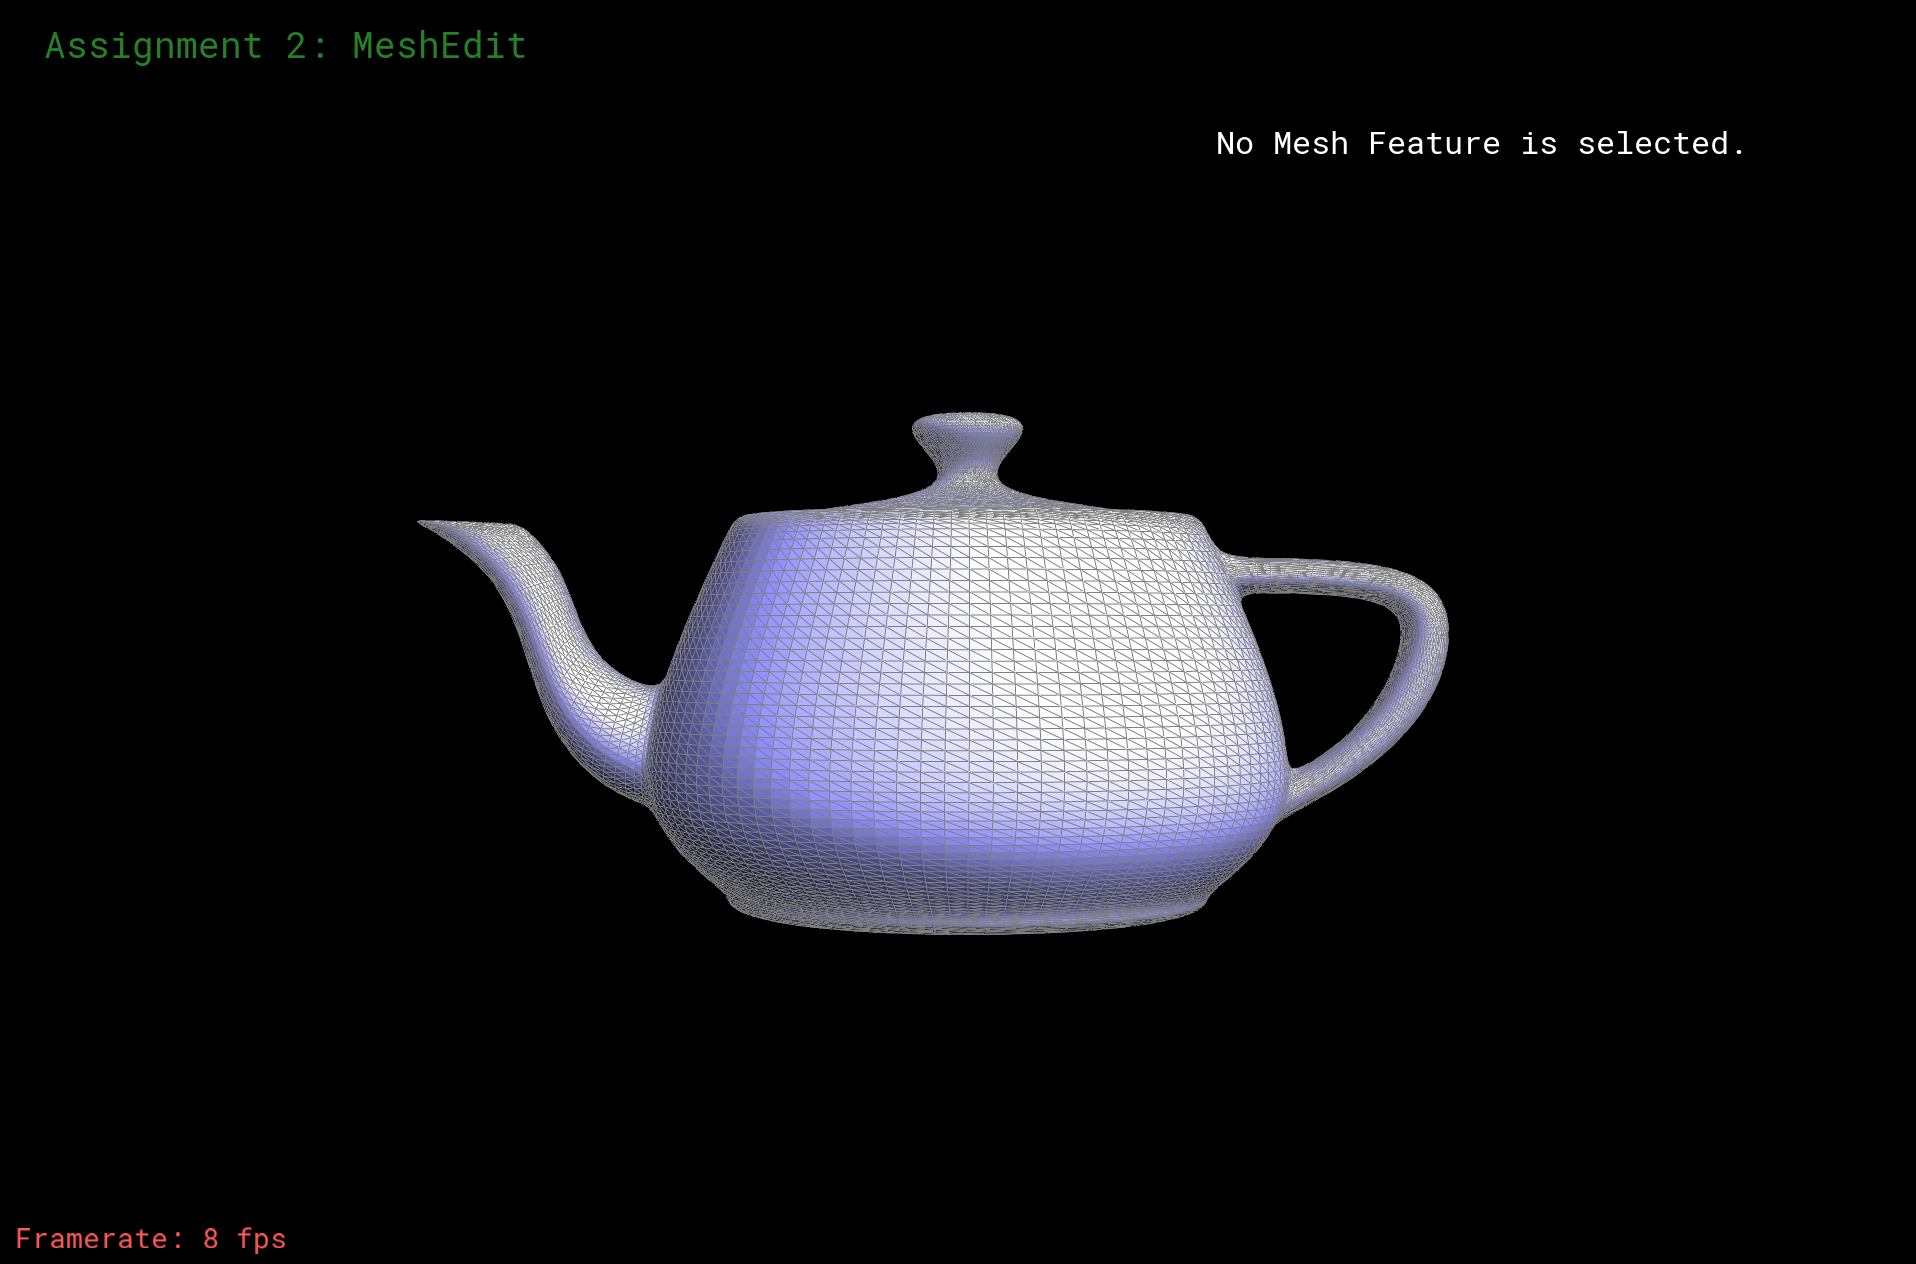
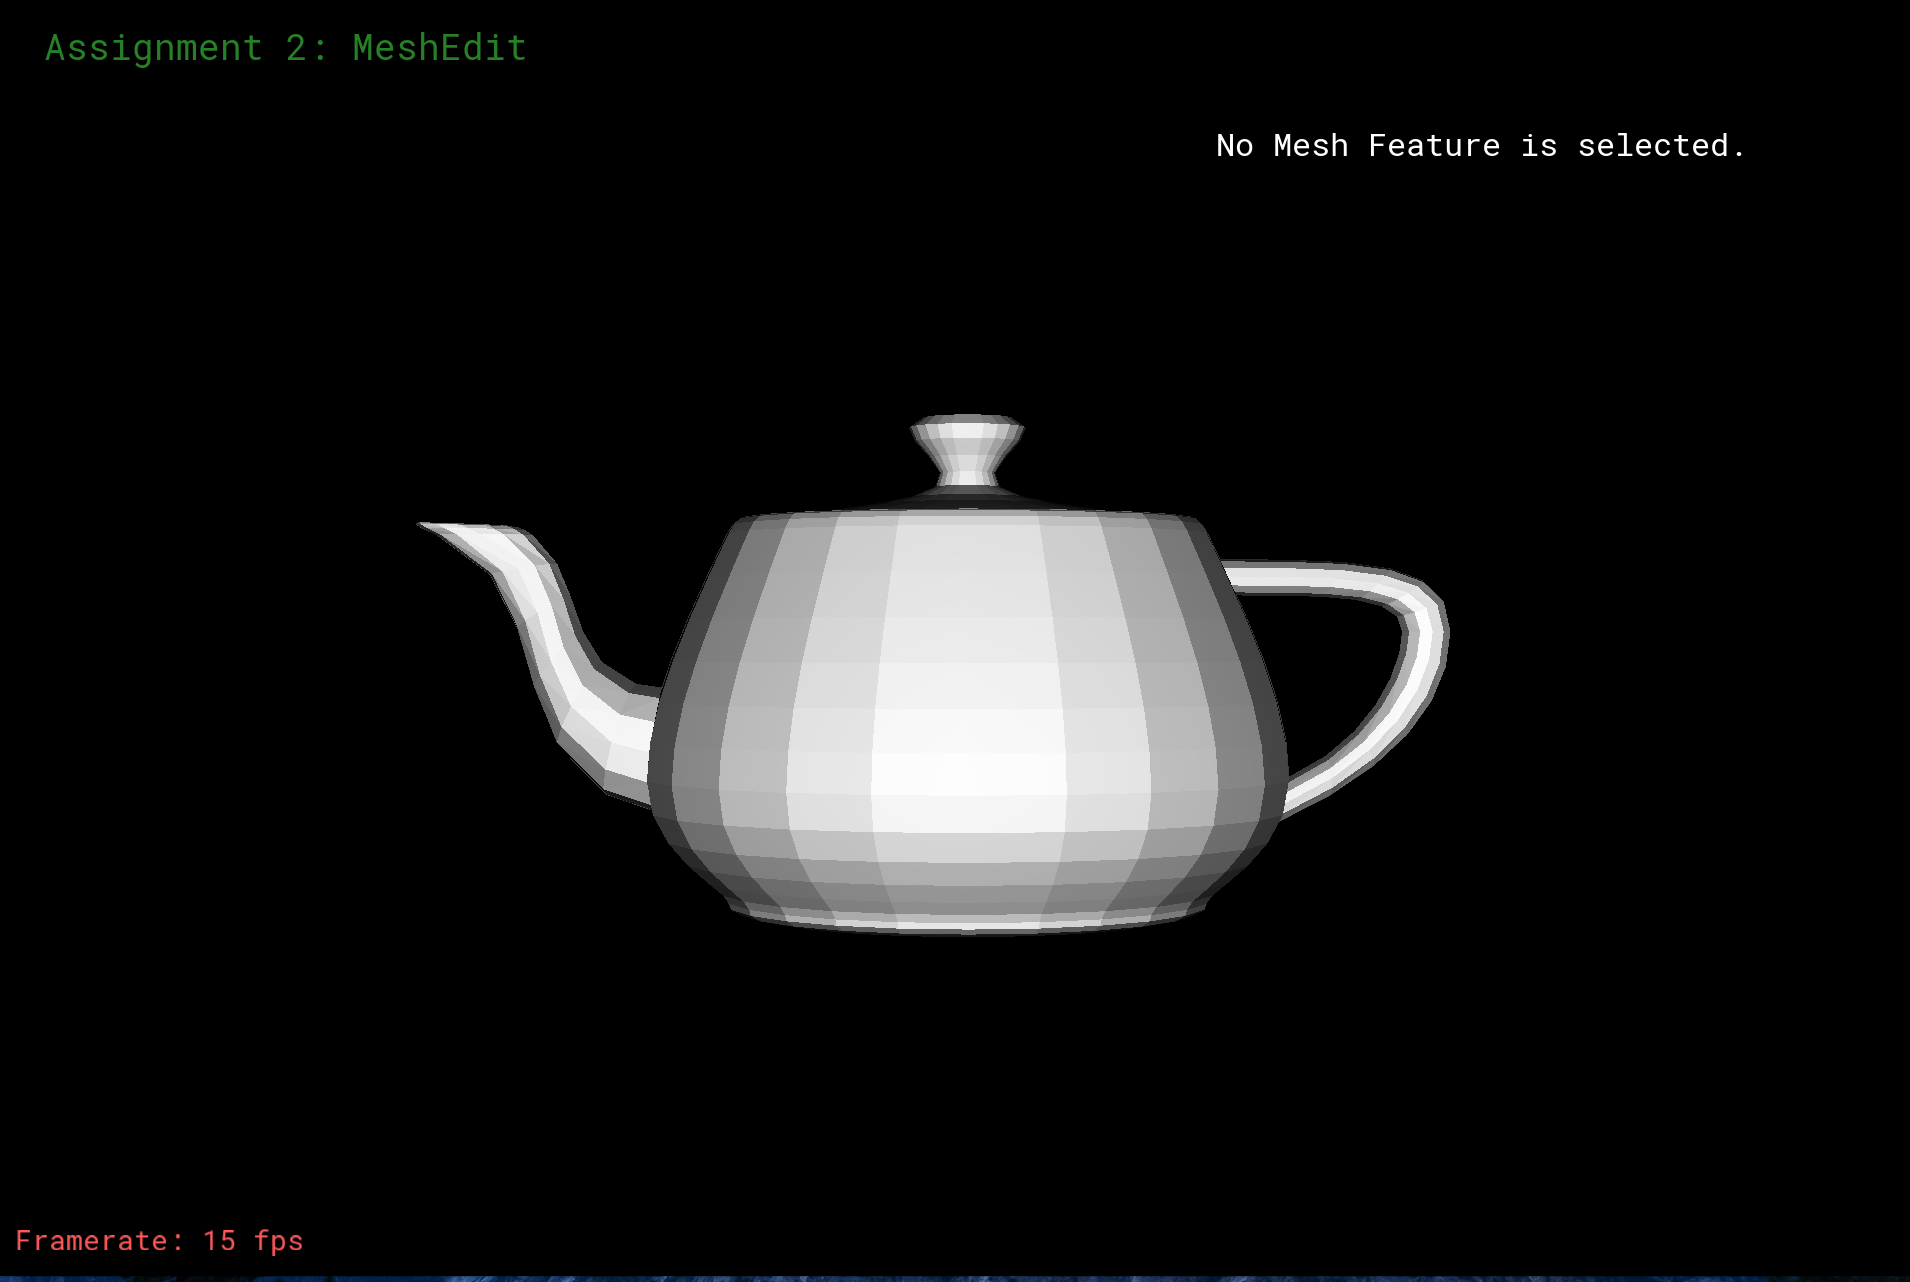
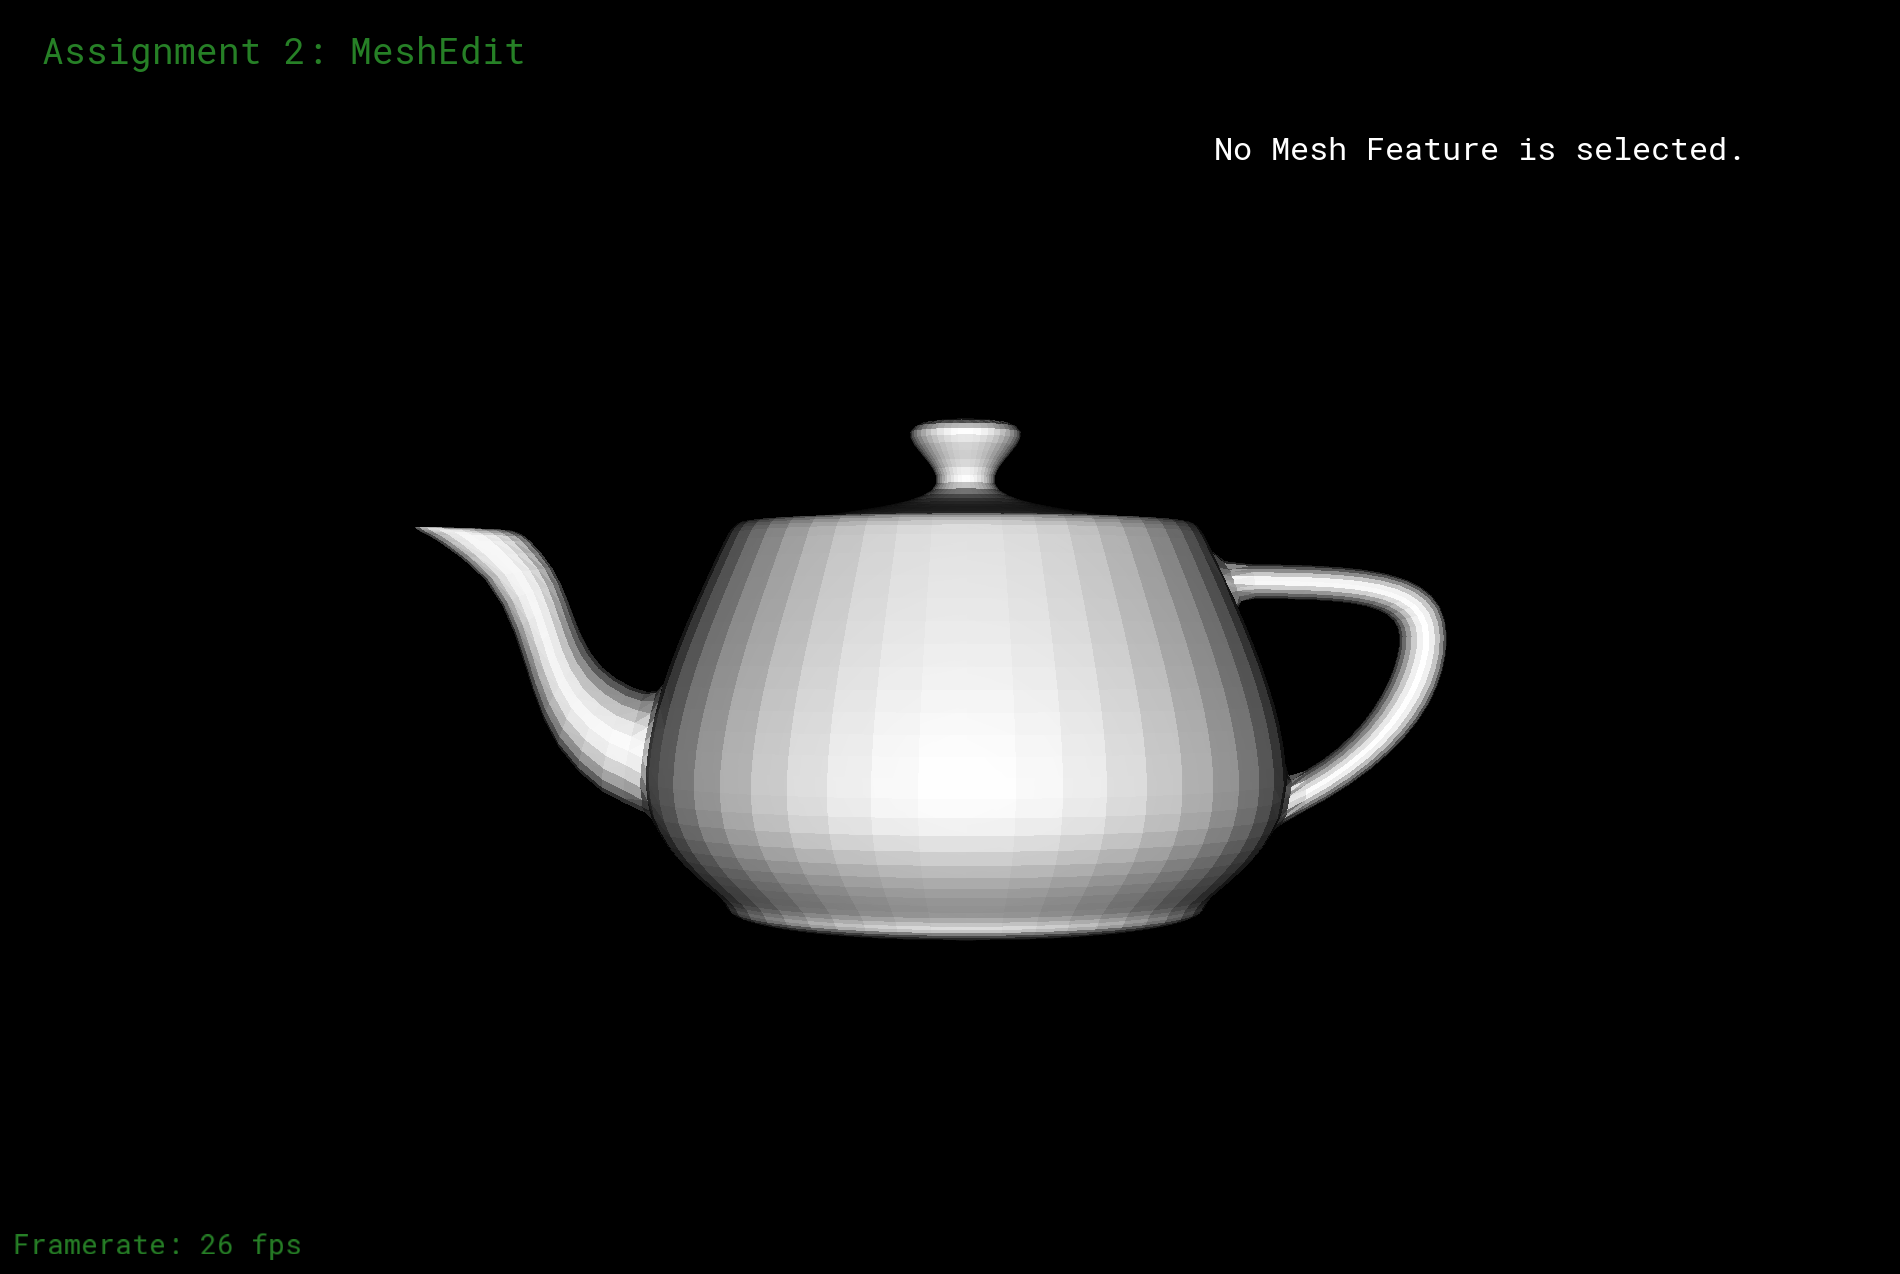
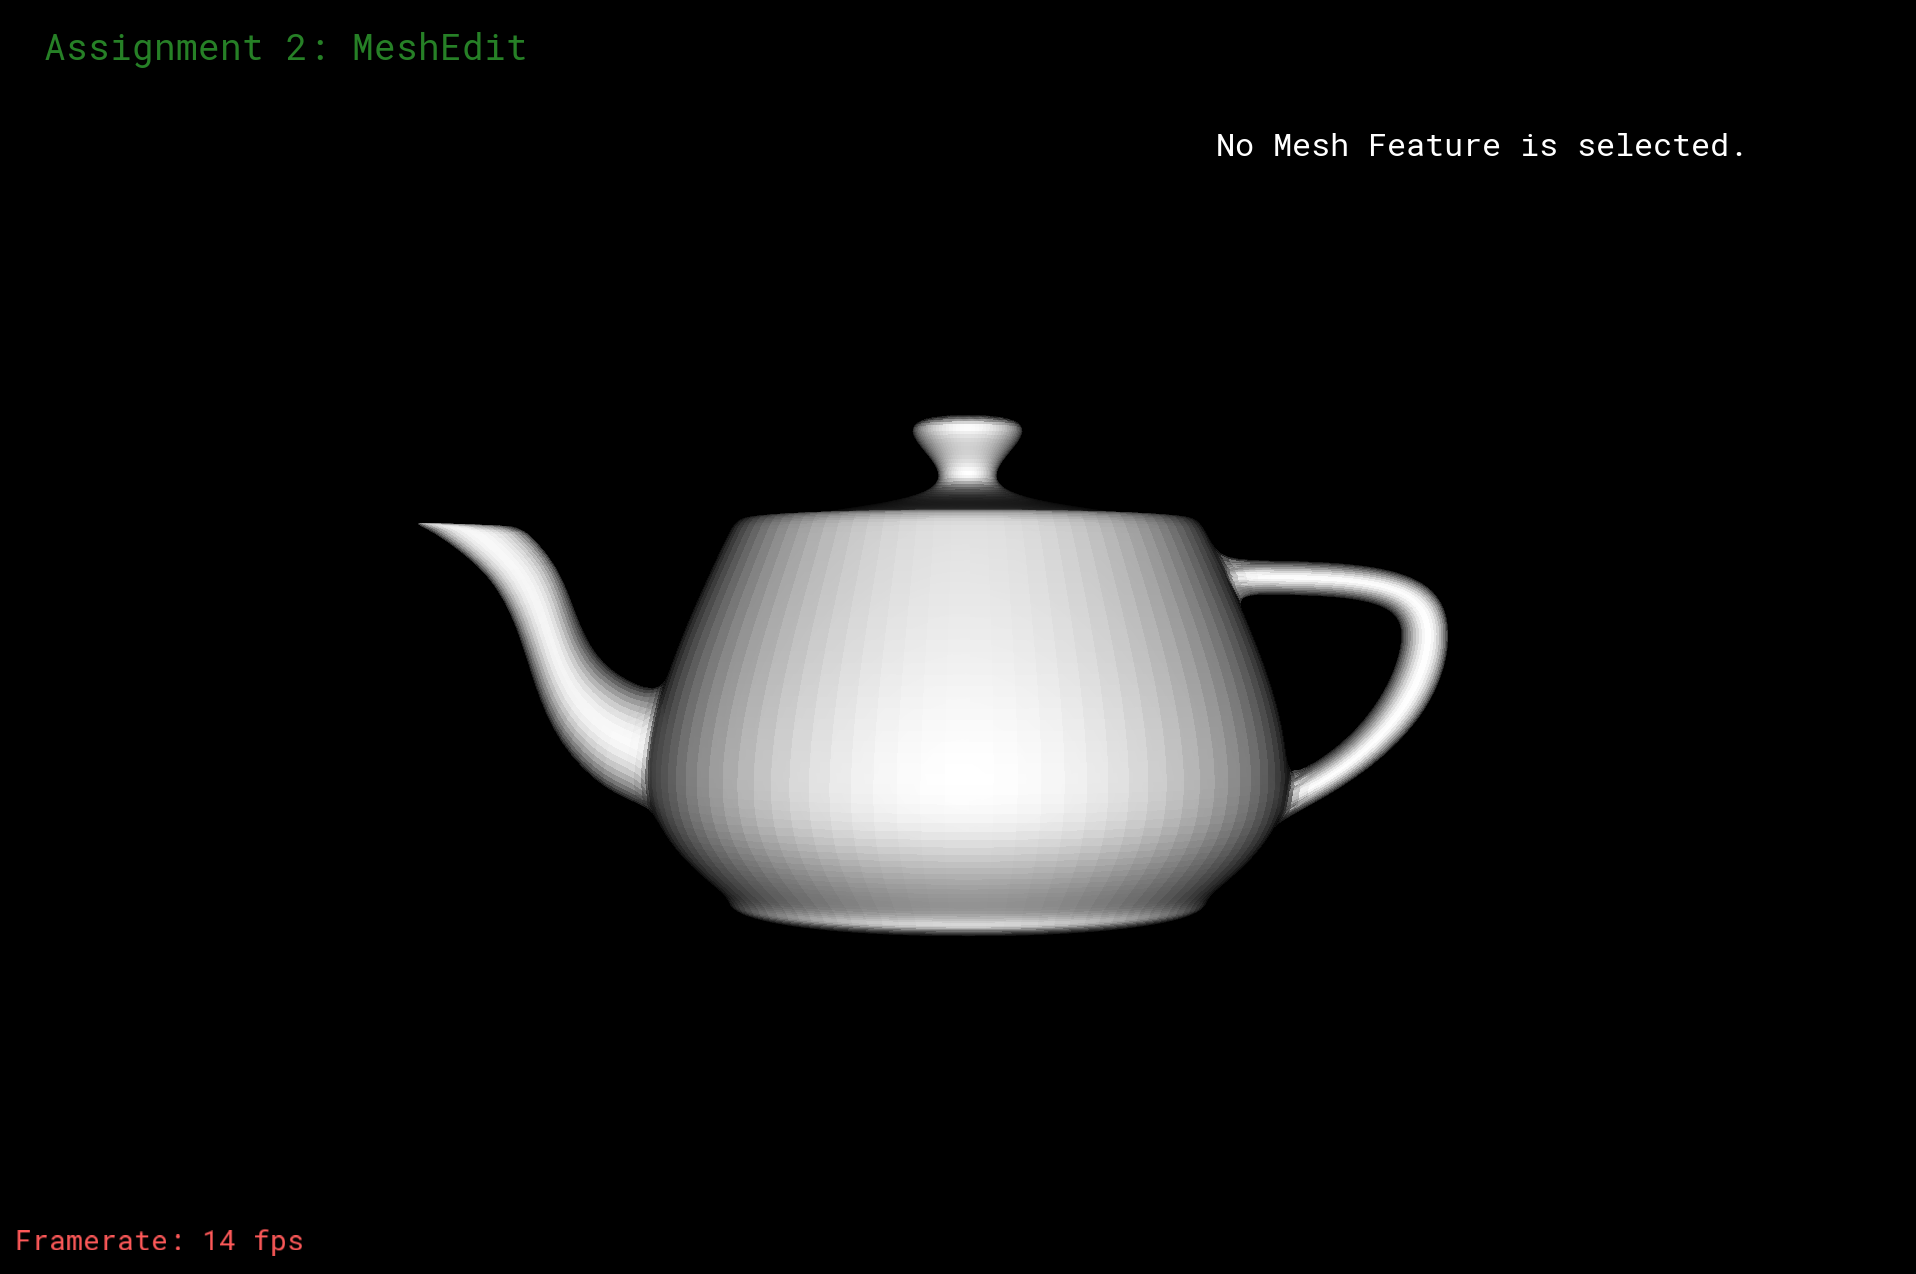
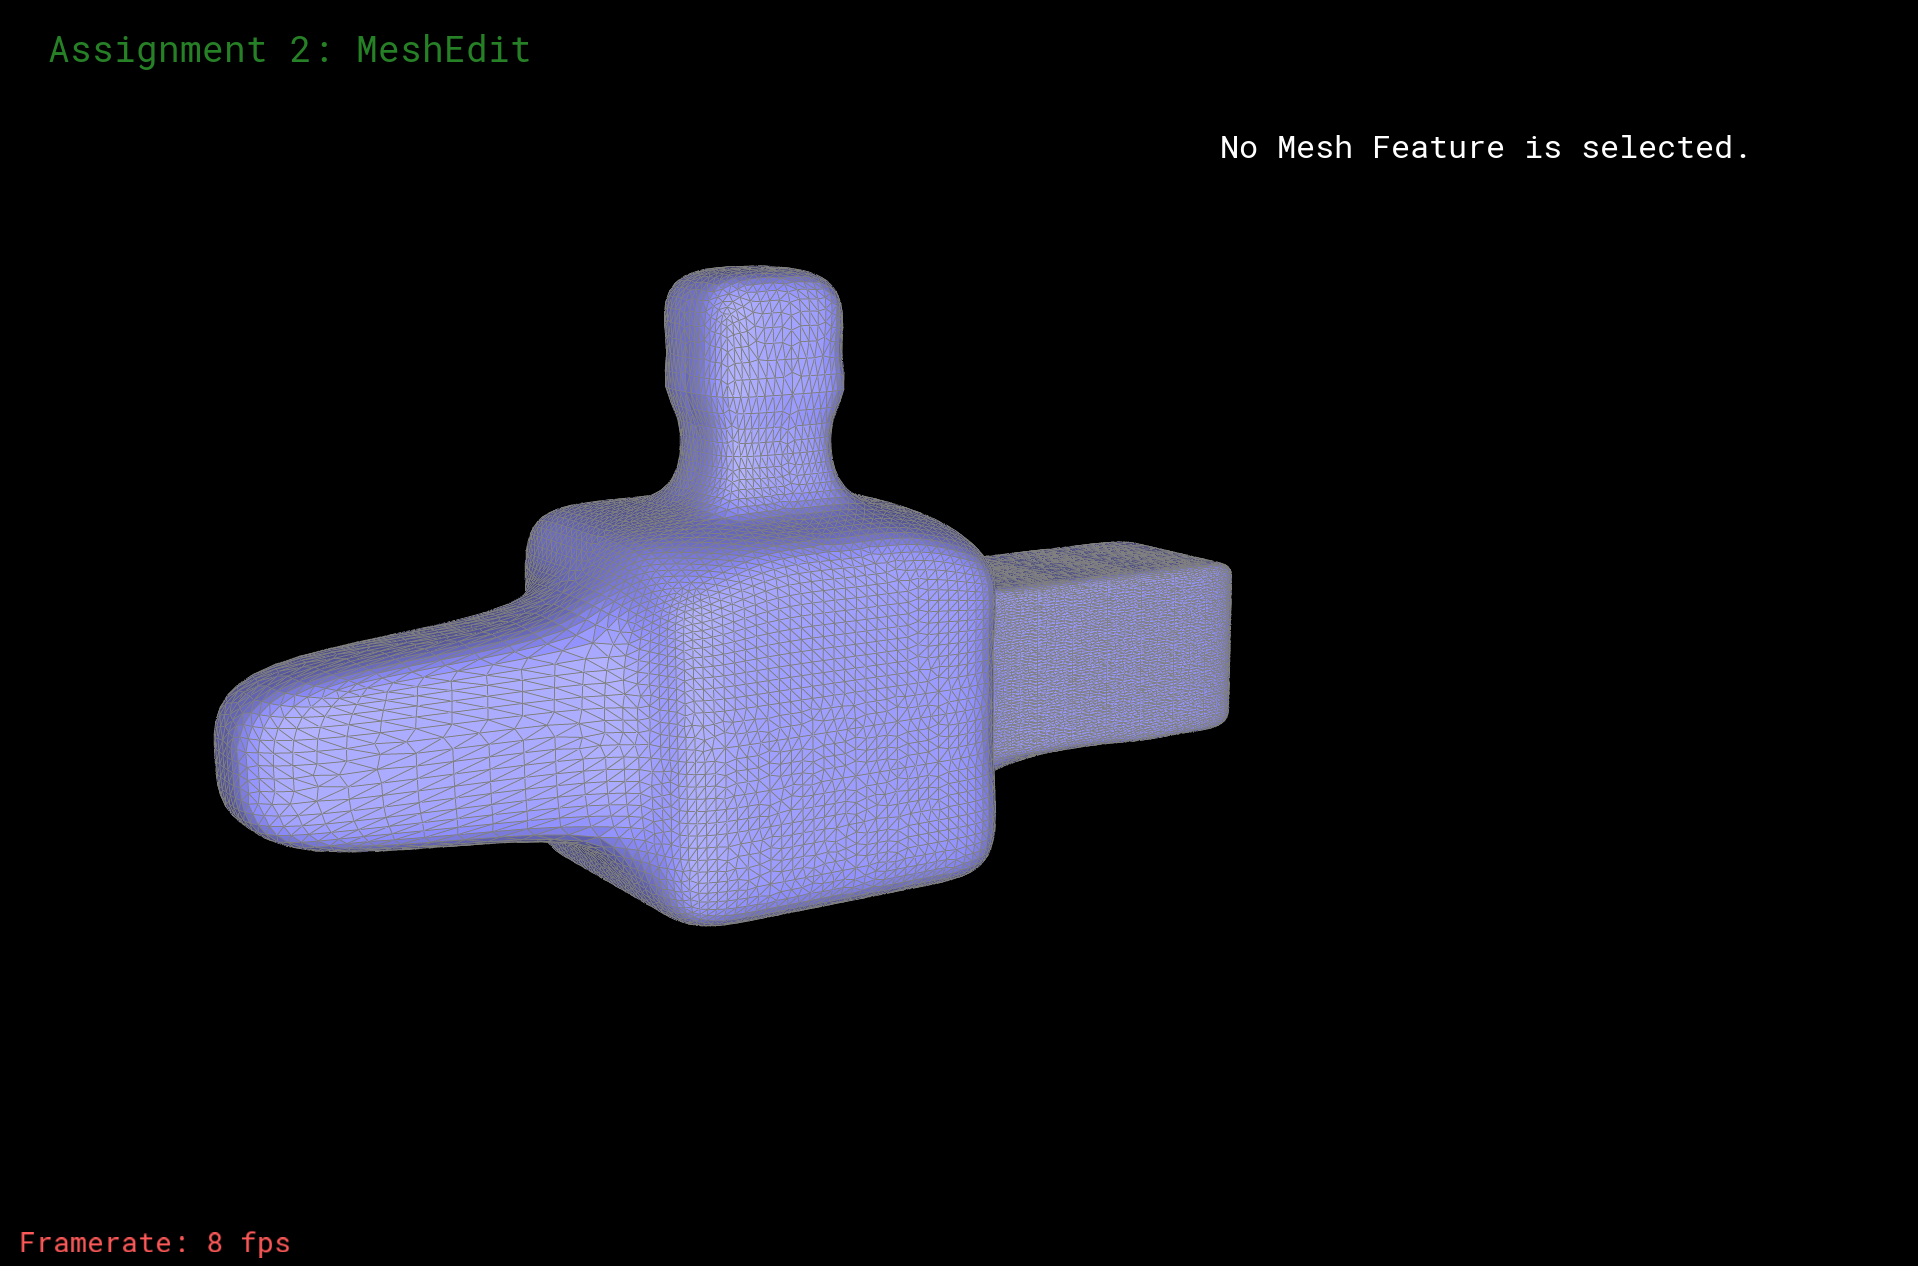
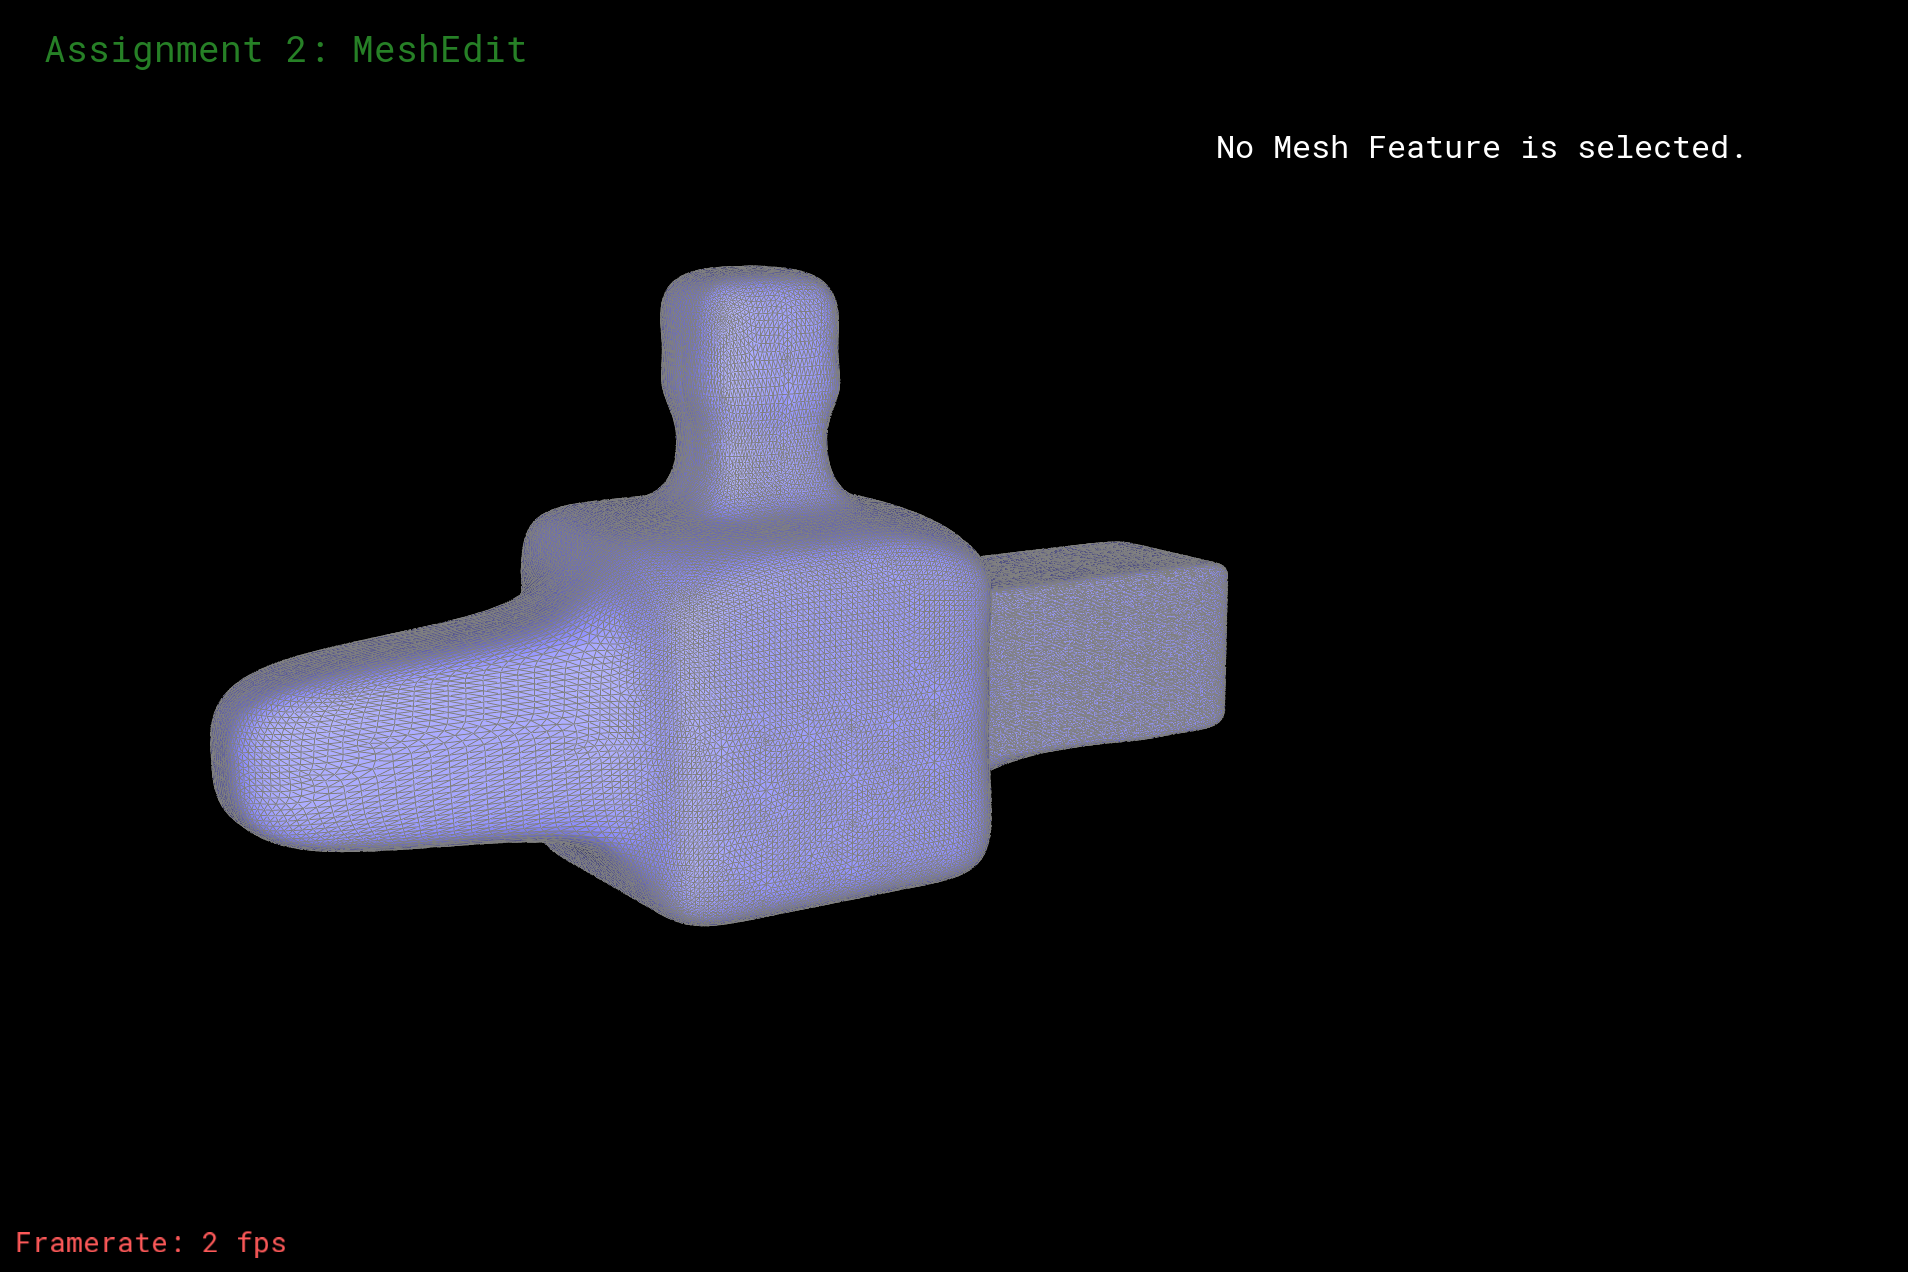
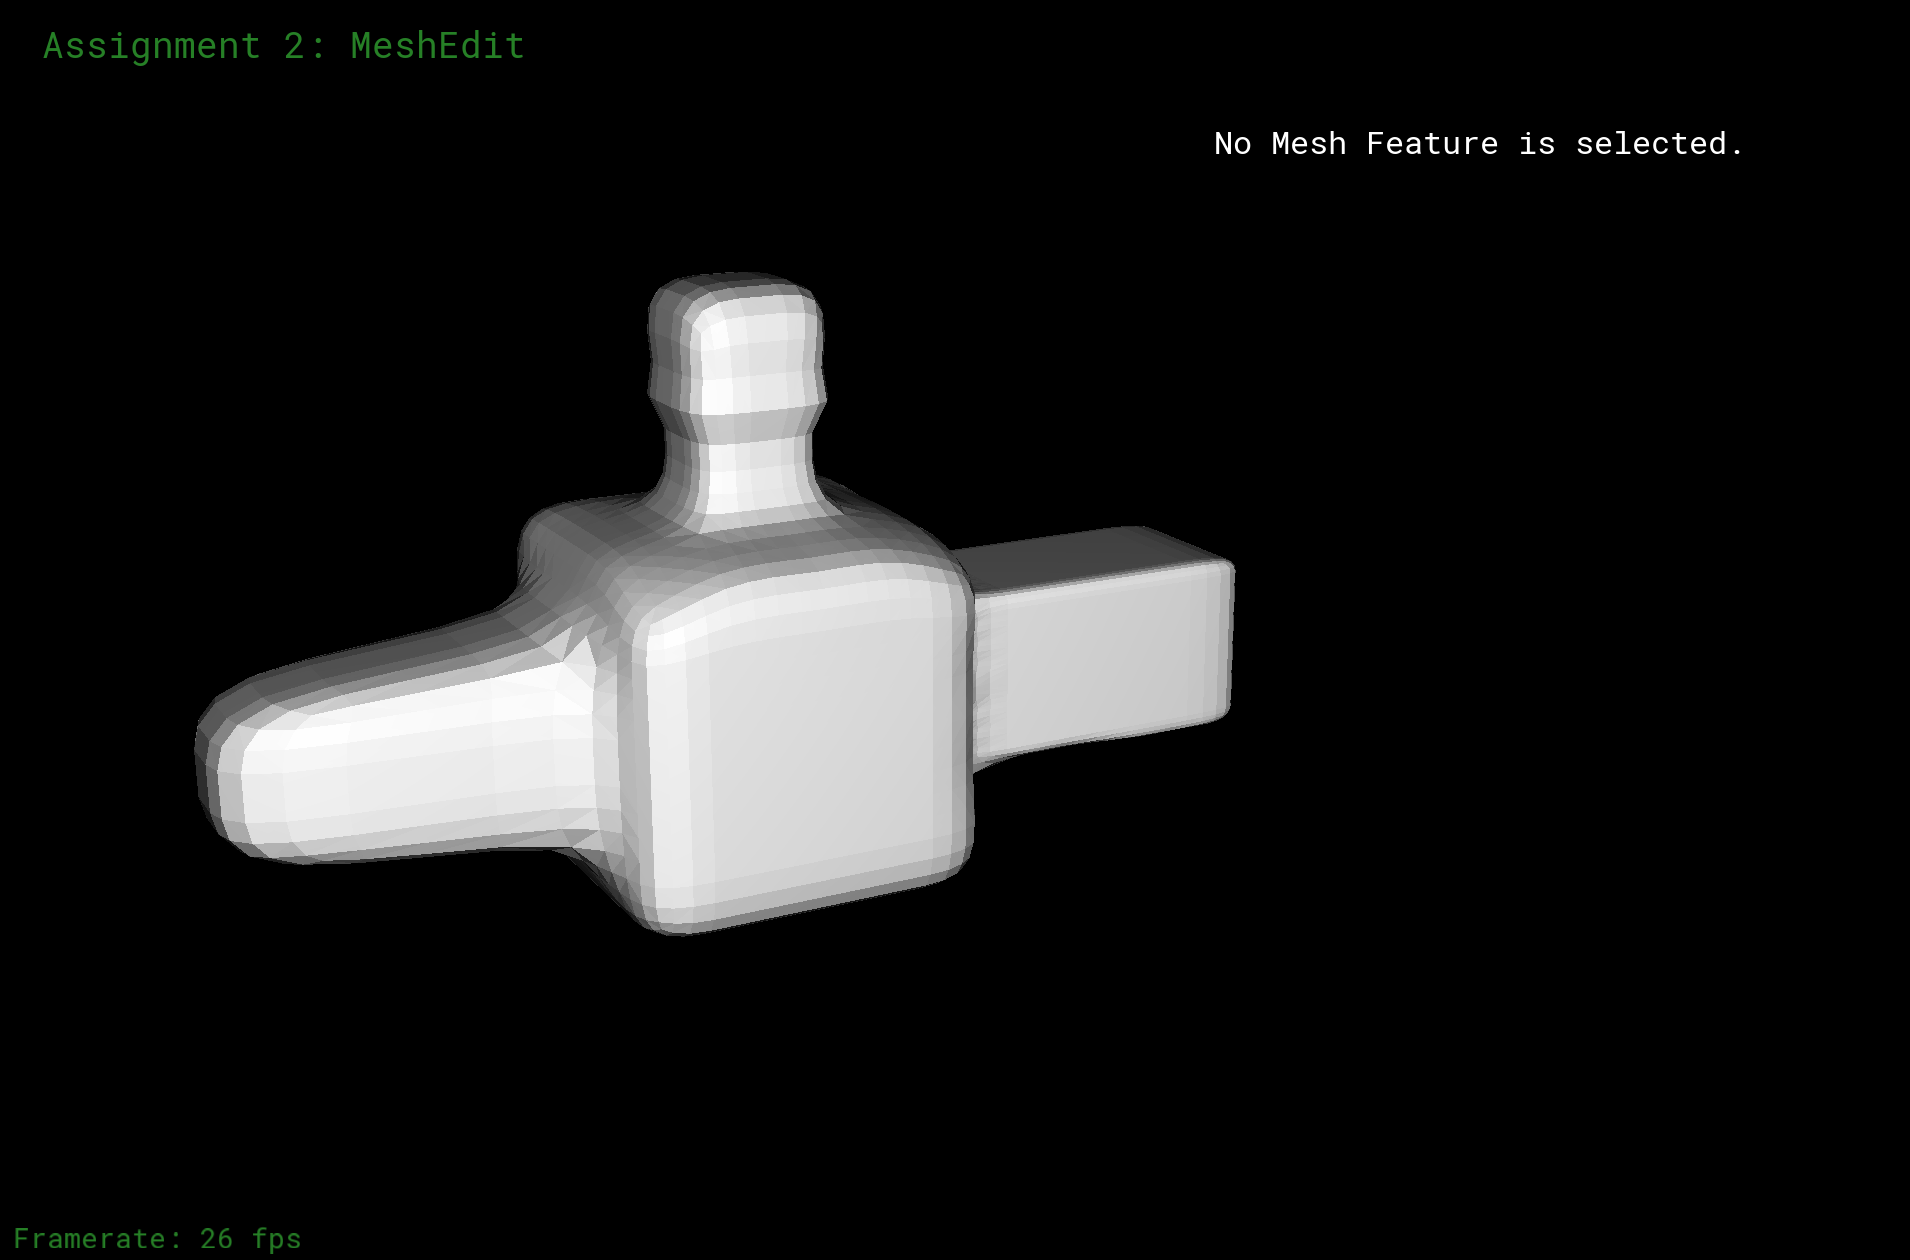
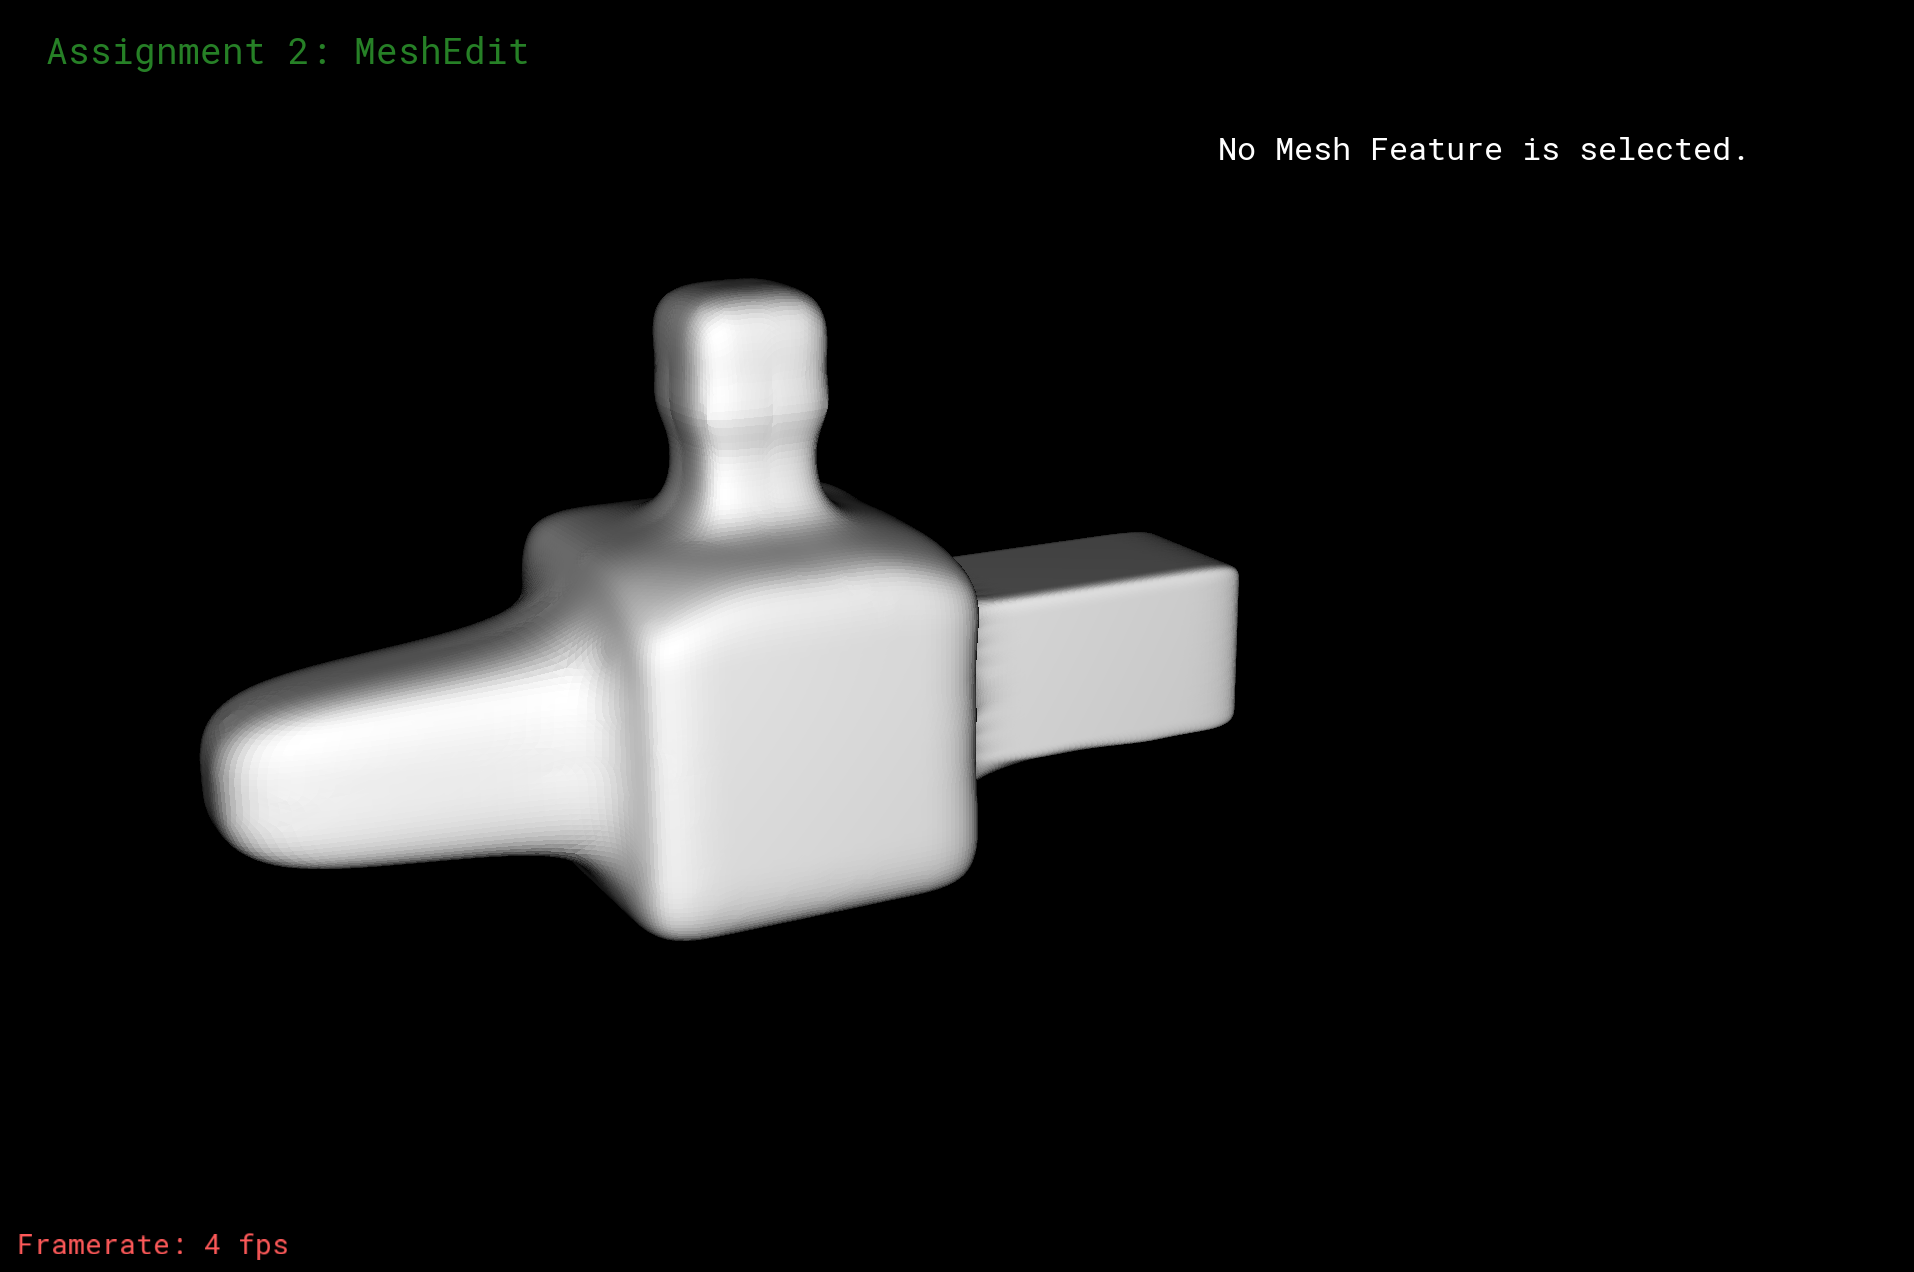
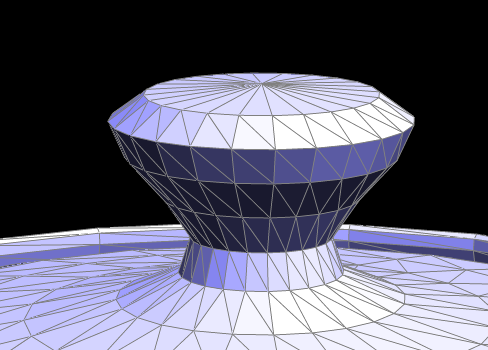
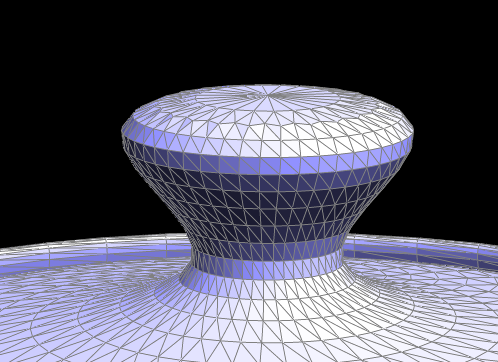
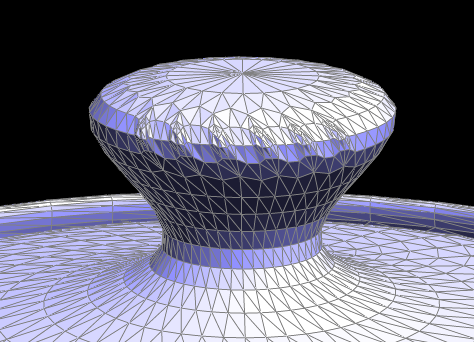
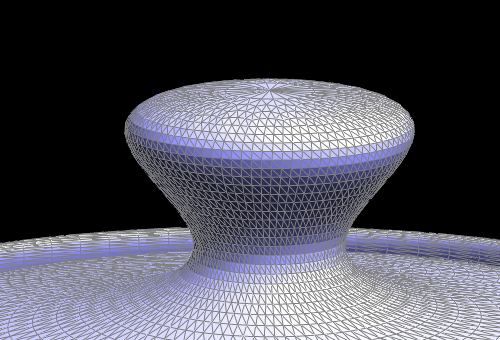
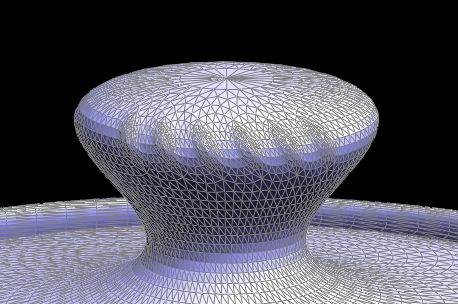
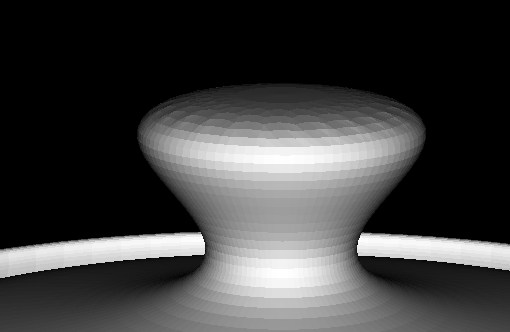
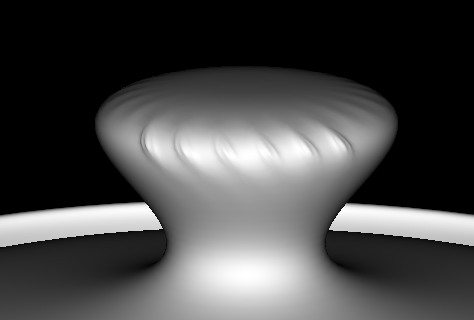
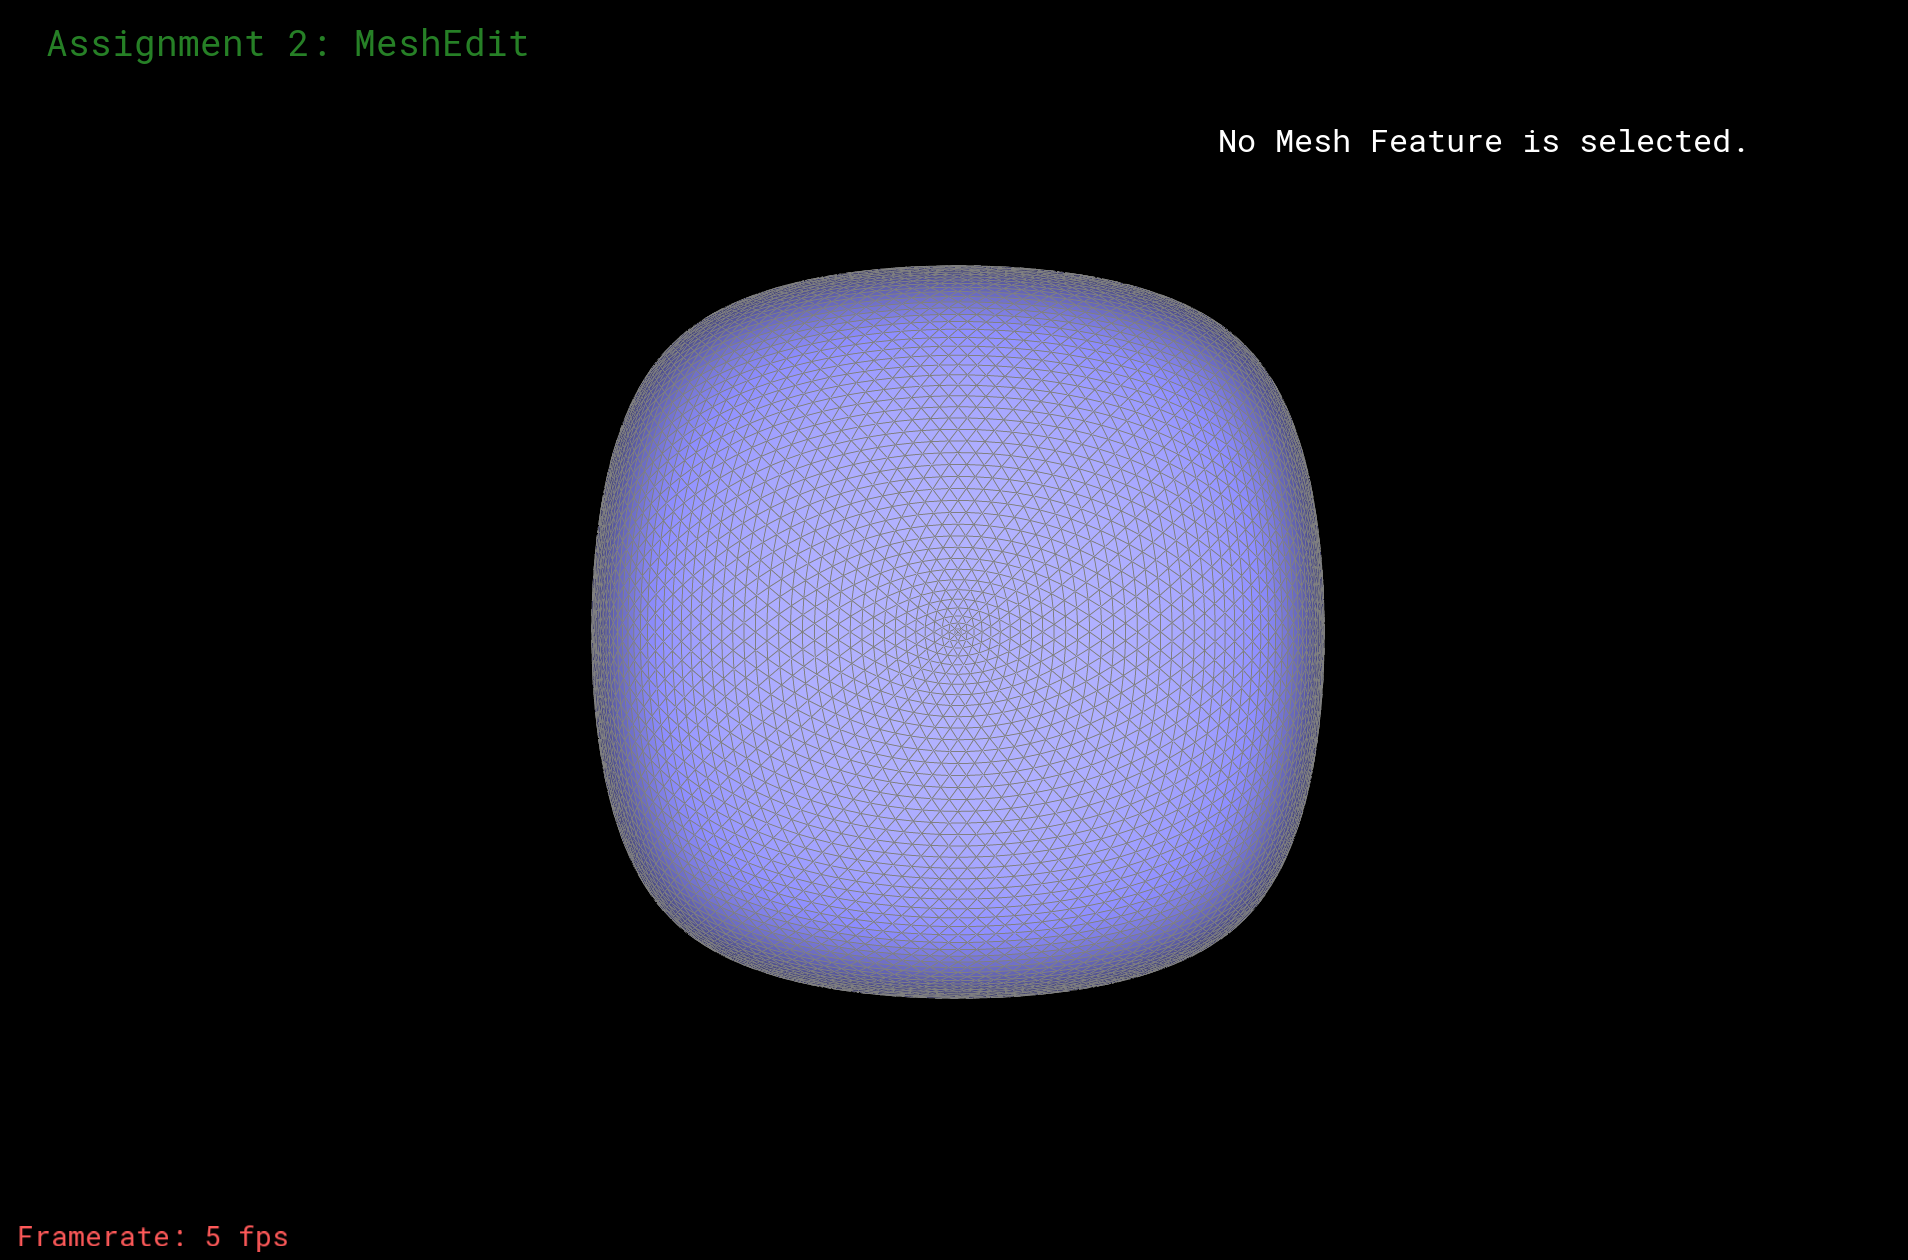
After upsampling, we can see that the curves on the graph are more smooth. Sharp corners and edges become more smooth (more rounded up).If we do pre-splitting, as what we show below, we can see that the borders and edges that we pre-split do become smoother faster than usual. But some weird things happen because of the changes in shapes and edges after some upsamplings. However, sometimes, two negative become positive.In some situations, doing pre-spliting can result in better effect. And if we do originally it indeed get not as good result, such as asymetric effect. In the left two columns, I used pre-spliting on the edge of the top part of the teapot, after upsampling, it creates weird curves and distortions. In the right two columns, I pre-split every edge at the middle of each side, and result is that it significantly reduce the asymetric effect of the original graph, especially when you compare the result after some steps of upsampling
The left part shows how pre-spliting made more aliasing and distortion.
The right part show how pre-spliting can indeed create better result with anti-asymetric effect.
|

|
|
|
|
|
|
|
|
|
|
|
|
|
|
|
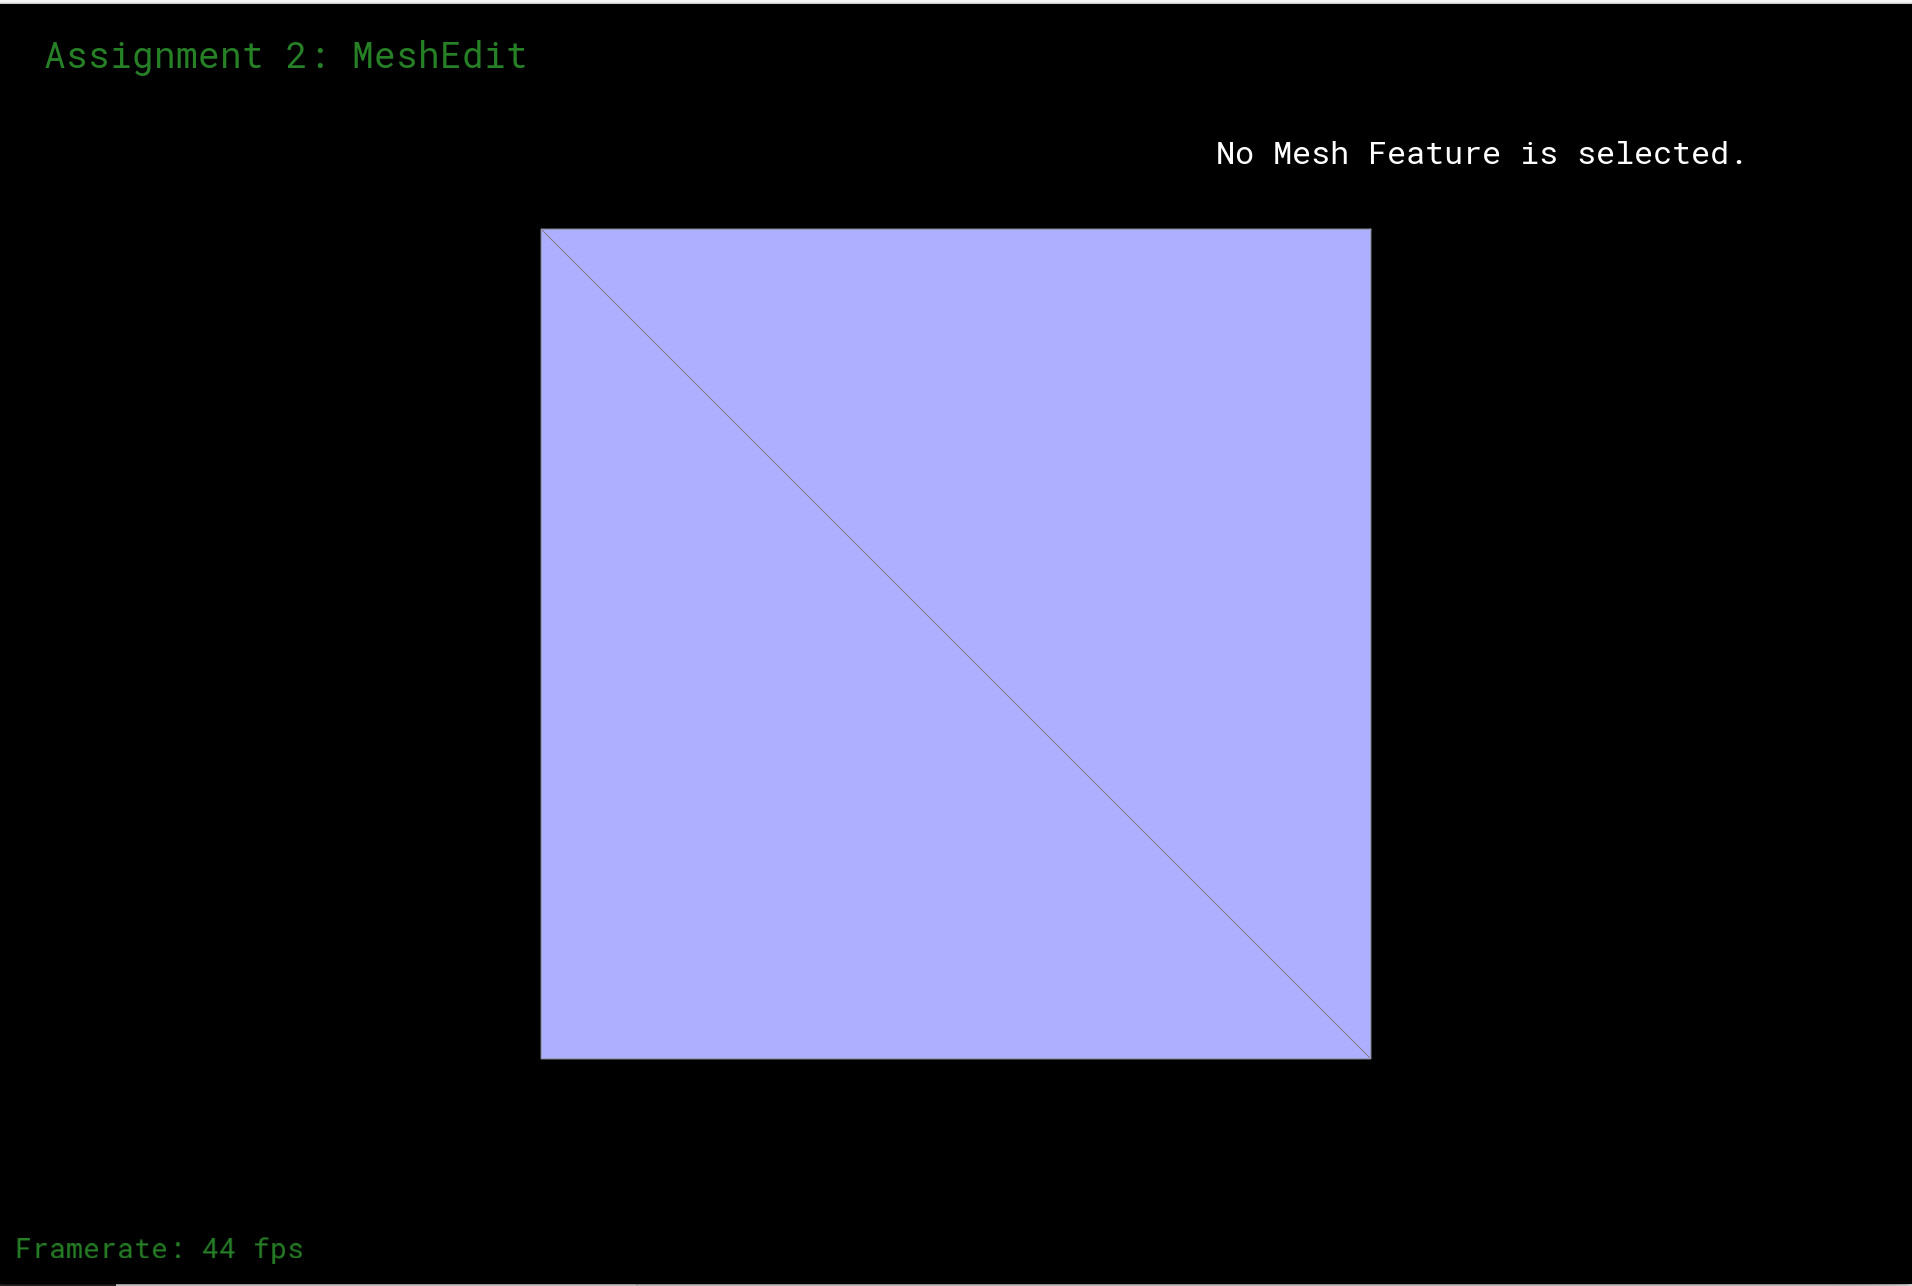
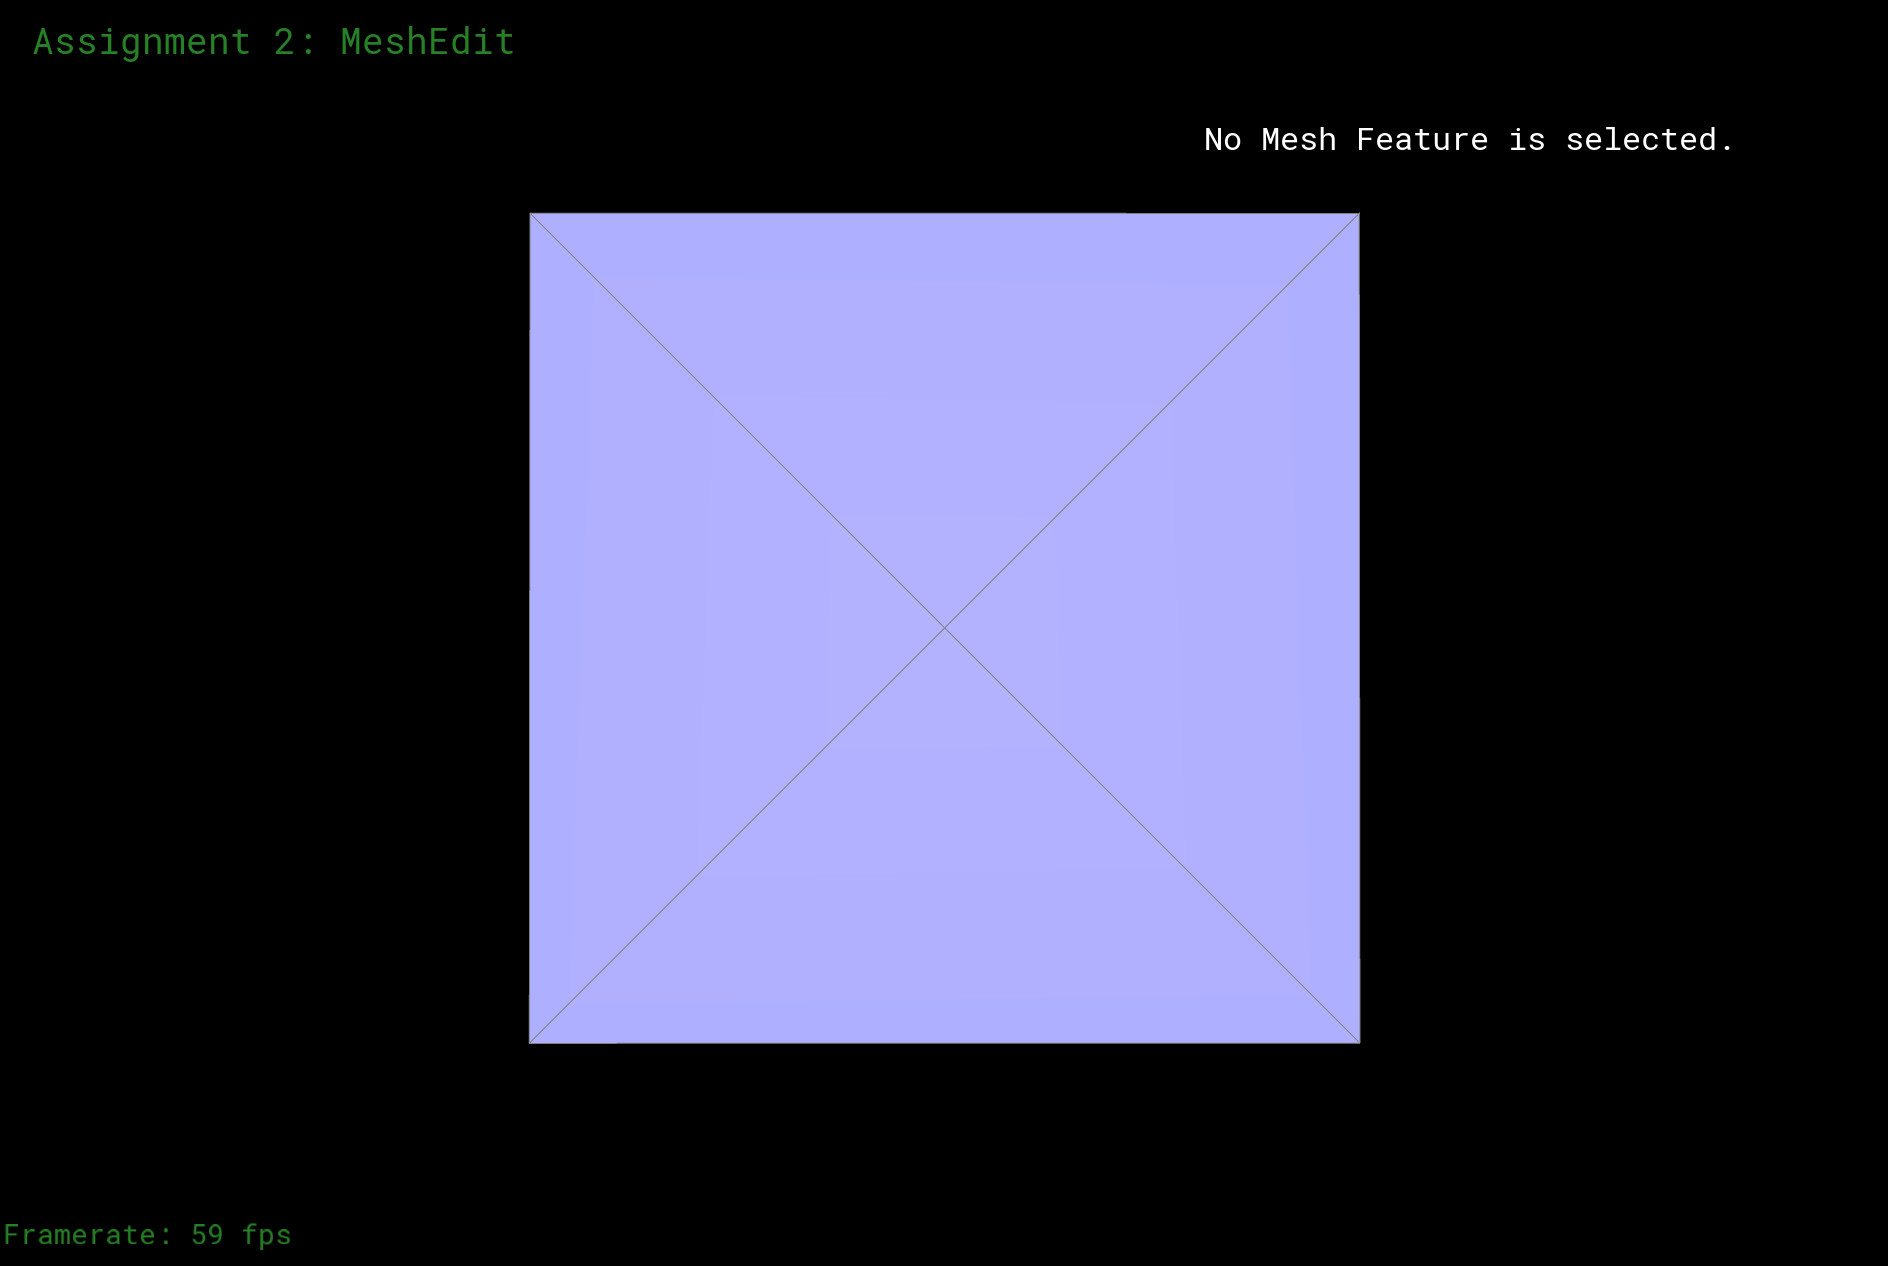
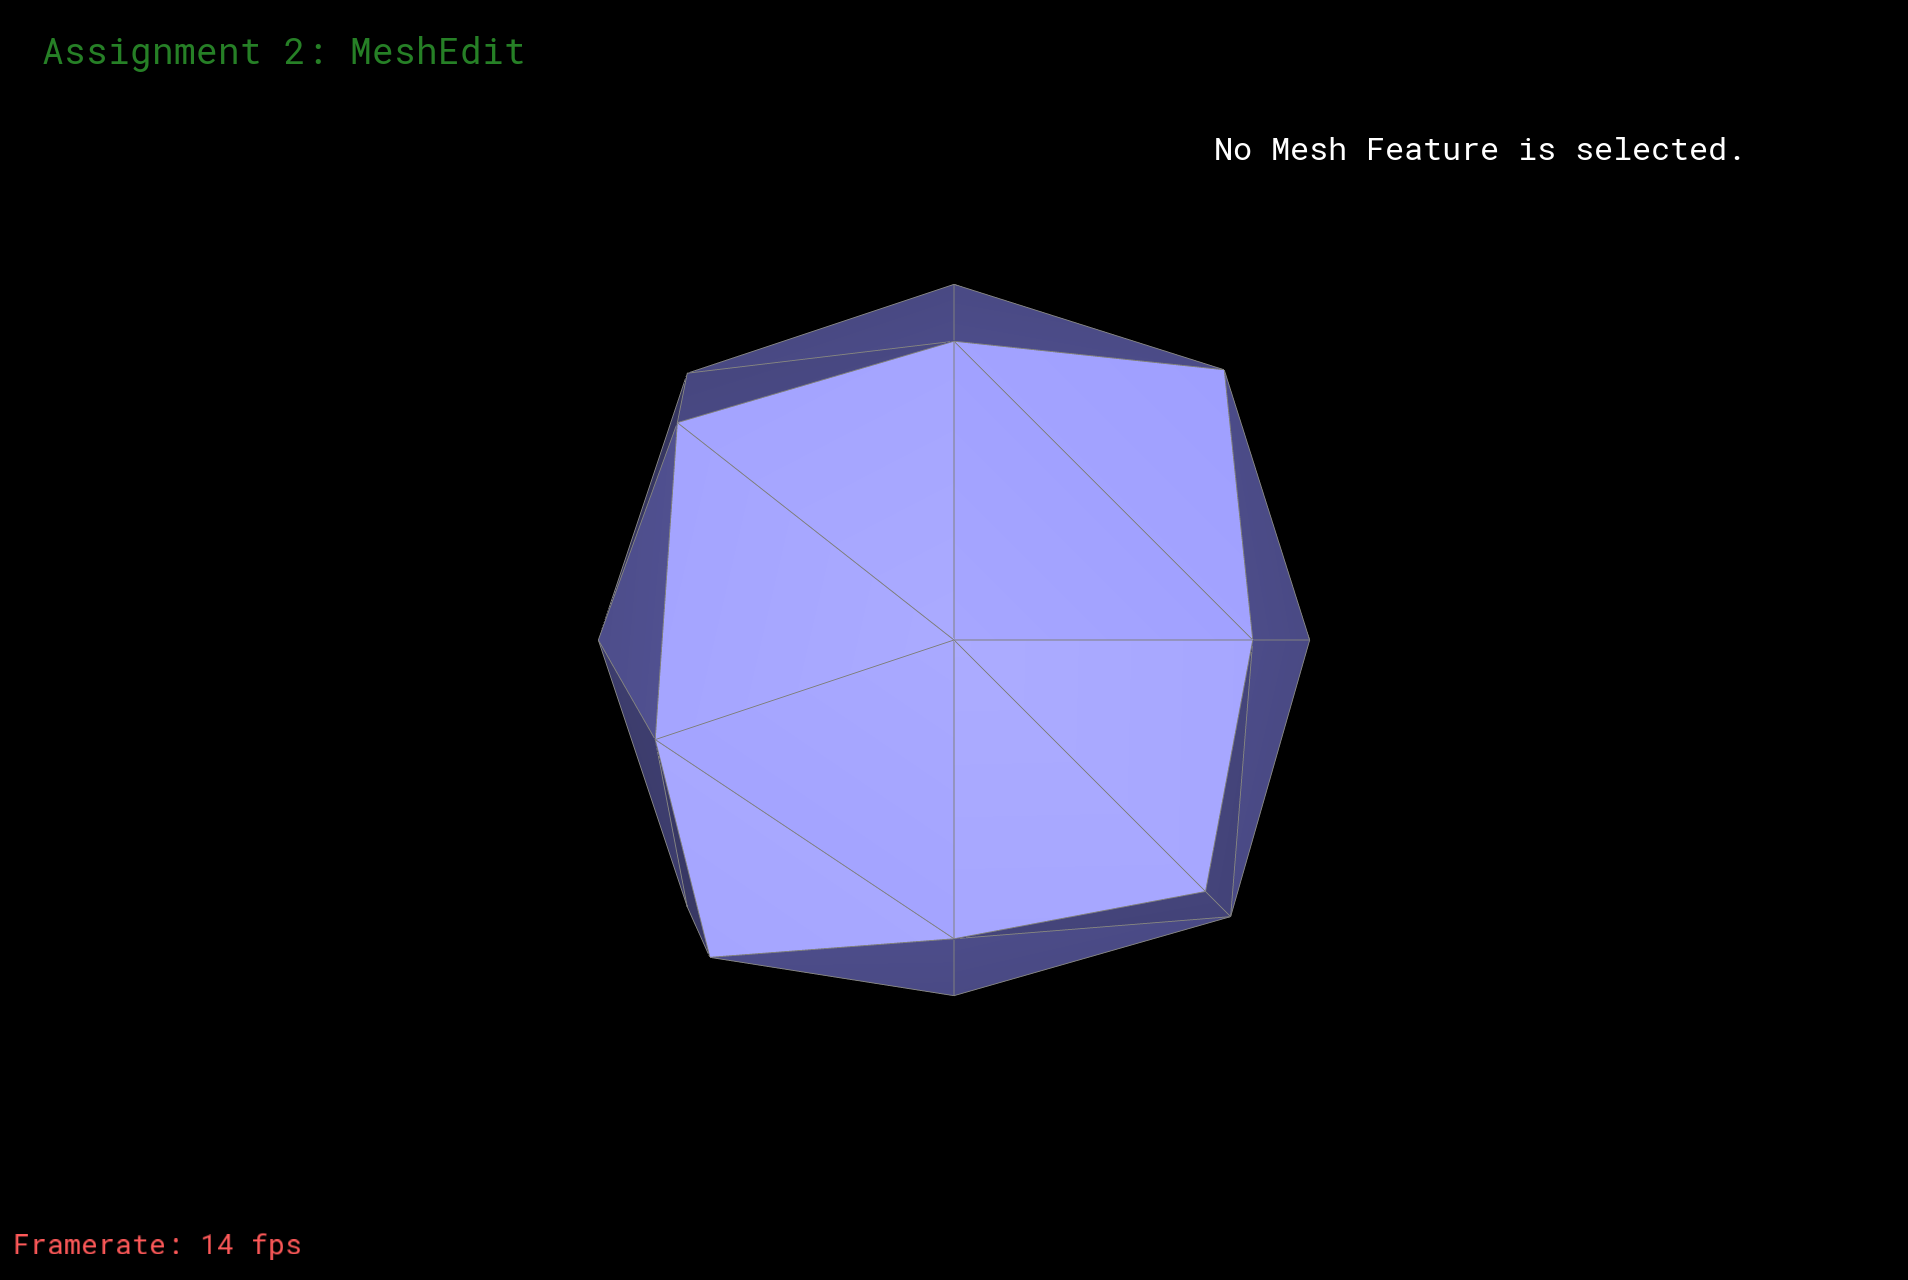
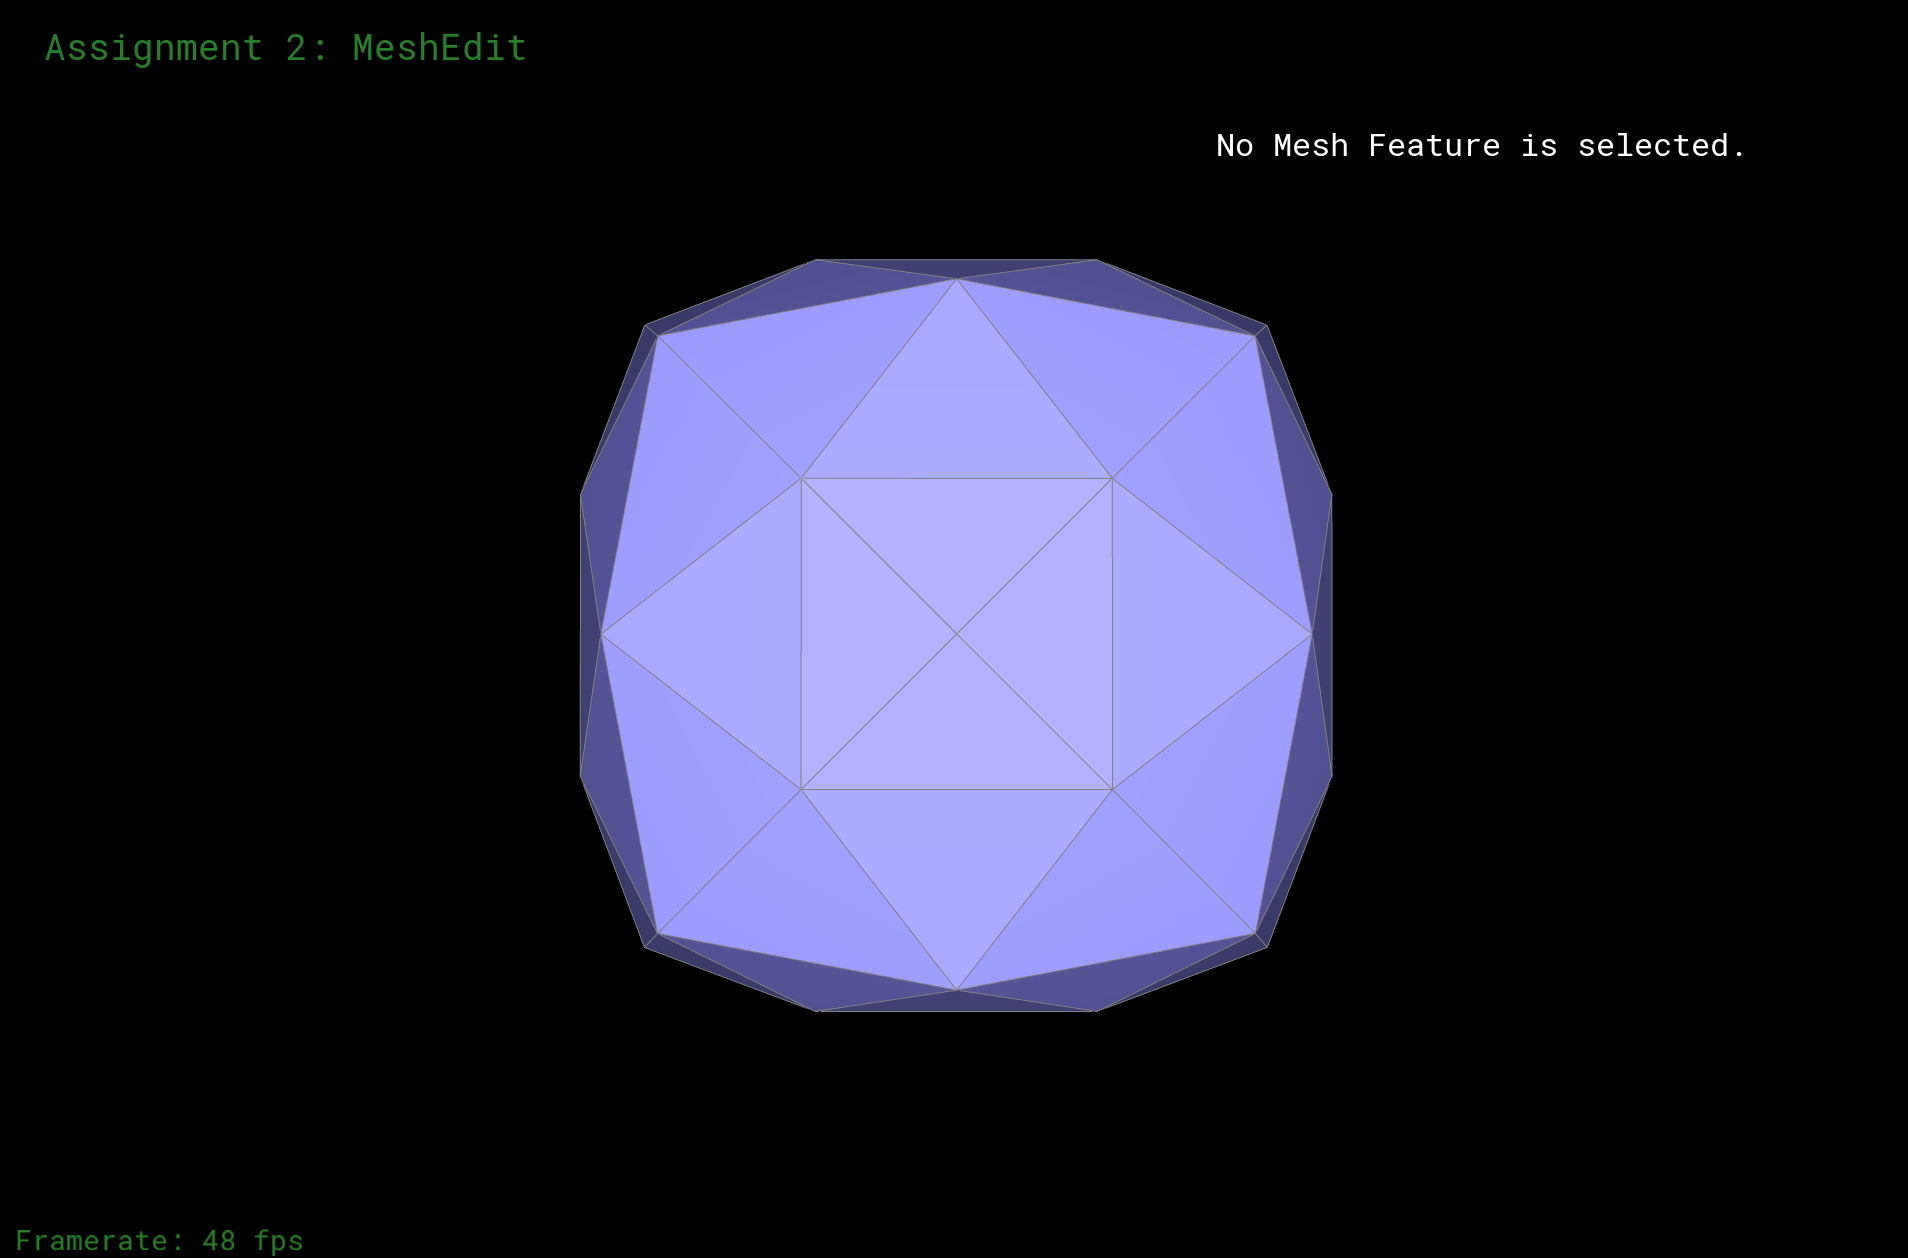
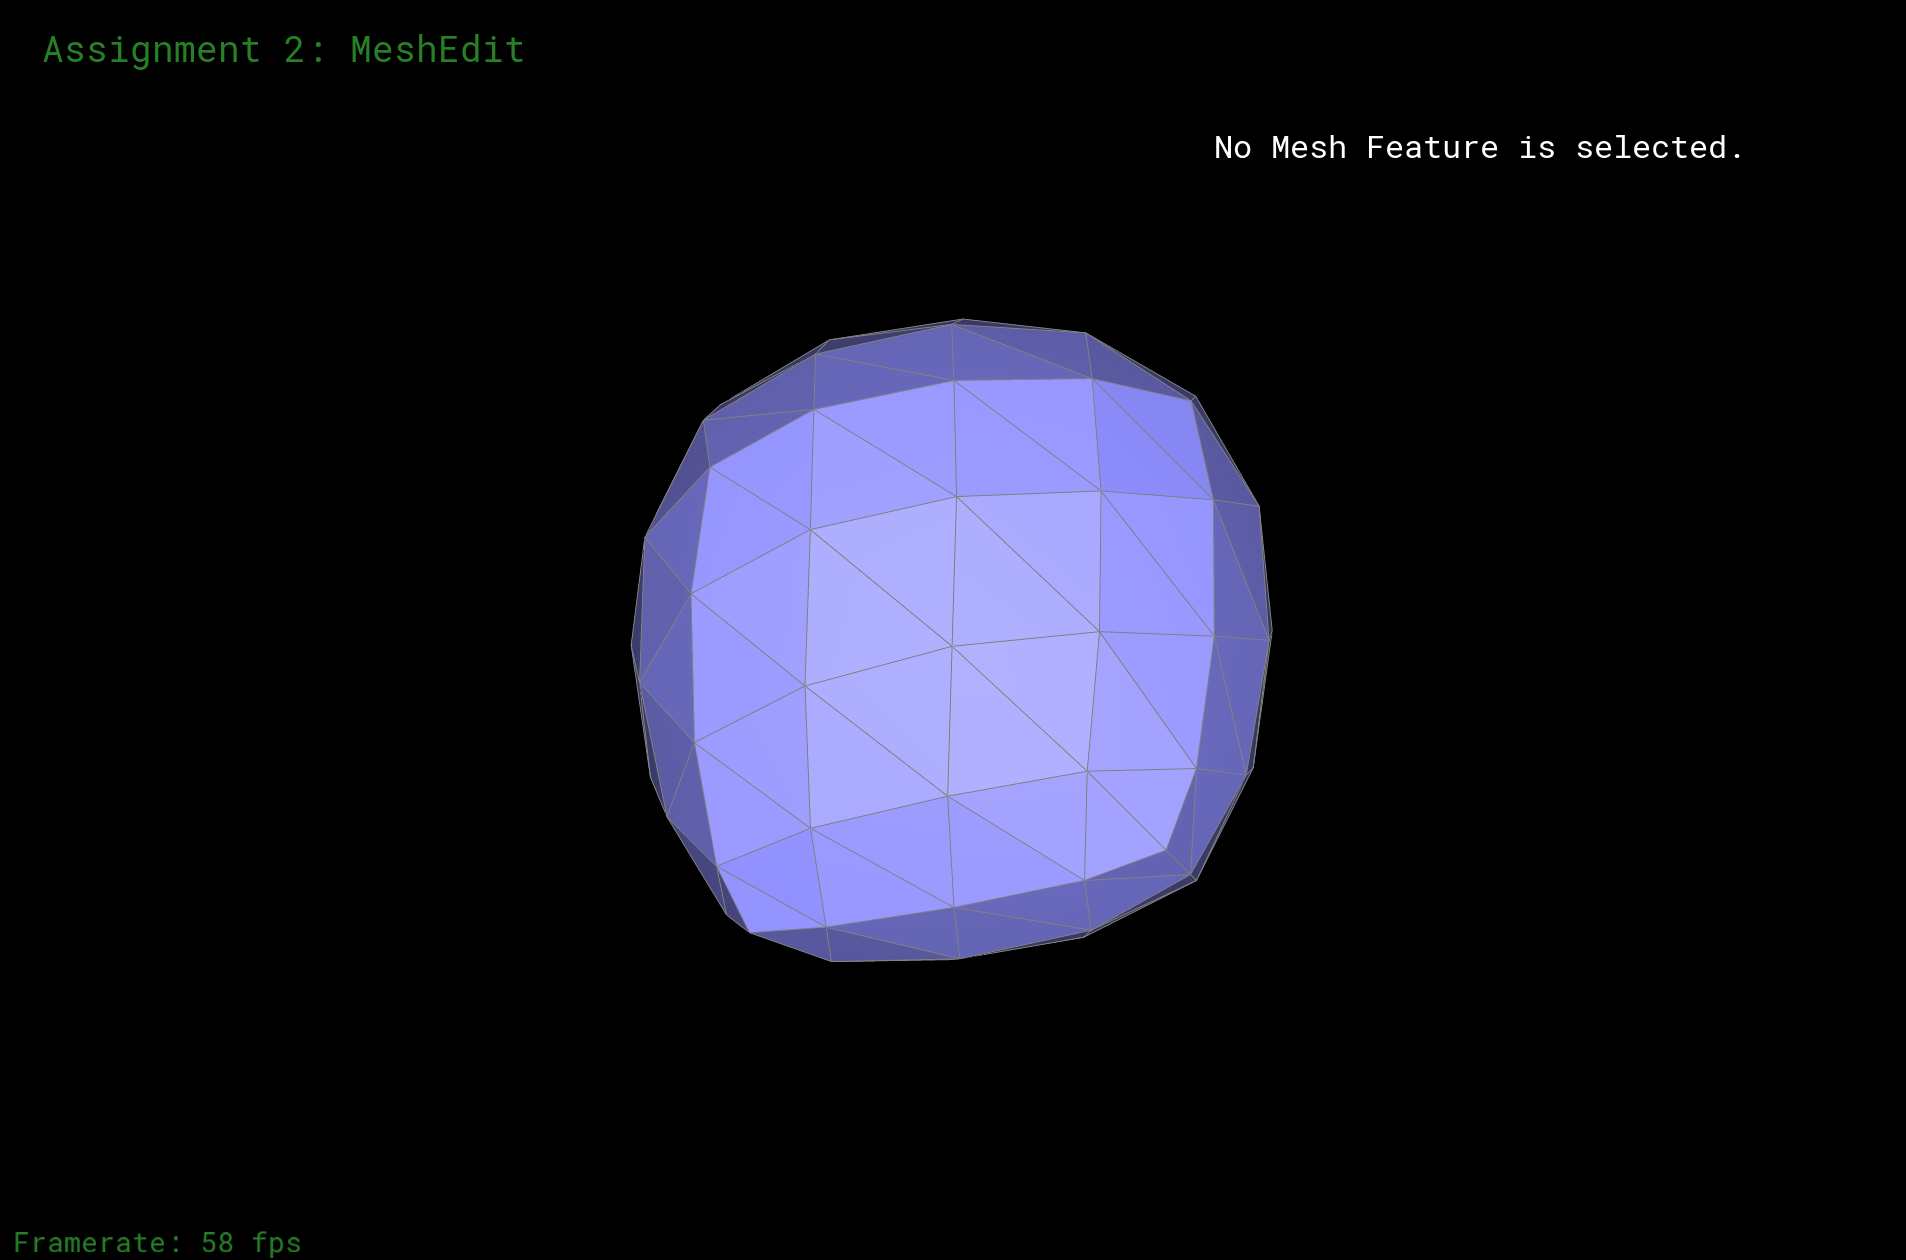
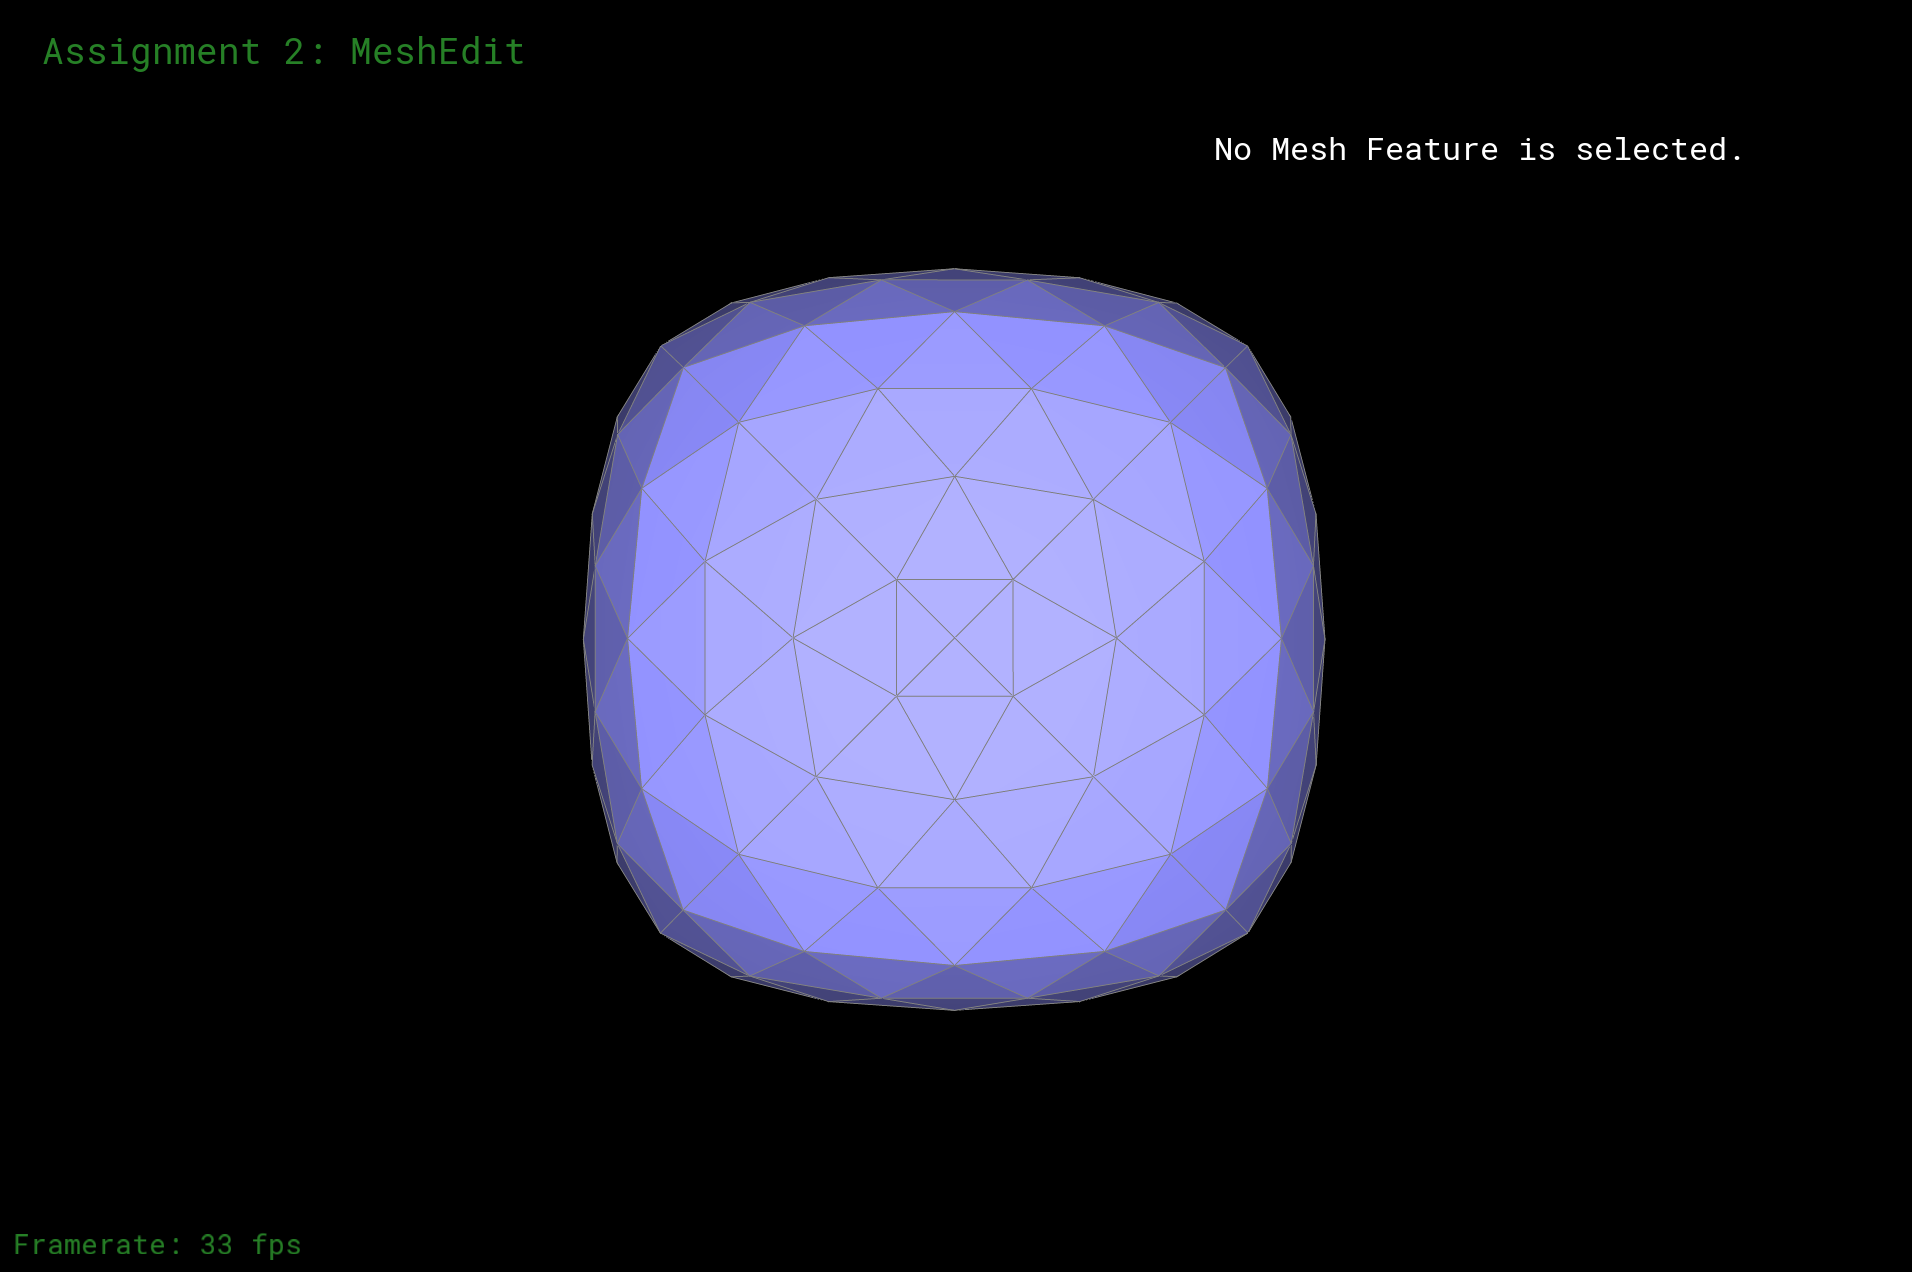
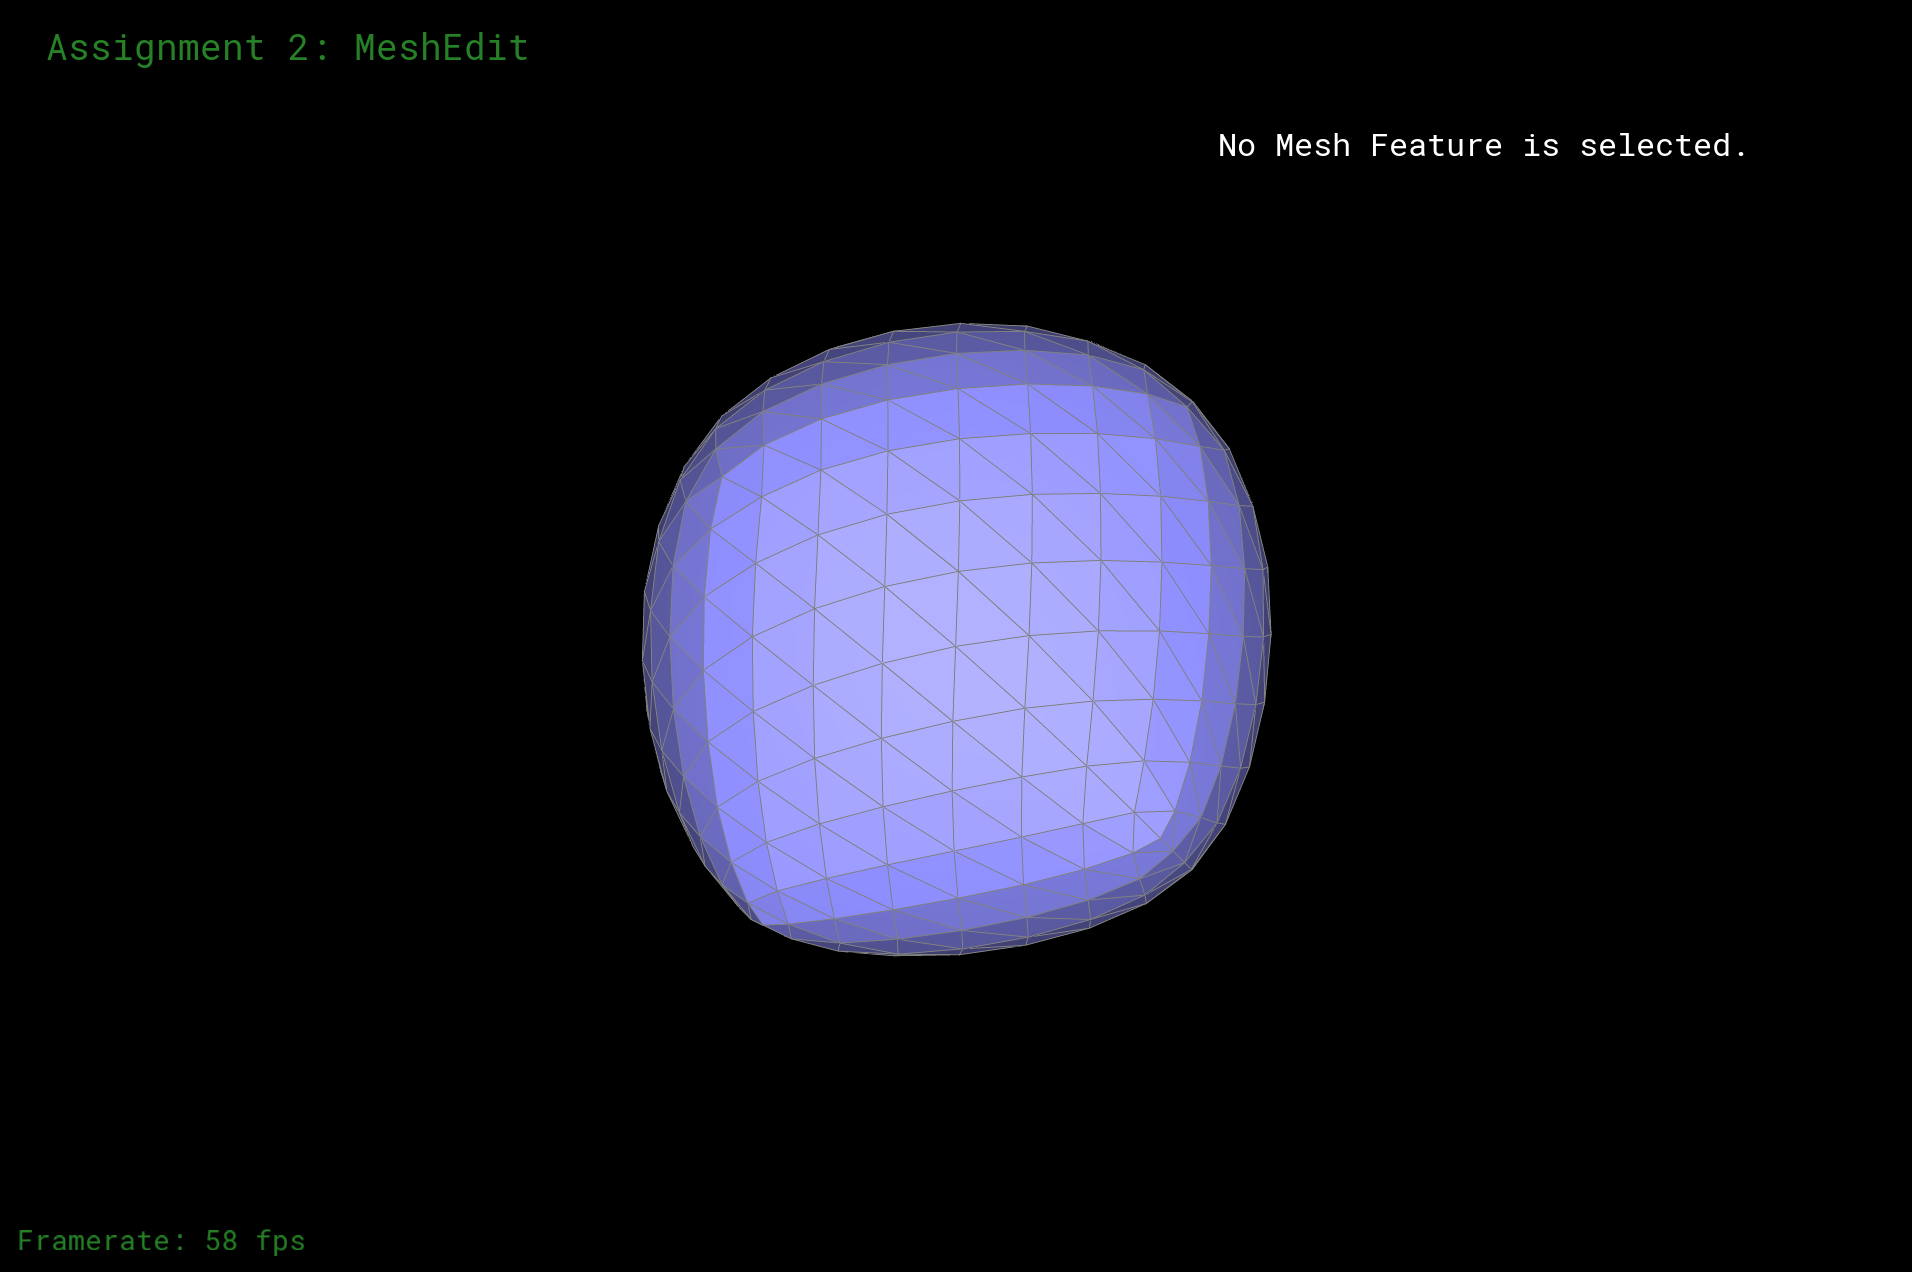
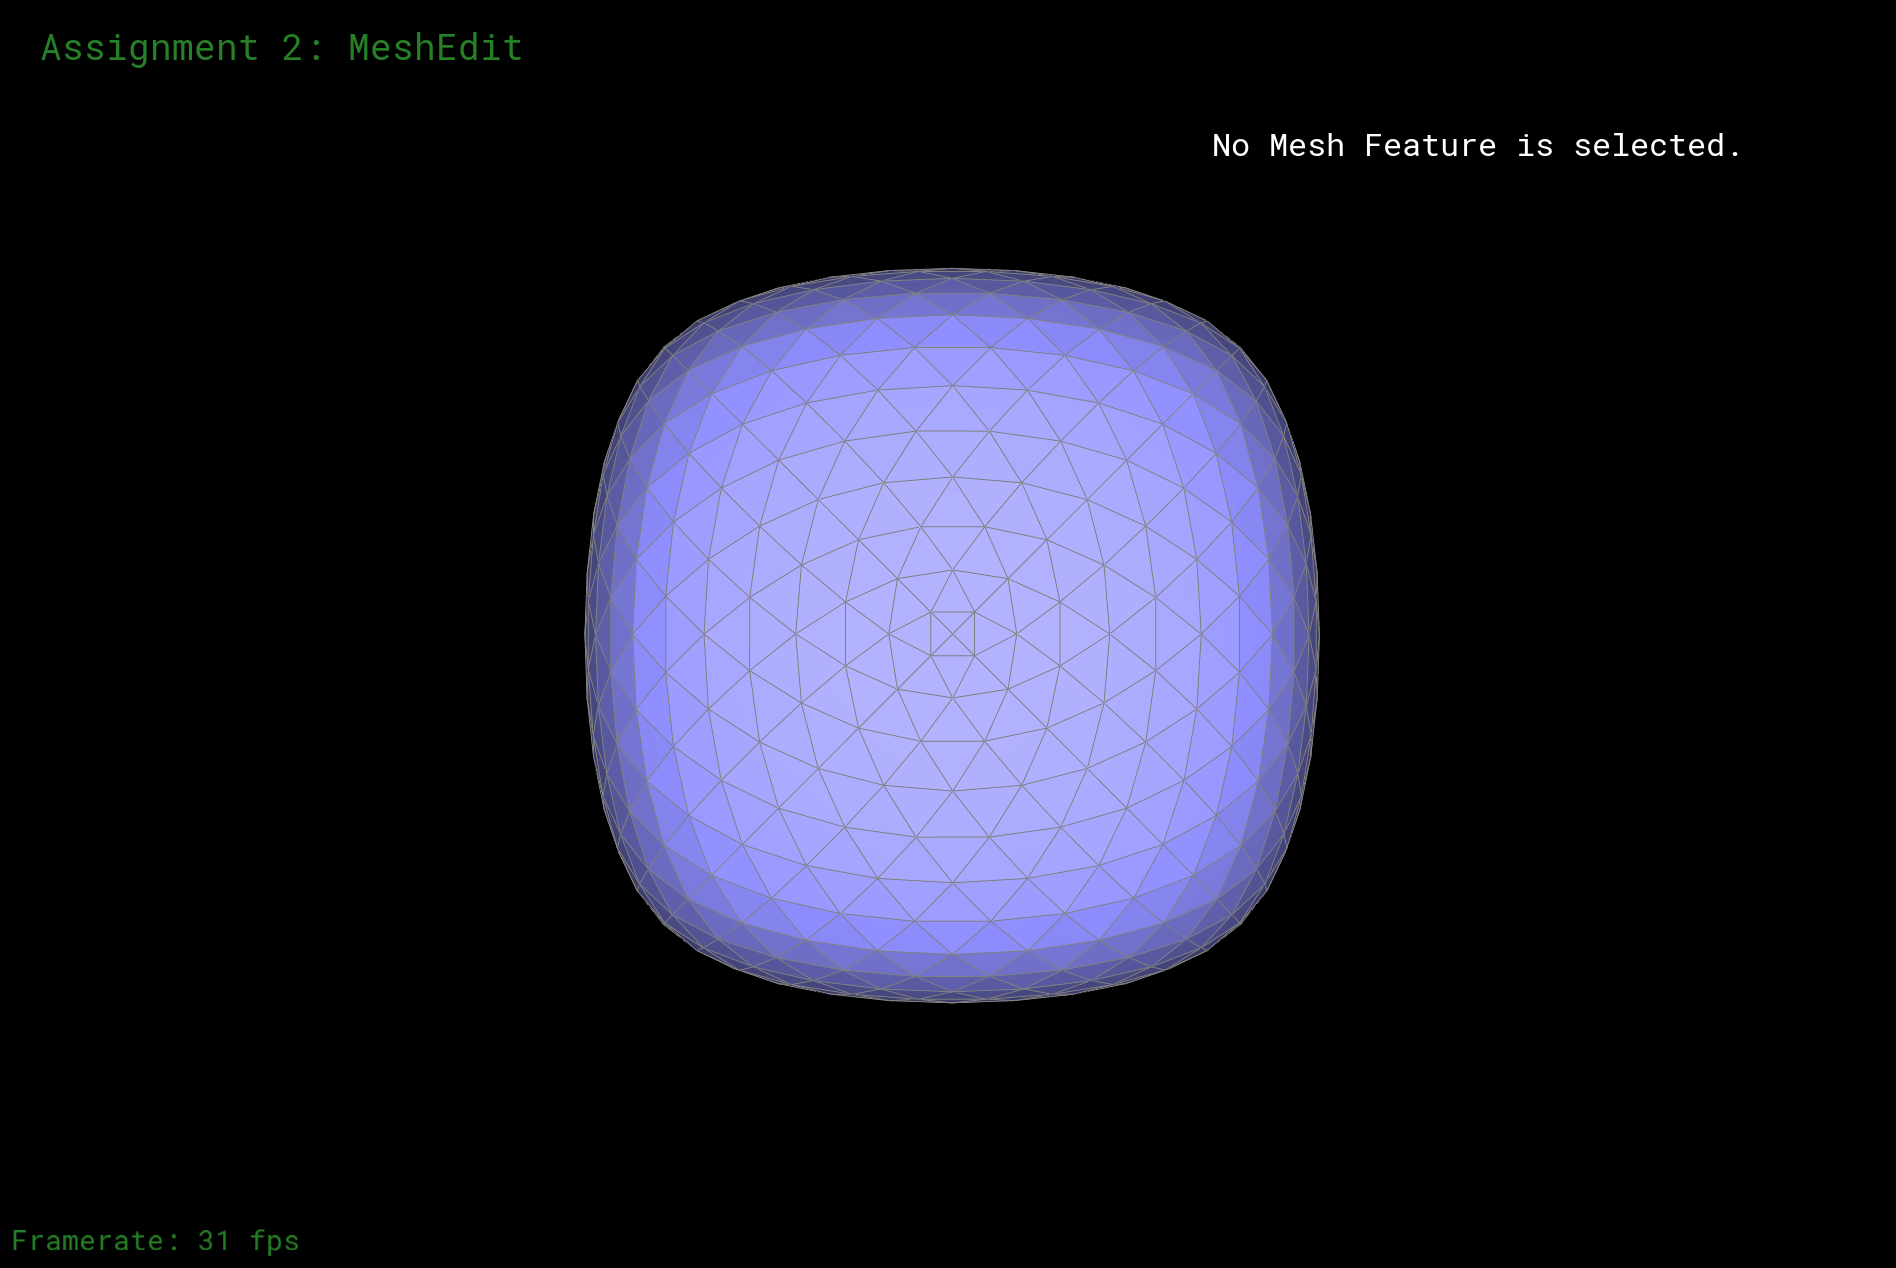
Here let's compare the difference I made to the cube to make it reduce the effect of asymetric result as the original. We can see from the following about the effect. The original asymetric effect occurs because that when we do the upsampling, we literally split every edge, but the original edges are not distributed evenly since there is one slash through all the edges, thus there must be alias. In short, the edges in the mesh are not symetric from the beginning. Thus, I split every diagnal edge in each face from the beginning, which is pre-splitting the edges. After that, we can see that the edges in the mesh are symetric. Thus, when we do upsampling, we split every edge, but since every edge are symetric, we get a evenly distributed vertexs which ensures a good result.
|
|
|
|
|
|
|
|
|
|
|
|
|
|
|
|